
Selecting the right spot for a photo booth can be the difference between an event that buzzes with excitement and one that falls flat. For event planners across San Antonio, a well-prepared setup not only prevents unnecessary disruptions but also guarantees those crowd-pleasing snapshots guests love. With a focus on organized layouts, smooth guest flow, and protecting equipment using guidelines recommended by the Library of Congress, you will discover practical insights for efficient photo booth setup that bring your next wedding or corporate celebration to life.
Table of Contents
- Step 1: Select and Prepare the Photo Booth Location
- Step 2: Assemble Equipment and Test Components
- Step 3: Configure Custom Backdrops and Props
- Step 4: Verify Lighting and Camera Angles
- Step 5: Conduct a Full System Test and Final Check
Quick Summary
| Key Point | Explanation |
|---|---|
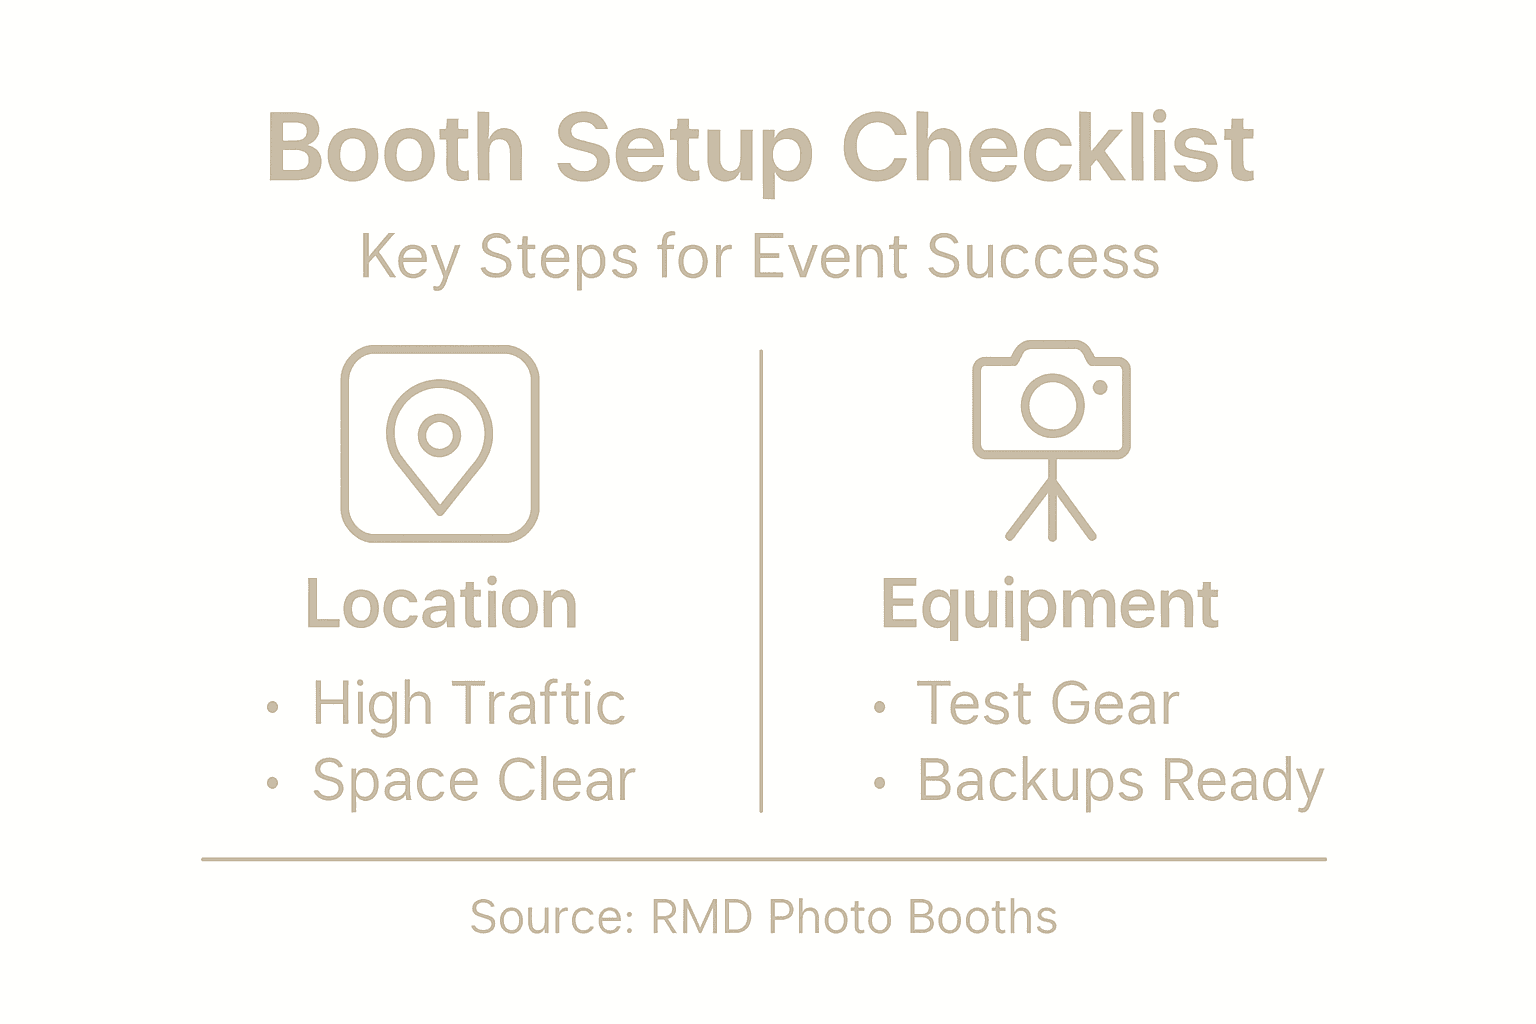
| 1. Choose high-traffic locations | Position your photo booth in busy areas for easy access and increased guest engagement without disrupting activities. |
| 2. Prepare equipment carefully | Assemble and test all components systematically to prevent technical malfunctions during the event. |
| 3. Create custom backdrops | Use tailored backdrops and props that enhance theme, ensuring a unique and engaging guest experience. |
| 4. Optimize lighting and camera angles | Employ proper lighting techniques and adjust camera positions for flattering, professional-quality photographs. |
| 5. Conduct thorough system tests | Perform comprehensive checks of all equipment before the event to ensure seamless operation and prevent issues. |
Step 1: Select and Prepare the Photo Booth Location
Choosing the right location for your photo booth can make or break your event’s memorable moments. The ideal spot requires strategic planning to ensure maximum guest engagement and smooth operational flow.
When selecting your photo booth location, prioritize high-traffic areas that offer easy access without disrupting the event’s primary activities. Look for spaces near the dance floor or reception area that provide natural guest congregation zones. Professional event venues typically have designated areas perfect for photo booth setups, but you’ll want to carefully evaluate the specific requirements.
Consider these critical factors when preparing your photo booth space:
- Sufficient electrical access for powering equipment
- Minimum 8×8 foot clear area for booth and guest movement
- Proximity to good lighting conditions
- Flat, stable surface for equipment placement
- Minimal background noise interference
Environmental considerations are crucial for protecting both your equipment and creating an optimal guest experience. The preservation guidelines for photographic spaces recommend selecting locations free from moisture, direct sunlight, and extreme temperature variations. This helps maintain your photo booth’s technical performance and image quality throughout the event.
Space layout matters. Ensure your chosen location allows smooth guest traffic flow and provides enough room for props, backdrops, and multiple guests to interact simultaneously. Strategic placement prevents bottlenecks and keeps the photo booth experience fun and accessible.
Pro tip: Always conduct a site walkthrough and test your photo booth setup in the selected location at least one hour before the event to identify and resolve potential spatial challenges.
Step 2: Assemble Equipment and Test Components
Assembling your photo booth equipment requires precision, patience, and systematic preparation. Your goal is to create a reliable setup that captures perfect memories without technical hiccups.
Begin by laying out all components methodically. Photo booth configuration tools recommend a step-by-step assembly approach that ensures every piece is correctly positioned and connected. Your essential equipment checklist should include:
- Camera system (DSLR or digital camera)
- Sturdy tripod or mounting bracket
- Backdrop stand and selected backdrop
- Lighting equipment
- Computer or tablet for image processing
- Printer (if offering instant prints)
- Props and accessories
- Extension cords and power strips
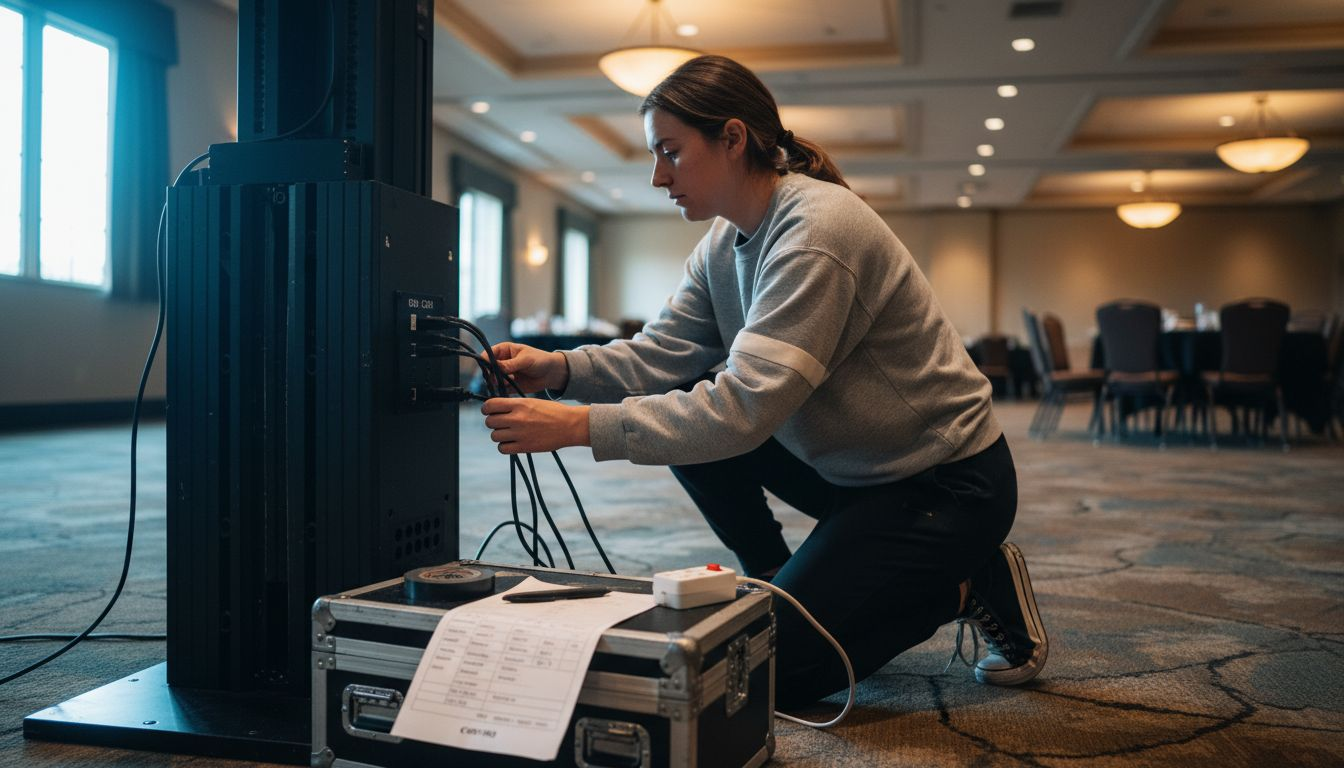
Careful electrical testing is crucial before final setup. Use a multimeter to verify electrical connections, checking each cable and power source for proper voltage and continuity. This prevents potential equipment failures during your event.
Systematic component testing reduces the risk of unexpected technical problems during your event.
Connect all components methodically, ensuring secure connections and appropriate cable management. Test each component individually before integrating them into the complete system. This includes checking camera settings, verifying printer functionality, and confirming that your software interfaces correctly with the hardware.
Pro tip: Create a dedicated equipment checklist and perform a complete test run at least 24 hours before your event to identify and resolve any potential technical issues.
Step 3: Configure Custom Backdrops and Props
Customizing your photo booth’s backdrop and props transforms an ordinary setup into an unforgettable interactive experience that captures your event’s unique personality. The right combination of visual elements can elevate guest engagement and create lasting memories.
Start by selecting a backdrop that complements your event’s theme and style. Backdrop construction techniques emphasize using high-quality printed images that create a professional and visually appealing background. Consider these backdrop options:
- Solid color fabric backdrops
- Custom printed vinyl banners
- Themed scenery backgrounds
- Sequin or metallic textured panels
- Personalized event logo backdrops
For props, variety is key to encouraging guest creativity. Printable prop templates offer an excellent starting point for creating themed accessories that match your event’s style. Consider assembling a diverse collection that includes:
- Funny oversized glasses
- Quirky hats and headwear
- Event-specific themed props
- Speech bubble signs
- Masks and character cutouts
Creative props and backdrops transform photo booth experiences from simple snapshots to interactive storytelling moments.
Personalization is crucial. Tailor your backdrop and props to reflect the event’s unique character, whether it’s a wedding, corporate gathering, or birthday celebration. Invest time in selecting or creating items that will spark joy and encourage spontaneous, memorable interactions.
Pro tip: Test your backdrop and props before the event by doing a trial photoshoot to ensure they photograph well and create the desired visual impact.
Here’s a quick comparison of backdrop and prop customization impacts:
| Customization Area | Guest Engagement Impact | Visual Appeal | Setup Complexity |
|---|---|---|---|
| Themed Backdrops | Boosts event mood | Strong | Moderate |
| Unique Props | Sparks creativity | Medium | Low |
| Personalized Logos | Creates uniqueness | High | Moderate |
| Textured Materials | Increases photo depth | High | High |
Step 4: Verify Lighting and Camera Angles
Lighting and camera positioning are the secret ingredients that transform ordinary photo booth snapshots into stunning, professional-quality memories. Getting these technical elements right ensures every guest looks their absolute best.
Mastering three-point lighting techniques is crucial for creating flattering, well-balanced photographs. This professional approach involves strategically positioning three primary light sources:
- Key light: Primary illumination source
- Fill light: Softens shadows and balances highlights
- Backlight: Creates depth and subject separation
Position your camera to capture guests from the most flattering angles. Aim to keep the camera at chest or shoulder height, which typically produces the most appealing and natural-looking photographs. Experiment with slight variations to find the most engaging perspective for your specific backdrop and event style.
Perfect lighting eliminates unflattering shadows and ensures every guest looks their absolute best.
Utilize digital lighting simulation tools to pre-plan your setup. These advanced resources help you visualize and adjust lighting configurations before the actual event, minimizing potential technical challenges.
Consider these additional camera and lighting considerations:
- Adjust light intensity for consistent exposure
- Avoid direct overhead lighting
- Use soft, diffused light sources
- Maintain consistent color temperature
- Test different angle combinations
Camera positioning matters. Slight adjustments can dramatically improve photo quality, so take time to fine-tune your setup during the preliminary testing phase.
Pro tip: Conduct a comprehensive lighting and camera test at least two hours before your event, taking sample photos from multiple angles to ensure optimal results.
Step 5: Conduct a Full System Test and Final Check
Your final system test is the critical moment that separates professional photo booth experiences from amateur setups. This comprehensive check ensures every technical component functions seamlessly before your guests arrive.
Equipment testing protocols recommend a systematic approach to verifying all photo booth components. Create a detailed checklist to methodically assess each system element:
- Camera functionality
- Computer/tablet performance
- Printer connectivity
- Lighting systems
- Backdrop stability
- Wifi/internet connection
- Software interface
- Power supply reliability
A thorough pre-event system test prevents 90% of potential technical interruptions during your event.
Perform multiple test runs to simulate actual event conditions. Take several sample photos using different props, backdrops, and guest configurations to validate image quality and system responsiveness. Pay special attention to:
- Image resolution and clarity
- Color accuracy
- Printing speed and quality
- Software processing time
- Prop interaction capabilities
Technical redundancy matters. Have backup equipment like spare cables, batteries, and memory cards readily available to quickly address any unexpected issues.
Below is a summary of essential photo booth system tests and their benefits:
| Test Step | Primary Focus | Benefit for Event |
|---|---|---|
| Electrical Connections | Safety and reliability | Prevents power failures |
| Software Interface | Compatibility | Ensures smooth operation |
| Print Quality | Color accuracy | Provides vivid prints |
| Prop Interaction Trial | Usability | Enhances guest enjoyment |
Pro tip: Designate a technical point person during the event who understands the entire photo booth setup and can quickly troubleshoot any unexpected system challenges.
Elevate Your Event with Expert Photo Booth Solutions
Mastering every step of the photo booth setup process can be challenging from choosing the perfect location to fine-tuning lighting and props. Common pain points include ensuring reliable equipment performance, seamless guest interaction, and capturing stunning photos that truly reflect your event’s vibe. The article highlights critical concepts such as strategic space layout, three-point lighting techniques, and comprehensive system testing to avoid technical pitfalls.
At RMD Photo Booths, we understand these challenges intimately. We offer professional photo booth rentals that take the stress out of setup and delivery, allowing you to focus on creating unforgettable moments. With over 1,000 five-star reviews, our team provides diverse options from vintage styles to AI-powered booths, backed by expert setup and support.
Take the next step to guarantee flawless photo booth experiences that captivate your guests and elevate your event. Explore our variety of innovative booths by visiting our main website or learn more about how our setups ensure perfect lighting and props on our service page. Don’t wait to transform your celebration—book your professional photo booth rental today and make every moment picture perfect.

Frequently Asked Questions
What is the best location to set up a photo booth at an event?
Choose high-traffic areas that are easily accessible and close to natural gathering spots, such as the dance floor or reception area. Ensure the space is at least 8×8 feet and protects your equipment from moisture and direct sunlight.
How do I ensure my photo booth equipment is properly assembled?
Assemble your photo booth equipment systematically, following a checklist that includes the camera, backdrop, lighting, and other components. Test each piece individually to identify any issues before integrating them into the complete setup.
What types of backdrops and props should I use for a successful photo booth experience?
Select backdrops that match your event’s theme, such as solid colors or custom printed designs, and provide a diverse range of props to encourage guest creativity. Testing your chosen props and backdrops during a trial photoshoot will help ensure they suit the desired visual impact.
How can I adjust lighting for the best photo quality at my booth?
Use three-point lighting to create well-balanced and flattering photographs, positioning your key, fill, and backlight correctly. Conduct tests with different lighting setups to determine the best configuration before the event.
What steps should I take during the final system test before the event?
Perform a comprehensive check of all photo booth components, such as camera functionality and print quality, ensuring everything works together seamlessly. Take multiple sample photos to assess image resolution and processing speed, identifying any issues to resolve ahead of time.
How can I prepare for any technical issues that may arise during the event?
Prepare a backup plan by having spare cables, batteries, and memory cards on hand, allowing for quick resolutions to unexpected problems. Designate a technical point person who can troubleshoot and ensure the booth runs smoothly throughout the event.
Recommended
- Photo Booth Rental Guide for Unforgettable Events
- Ultimate Event Photo Booth Setup Guide for Events
- Master the Photo Booth Booking Process for Events
- How to Rent Photo Booth for Events Easily and Quickly
- Eventfilm Produktion Workflow für Unternehmen: Praxisleitfaden
- 7 Best Practices Kamera-Ausleihe für Profis erklärt
