
TL;DR:
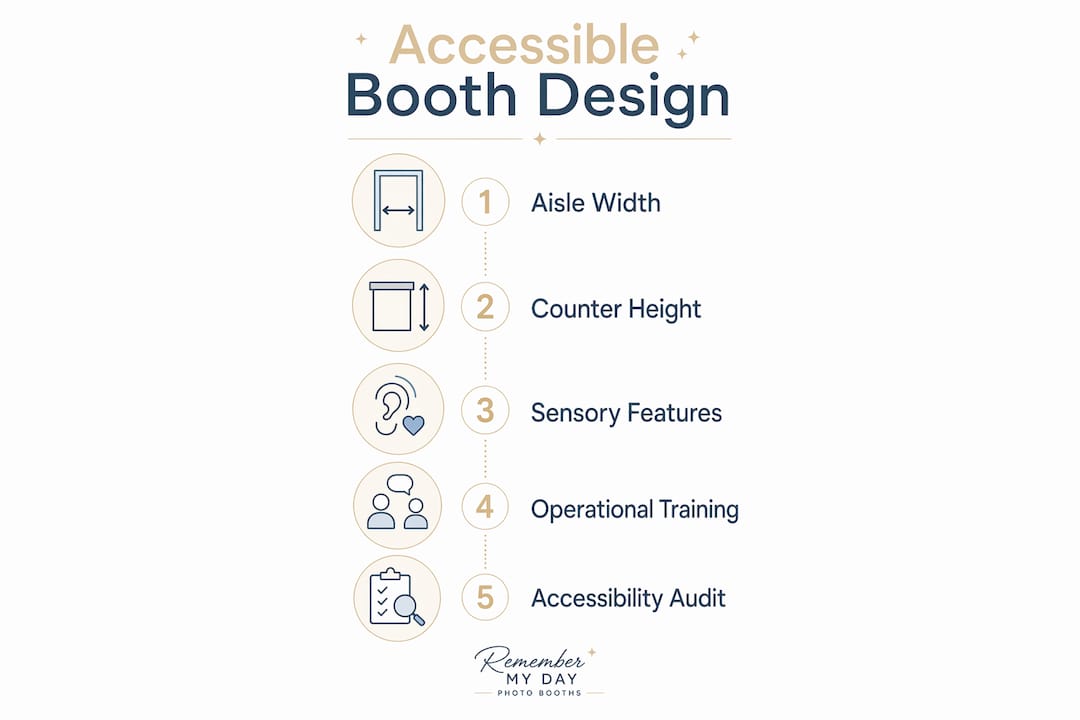
- Accessible booth design ensures visitors of all abilities can navigate and interact independently.
- It requires physical standards like wide aisles, low counters, and firm flooring, plus sensory and behavioral accommodations.
Booth accessibility is defined as the design, layout, and operation of event booths to ensure visitors of all abilities can navigate, engage, and interact fully and independently. The Americans with Disabilities Act (ADA) and the U.S. Access Board set the legal baseline for accessible exhibit space in the United States. Getting this right matters beyond compliance. Accessible booths create better experiences for every attendee, including those with mobility limitations, sensory sensitivities, and cognitive differences. This guide gives you a practical overview of booth accessibility so you can plan with confidence and welcome every guest.
What are the key physical accessibility standards for event booths?
Physical design is the foundation of any accessible exhibit space. The ADA and U.S. Access Board specify clear measurements that every event organizer should know before finalizing a booth layout.

Aisle width and turning space
Booth aisles must be at least 36 inches wide to allow wheelchair passage. That is the minimum. Wider is always better, especially at high-traffic events where multiple attendees move through at once. Interactive stations also require a 60-inch diameter clear floor space for wheelchair turning. Without that turning circle, a wheelchair user cannot reposition to engage with your booth staff or materials.
Counter height and reach range
Accessible counters must be no higher than 34 inches to accommodate visitors using wheelchairs. A standard trade show counter at 42 inches creates a literal barrier for seated visitors. Lowering at least one section of your counter costs very little but signals genuine welcome to every guest.
Common physical barriers to eliminate
Many booth-level barriers appear even when the venue itself is ADA compliant. Uneven surfaces, unsafe cable placement, and inaccessible transaction areas are among the most frequent violations. Thick carpet, loose rugs, and raised flooring platforms all create hazards for wheelchair users and visitors with balance issues.
Here is a quick reference for physical booth accessibility standards:
| Feature | Minimum Requirement |
|---|---|
| Aisle width | 36 inches |
| Wheelchair turning space | 60-inch diameter circle |
| Counter height (accessible section) | 34 inches maximum |
| Flooring | Firm, stable, slip-resistant |
| Approach route | Free of trip hazards and obstacles |
- Keep all cables secured flat to the floor or routed overhead.
- Avoid raised platforms unless a ramp with a gentle slope is provided.
- Place all printed materials and interactive screens within reach range for seated visitors.
- Leave at least one clear, unobstructed path from the main aisle to your booth’s primary interaction point.
Pro Tip: Walk through your booth setup while seated in a chair to simulate the wheelchair user perspective. You will spot barriers that standing walkthroughs miss every time.
How to accommodate sensory and cognitive accessibility needs within booths
Physical access is only part of the picture. An estimated 15–20% of the global population is neurodivergent, meaning a significant share of your attendees process sensory information differently. That number means sensory and cognitive design is not a niche concern. It is a mainstream event planning priority.
Sensory-friendly design features
Loud music, flashing lights, and dense crowds create real barriers for visitors with autism, ADHD, anxiety disorders, or sensory processing differences. Designating a low-sensory zone within or adjacent to your booth gives these visitors a place to engage at their own pace. Adjustable lighting, lower volume audio, and reduced visual clutter all reduce sensory load without diminishing your booth’s appeal for other attendees.
Clear communication and signage
High-contrast signage and captioning improve accessibility and clarity for all attendees, not just those with disabilities. Simple, scannable messaging with pictograms reduces cognitive load for visitors who process text more slowly or who speak English as a second language. Every audio-visual display should include captions or a transcript option. This benefits visitors with hearing loss and anyone standing in a noisy trade show environment.
- Use black text on white or yellow backgrounds for maximum contrast.
- Limit each sign to one key message.
- Provide a printed or digital summary of your booth’s main offering for visitors who prefer to read rather than listen.
- Schedule at least one low-sensory period during the event if your format allows it.
Pro Tip: Replace autoplay video with a clearly labeled play button. Unexpected audio startles many visitors and drives them away before they engage with your content.
What operational practices enhance booth accessibility beyond physical design?
Design sets the stage, but your staff delivers the experience. Accessibility extends beyond physical design to staff behavior and communication tactics, which must be adapted to serve neurodivergent and disabled visitors effectively. A perfectly measured booth can still feel unwelcoming if staff behavior creates barriers.
Here are the core operational practices every booth team should follow:
- Train staff on respectful communication. Speak directly to the visitor with a disability, not to a companion. Use plain language and avoid jargon. Ask before offering physical assistance.
- Offer multiple engagement formats. QR codes and low-pressure interaction zones let visitors gather information at their own pace without feeling cornered by a sales pitch.
- Know your service animal policy. Service animals are permitted in all public accommodations under the ADA. Staff should never question a visitor’s need for a service animal or ask the animal to demonstrate its task.
- Avoid aggressive outreach tactics. Calling out to passing visitors, blocking the aisle, or creating high-pressure interactions are especially problematic for neurodivergent attendees and can constitute an accessibility barrier.
- Keep transaction areas fully accessible. Card readers, sign-in tablets, and giveaway stations must all be reachable from a seated position.
Pro Tip: Brief your team before every event with a five-minute accessibility refresher. Consistent behavior across all staff members matters far more than a single well-trained lead.
How to assess and audit your booth for accessibility compliance and usability
Auditing your booth before the event opens is the single most effective way to catch problems before they affect guests. Booth-level physical barriers are often overlooked when venues are assumed compliant. Organizers should audit from the user perspective, including wheelchair and seated viewer levels.
Pre-event audit checklist
Use this checklist during your setup walkthrough:
- Approach route: Is the path from the main entrance to your booth free of obstacles, uneven surfaces, and tight turns?
- Aisle width: Measure at the narrowest point. Does it meet the 36-inch minimum?
- Turning space: Is there a clear 60-inch circle at each interactive station?
- Counter height: Is at least one section at or below 34 inches?
- Flooring: Is the surface firm, stable, and free of loose edges or raised thresholds?
- Cable management: Are all cables secured flat or routed overhead?
- Signage: Is text high-contrast and readable from a seated position?
- Audio-visual: Do all videos include captions?
- Staff positioning: Are team members standing clear of the accessible path?
Getting outside perspective
Feedback from people with disabilities or certified accessibility consultants catches issues that checklists miss. If your budget allows, invite a wheelchair user or someone with a visual impairment to walk through your setup before doors open. Their feedback is worth more than any written guide. You can also review venue photo booth preparation steps to build accessibility checks into your standard setup process.
Under the ADA, booths are considered public accommodations, and exhibitors bear the legal responsibility to ensure all services and interactions are accessible. That responsibility does not transfer to the venue. You own it.
Pro Tip: Take photos of your booth from a seated height during setup. Review them on your phone before the event opens. A camera at chair level reveals exactly what a wheelchair user sees.
Key Takeaways
Accessible booth design requires meeting ADA physical standards, addressing sensory and cognitive needs, training staff on inclusive behavior, and auditing the full setup before guests arrive.
| Point | Details |
|---|---|
| Physical standards are non-negotiable | Aisles must be 36 inches wide and counters no higher than 34 inches to meet ADA requirements. |
| Sensory design serves everyone | Low-sensory zones, high-contrast signage, and captions improve the experience for all attendees. |
| Staff behavior is part of accessibility | Training staff on respectful communication and low-pressure interaction is as important as physical design. |
| Audit from a seated perspective | Reviewing your booth from wheelchair height reveals barriers that standing walkthroughs consistently miss. |
| Legal responsibility stays with the exhibitor | ADA compliance at the booth level is the exhibitor’s obligation, even when the venue itself is compliant. |
Our take on what accessible booth design really means
We have set up photo booths at hundreds of events across San Antonio, and the thing that surprises most organizers is how often accessibility gets treated as a last-minute checklist item. It shows up in the planning conversation about two days before the event, right after the tablecloth color and the balloon arch. That timing is too late to fix anything meaningful.
What we have seen work is treating accessibility as a design constraint from day one, the same way you treat power access or floor space. When you build around it early, the solutions are simple and inexpensive. When you bolt them on at the end, they look like afterthoughts and often fail anyway.
The concept that sticks with us most is the curb-cut effect. Curb cuts were designed for wheelchair users, but they ended up benefiting cyclists, delivery workers, parents with strollers, and anyone rolling luggage. The same thing happens at booths. A lower counter is easier for children and shorter adults. Clear signage helps everyone in a noisy room. A low-pressure interaction zone is a relief for introverts, not just neurodivergent visitors. Accessible design is just good design.
The one area we think gets consistently underestimated is staff behavior. You can have a perfectly measured, beautifully lit, fully compliant booth and still create a terrible experience if your team blocks the accessible path, talks over a visitor’s companion, or uses aggressive outreach tactics. The physical setup opens the door. Your people decide whether guests actually feel welcome.
Start the accessibility conversation at your first planning meeting. Build it into your photo booth setup checklist alongside power, lighting, and layout. Your guests will notice. And the ones who benefit most will remember your event for all the right reasons.
— RMD
Rmdphotobooths makes inclusive events easy
Every guest deserves a moment that makes them smile, and that starts with a booth experience designed to welcome everyone.

At Rmdphotobooths, we design our setups with guest comfort and access in mind, from open layouts that accommodate mobility aids to touch-friendly interfaces that work for visitors of all abilities. Our team brings that same care to every wedding, corporate event, and celebration we serve across San Antonio. With over 1,000 five-star reviews and a lineup that includes traditional booths, 360° experiences, and AI-powered options, we are ready to help you create memories every guest can be part of. See our full experiences or book your event today.
FAQ
What is the minimum aisle width for an accessible event booth?
The ADA requires booth aisles to be at least 36 inches wide to allow wheelchair passage. Interactive stations also need a 60-inch diameter clear floor space for wheelchair turning.
What counter height is required for booth accessibility?
Accessible counters must be no higher than 34 inches to accommodate visitors using wheelchairs. At least one section of your booth counter should meet this height requirement.
Are exhibitors legally responsible for booth accessibility?
Yes. Under the ADA, booths are considered public accommodations, and exhibitors bear the legal responsibility for ensuring all services and interactions are accessible, regardless of venue compliance.
How do I make my booth sensory-friendly for neurodivergent visitors?
Designate a low-sensory zone, use adjustable lighting, reduce autoplay audio, and provide high-contrast signage with simple messaging. These features benefit neurodivergent visitors and improve clarity for all attendees.
What is the best way to audit a booth for accessibility before an event?
Walk through the setup from a seated position and check aisle width, counter height, flooring stability, cable management, and signage contrast. Getting feedback from a wheelchair user or accessibility consultant before doors open catches issues that standard walkthroughs miss.
