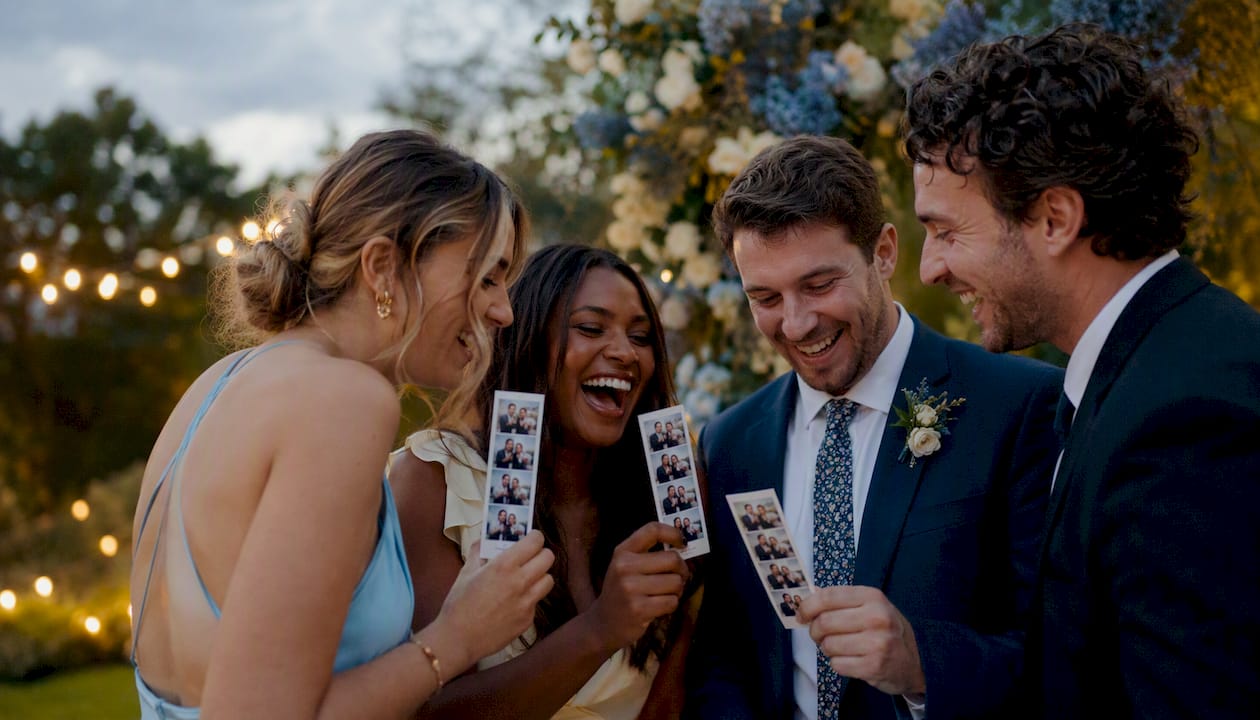
A custom photo template is a reusable output blueprint that places captured images into fixed placeholders, layered artwork, and production-ready export settings — giving every print or digital share a consistent, branded look, without rebuilding the design from scratch each time.
Here’s what every custom photo template contains:
- Canvas size and orientation — the exact pixel dimensions and aspect ratio for the output (print or digital)
- Placeholders (capture slots) — the fixed zones where guest photos land, supporting single or multi-capture layouts
- Layers — background art, photo placeholders, overlays, text, logos, QR codes, and AI effect layers stacked in a specific order
- Masks and image modes — controls that determine how a photo fits (fill, fit, or crop) within its placeholder
- Variables and dynamic fields — text, color, or image values that swap in at render time for personalization
- Export settings — file format, resolution, bleed, and color mode for production or digital delivery
Tools like Photoroom, Fiesta / Design Studio by Photobooth Supply Co., and Rmdphotobooths all rely on this same underlying structure to deliver polished, repeatable photo outputs at events.
Key Takeaways
A custom photo template is a reusable output blueprint that combines placeholders, layered artwork, and export settings to deliver consistent, branded prints or digital shares at every event.
| Point | Details |
|---|---|
| Definition | A custom photo template places captured images into fixed placeholders within a layered, production-ready design framework. |
| Core components | Every template includes canvas size, capture slots, background, overlay, text, masks, variables, and export settings. |
| File requirements | Print templates need 300 DPI, correct bleed margins, and a separate production file distinct from the screen preview. |
| Creation workflow | Build in order: canvas → background → placeholders → masks → overlays/text → variables → test render → version and save. |
| Rmdphotobooths | Rmdphotobooths designs, proofs, and activates branded templates for San Antonio events, backed by over 1,000 five-star reviews. |
Table of Contents
- What does “custom photo template” actually mean?
- Core components every custom photo template contains
- What file formats and export settings does your template need?
- How to create a custom photo template step by step
- How to apply templates to single images and batch workflows
- Where custom photo templates get used in the real world
- How professionals use templates at events
- Design best practices and pitfalls to avoid
- Which tools help you create and manage custom photo templates?
- Pre-export checklist before you hand templates to production
- Our take on templates at Rmdphotobooths
- Ready to bring your event vision to life with Rmdphotobooths?
- Sources
What does “custom photo template” actually mean?
A template, in the broadest design sense, is a pre-built framework you fill in rather than build from zero. In photo and print workflows, the industry term is photo template or output template. The word “custom” signals that the framework has been tailored — to a brand, an event theme, a specific print size, or a client’s logo — rather than pulled from a generic stock library.
Customily’s documentation captures this distinction well: a template defines both the print file (the production file sent to a printer or rendered at full resolution) and the preview or mockup the viewer sees on screen. Keeping those two outputs separate lets you fine-tune production accuracy and visual appeal independently. A preview can carry decorative elements that would never survive a physical trim line; the print file carries bleed, crop marks, and CMYK-safe colors.
Three quick examples show how this plays out in practice:
- Event print strip — a 2×6 layout with multiple capture slots, a branded overlay, and a logo at the bottom
- Single social post — a square canvas with one photo placeholder, a color-wash overlay, and a dynamic text variable for the event hashtag
- Multi-capture booth layout — a 4×6 print with a few photo slots, a decorative frame, and a QR code linking to an online gallery
Pro Tip: Choose a custom template over a one-off ad-hoc design any time you need to produce more than a handful of identical-format outputs. The upfront setup pays back immediately at volume — and it keeps every print looking like it came from the same shoot.
Core components every custom photo template contains
Activation King’s documentation spells it out clearly: a template’s canvas size, capture slots, and layer types together determine how many frames a session captures and what the final output contains. Understanding each component helps you build templates that actually work in production.
Placeholders and capture slots are the heart of any photo template. A single-capture template holds one photo zone; a multi-capture template holds multiple captures. Design Studio (Fiesta) by Photobooth Supply Co. defines a Photo Template as a multi-capture design that can hold multiple photo captures, typically used for printed strips or multi-frame layouts.
Layers work exactly like layers in Photoshop or Figma: each sits above or below the others, and order matters.
- Background — sits behind everything; must match the template’s exact canvas dimensions
- Photo/placeholder layers — the slots where captured images render
- Overlays — PNG files with transparency placed over the entire template to add frames, textures, or decorative art
- Text layers — event names, dates, hashtags, or dynamic variable fields
- Logo and QR code layers — brand assets placed above photo layers so they stay visible regardless of the guest photo
- AI effect layers — watercolor, sketch, or cartoonize effects that require specific transparent mask prep
Masks and image modes control how a guest photo fills its placeholder. “Fill” crops the image to cover the slot completely; “fit” letterboxes it to show the full frame. Stroke or outline features add a border around the photo layer and render in both the live preview and the final production file.
Variables and dynamic fields are what make a template truly programmable. Pictify’s documentation explains that templates use variables — text, image, color, number, and boolean types — that get replaced with real values at render time. A variable like {{event_name}} swaps in “Smith Wedding 2026” automatically, so one template serves dozens of events without manual edits.
Using a ready-made design framework to save time on layout and styling means you create the structure once and generate variations by swapping variables or replacing placeholders — a workflow that pays off especially at high-volume events.
Pro Tip: Name your variables descriptively from day one. “photo_slot_1” tells a renderer nothing; “guest_portrait_top_left” tells it everything. Descriptive names also make troubleshooting batch runs much faster.
What file formats and export settings does your template need?
Getting the file specs right before you export prevents the most common production disasters: blurry prints, clipped edges, and color shifts between screen and paper.
Common output sizes for photo booth prints:
- 4×6 inches (landscape or portrait) — a common single-print format
- 2×6 inches — the classic photo strip, usually holding multiple captures
- 5×7 inches — popular for keepsake prints and framed gifts
- 6×4 inches — landscape equivalent of the 4×6
Each size carries a specific pixel dimension at 300 DPI (the standard for quality prints).
Supported file formats and when to use each:
| Format | Best Use | Key Export Note |
|---|---|---|
| PNG | Overlays, previews, transparency layers | Lossless; preserves alpha channel |
| JPEG / JPG | Final print files, gallery shares | Compress at high quality for print |
| Print-ready production files | Embeds vector text; supports bleed marks | |
| WebP | Web previews, social shares | Smaller file size than PNG at similar quality |
| GIF | Animated booth outputs, social loops | Limited color palette; avoid for print |
Resolution and upload minimums: Production print files need at least 300 DPI. For upload placeholders, Customix’s documentation recommends setting a minimum image width and height on every placeholder to enforce upload quality and prevent low-resolution guest photos from degrading the final print.
Bleed and safe zones: Physical prints need a bleed margin (typically 0.125 inches on each side) so the design extends past the trim line. Keep logos, text, and critical art at least 0.125 inches inside the trim edge. Social graphics and digital previews need no bleed — but they do need consistent padding so content doesn’t feel cramped on different screen sizes.
Design Studio backgrounds must match the required template dimensions exactly; the editor limits background resizing to prevent accidental aspect ratio mismatches.
How to create a custom photo template step by step
Follow this sequence in any design tool or template manager:
-
Choose your output size and orientation. Decide whether you’re building for print (4×6, 2×6 strip) or digital (1080×1080 social, 1200×630 OG image). Set the canvas to the exact pixel dimensions at 300 DPI for print or 72–96 DPI for screen-only outputs.
-
Upload or create your background. The background layer sits behind everything. It must match the canvas dimensions exactly. Use a high-resolution image or a flat color/gradient. Avoid copyrighted artwork unless you hold the rights.
-
Add placeholder layers (capture slots). Place one placeholder per photo capture your session will use. Position and size each slot deliberately — a 2×6 strip with four captures needs evenly spaced, proportional slots.
-
Configure masks and image modes. Set each placeholder to “fill” or “fit” depending on whether you want full-bleed cropping or full-frame visibility. Add stroke outlines if the design calls for a border around guest photos.
-
Add branding overlays, text, and logos. Stack these above the photo layers so they remain visible over any guest image. Overlays must be PNG files with transparency. Text layers should use embedded or outlined fonts to prevent rendering failures on other machines.
-
Set variable names, defaults, and validation. For any dynamic field, assign a descriptive variable name, a default value (so the template renders even without input), and input validation rules. Pictify’s best practices recommend versioning templates with names like
wedding-strip-v2orcorporate-4x6-2026to avoid confusion across events. -
Configure your preview and production files separately. The preview file can include visual-only elements (watermarks, decorative overlays) that won’t appear in the final print. The production file carries bleed, full resolution, and print-safe color settings. Customily’s documentation confirms that separating these two outputs lets you optimize each independently.
-
Run a test render and save. Apply a sample photo to every placeholder, check layer order, verify text legibility, and export a test print before calling the template final.
Pro Tip: Version every template with a date code or event identifier in the filename — smith-wedding-4x6-v1-2026.psd beats template-final-FINAL.psd every time. You’ll thank yourself when a client requests a reprint six months later.
How to apply templates to single images and batch workflows
Single-image application is straightforward. Open the template in your tool, drop the guest photo into the placeholder, choose your image mode (fill or fit), and apply any filters — background removal, face cutout, sketch, or cartoonize effects. The live preview reflects exactly what the production file will render, including any stroke outlines or AI effects. Confirm the output looks right, then export.
Batch workflows are where templates earn their keep at events. Instead of applying a template one photo at a time, batch mode maps a folder of captured images to the correct placeholder slots and renders all outputs in sequence. A few practical notes:
- Confirm placeholder naming matches the file naming convention your booth software uses (e.g., capture_1, capture_2)
- Set minimum resolution enforcement before the batch runs so low-quality uploads are flagged rather than silently degraded
- Run a five-image test batch before a full event render to catch layer order or cropping issues early
Preview vs. production in live booth software: When you activate a template for an event in photobooth software, the live preview guests see on screen is generated from the preview file. The production file renders separately for printing or download. Keep these distinct — a preview can carry a subtle watermark or lower-resolution overlay; the print file must be full-resolution and bleed-ready.
Quick troubleshooting for common apply issues:
- Cropping looks wrong — check image mode (fill vs. fit) and placeholder aspect ratio
- Missing layers in output — verify layer visibility is toggled on and no layer is masked out by a conflicting rule
- Resolution warning on export — the guest photo’s pixel dimensions are below the placeholder’s minimum; re-shoot or request a higher-resolution upload
- Text not rendering — font is not embedded or outlined; replace with an embedded version
For photo booth etiquette tips that help guests pose correctly and avoid background clutter, a little pre-event guidance goes a long way toward cleaner placeholder fills.
Where custom photo templates get used in the real world
Templates show up across more contexts than most people expect. Here’s where they deliver the most value:
Event and photo booth prints:
- Multi-capture strips (2×6, three or four frames) for weddings, quinceañeras, and birthday parties
- Branded 4×6 prints for corporate events with a company logo and event date baked into the overlay
- Keepsake prints for wedding guests — a single portrait in a decorative frame with the couple’s names and date
Marketing and social graphics:
- Open Graph (OG) images for social media shares, where a dynamic variable swaps in the post title or event name
- Branded social share graphics that guests receive digitally after a booth session, ready to post
Ecommerce and personalized merchandise:
- Posters and framed prints where a customer uploads their own photo into a fixed layout
- Custom gifts — mugs, canvases, keychains — where the template holds the product mockup and the customer’s image fills the placeholder
For a gallery of real-world personalized booth template examples, you can see how branded overlays, multi-capture layouts, and dynamic text fields come together in finished prints.
Pro Tip: For social share graphics, pair your template with a creative photo animation step to turn a static booth print into a short animated loop — guests share animated content far more often than static images.
How professionals use templates at events
The separation between production files and presentation files is the single most important habit pro designers develop. A production file carries bleed, full-resolution layers, and print-safe color settings. A presentation file is optimized for live preview or gallery display — it can include watermarks, lower-resolution overlays, or visual-only decorations that would never survive a physical trim. Customily’s documentation confirms that keeping these two files distinct prevents the most common mismatch: a preview that looks great on screen but produces a blurry or clipped print.
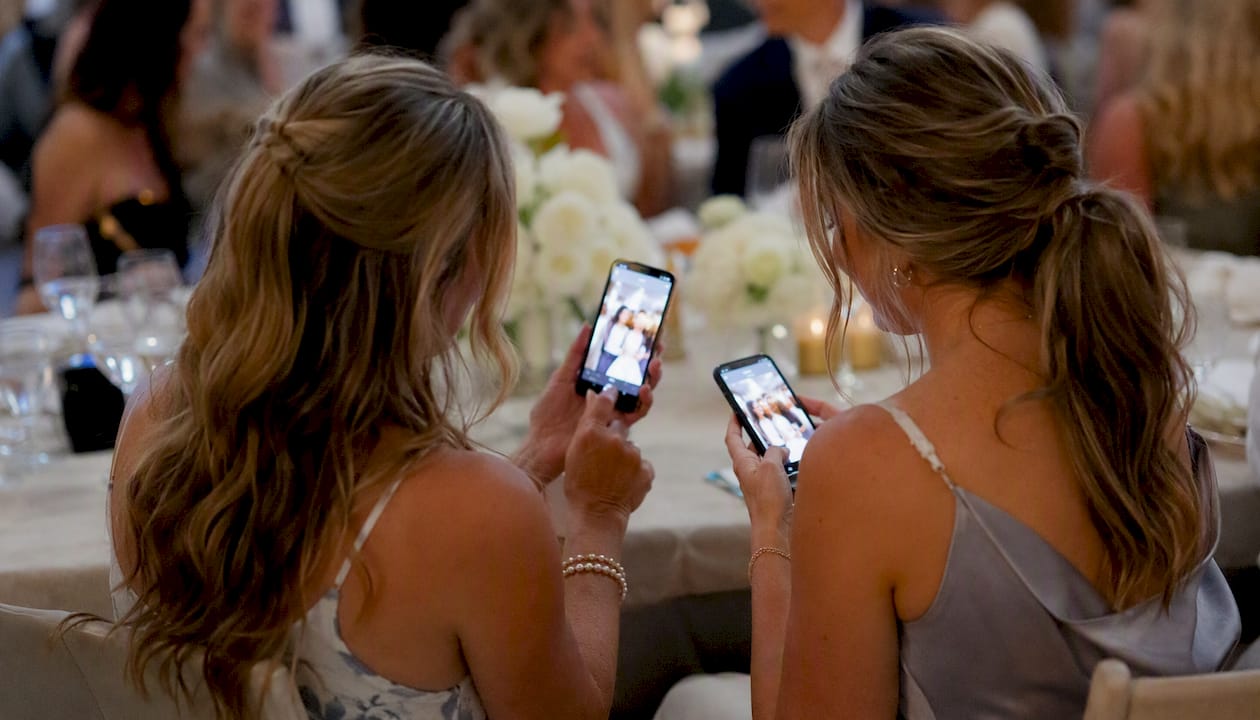
Layer order discipline matters just as much. Logos and text must sit above photo placeholder layers, or a guest’s image will cover them. Test every template with a high-contrast photo (a bright white background, a very dark portrait) to confirm text stays legible across the full range of guest images.
Throughput tradeoff: Activation King’s documentation notes that multi-frame templates increase time per session while single-frame templates speed guest throughput. At a high-volume corporate event with 300 guests, a single-capture template keeps the line moving. At a wedding where guests want a keepsake strip, a four-capture layout is worth the extra session time.
Event-day checklist pros follow:
- Print a physical proof of every template before guests arrive
- Confirm lighting matches the conditions the template was designed for (a dark overlay looks great in a bright room; it disappears in dim lighting)
- Verify sample prints at the actual printer and paper stock being used
- Get client approval on a physical proof, not just a screen preview
- Keep a backup copy of every template file on a local drive, not only in the cloud
Pro Tip: AI effect layers (watercolor, sketch, cartoonize) require transparent mask prep and face landmark data. Build and test these templates at least 48 hours before the event — they have more failure points than standard overlay templates.
Design best practices and pitfalls to avoid
Best practices:
- Enforce minimum upload resolution on every placeholder — 300 DPI at the output size is the floor for print
- Test a physical print before the event, not just a screen preview
- Version every template with a clear naming convention
- Name variables descriptively so batch renders are easy to audit
- Preview templates in the actual lighting conditions of the event venue
Common pitfalls:
- Using a low-resolution background image that looks fine on screen but prints blurry
- Setting incorrect bleed margins (or none at all) on print templates
- Placing logos or text layers below photo placeholder layers, where guest images cover them
- Failing to set required upload fields, which allows blank or broken placeholders to slip through to print
- Mismatching the preview aspect ratio and the print canvas size, which causes cropping surprises at production
For backdrop choices that complement your template design, photo booth backdrop guidance covers how background colors and textures interact with overlay layers in the final print.
Which tools help you create and manage custom photo templates?
The right tool depends on whether you’re designing for live events, ecommerce personalization, or programmatic rendering at scale.
Design editors (Photoshop, Illustrator, Figma) give you the most control over layer order, typography, and color. They’re the right choice for building the source files that feed into template managers or print workflows. They don’t handle batch rendering or live booth activation natively.
Photo booth template managers like Fiesta / Design Studio by Photobooth Supply Co. are purpose-built for live event use. They handle multi-capture layouts, background/overlay separation, and direct integration with booth hardware. Design Studio enforces that backgrounds match required template dimensions and that overlays are correctly sized PNG files with transparency.
Online template services and APIs:
- Photoroom — strong for product image templates and background removal; templates here emphasize the separation between production and preview files, and the platform supports batch rendering for ecommerce workflows.
- Customily — built for ecommerce personalization; templates connect a product base to a design, producing both a print file and a preview, with support for image upload placeholders and variable fields.
- Pictify — API-driven rendering platform; templates use typed variables (text, image, color, number, boolean) and support programmatic generation of social graphics, OG images, and marketing assets at scale.
- Customix — focuses on customer-facing personalization; supports image upload placeholders with minimum dimension enforcement, filters (background removal, face cutout, sketch, cartoonize), and stroke outlines that render consistently in preview and production.
Capabilities to look for in any template tool:
- Placeholder masks with fill/fit image modes
- Batch apply with placeholder-to-file mapping
- Minimum resolution enforcement on upload fields
- Separate preview and production file outputs
- Variable support with default values and input validation
- Version control or naming conventions for template files
Pre-export checklist before you hand templates to production
Run through these checks before any template goes to print or live event use:
- Confirm canvas size and bleed. Verify the canvas matches the intended print size at 300 DPI and includes the correct bleed margin (typically 0.125 inches per side). A size mismatch at this stage causes every print to come back wrong.
- Test a physical sample print. Screen previews lie. Print one copy at the actual printer, paper stock, and size before approving the template for production.
- Verify minimum upload resolutions. Check that every placeholder has a minimum width and height set. A placeholder without a minimum will accept any image, including ones too small to print cleanly.
- Check layer order. Confirm logos, text, and overlays sit above photo placeholder layers. Open the layers panel and scroll through every layer before exporting.
- Run a batch preview. Apply five to ten test images through the batch workflow and review every output. Look for cropping anomalies, missing layers, and text rendering failures.
- Confirm variable defaults. Every variable should have a fallback default so the template renders correctly even when a value isn’t supplied.
Pro Tip: For complex templates or high-volume events, contact a professional service like Rmdphotobooths for on-site proofing and branding assistance. Getting a physical proof approved by the client before the event starts is the single step most DIY template builders skip — and the one that causes the most last-minute panic.
Our take on templates at Rmdphotobooths
We’ve built and activated templates across hundreds of events in San Antonio — weddings, corporate galas, quinceañeras, and everything in between. What we’ve learned is that the template is never just a design decision. It’s an operational one. A well-built template means guests get their prints in seconds, every print looks like it belongs to the same event, and our team spends zero time fixing layout errors on the floor.
The details that matter most in practice: layer order discipline, physical proof approval before the event starts, and keeping production files completely separate from preview files. We’ve seen gorgeous-looking screen previews produce washed-out prints because the production file was never set up correctly. That’s the gap between a template that looks good and one that actually works.
Our design templates gallery shows the kinds of branded layouts we’ve created for real events — from classic 2×6 strips to full 4×6 keepsake prints with custom overlays. Over 1,000 five-star reviews reflect what happens when the template, the booth, and the on-site team all work together. For a closer look at how personalized photo booth experiences come together from template design to finished print, that page walks through the full picture.
Ready to bring your event vision to life with Rmdphotobooths?
Custom photo templates are only as good as the setup behind them. For complex multi-capture layouts, branded corporate prints, or high-volume events where every guest deserves a perfect keepsake, professional help prevents the production errors that DIY setups miss.
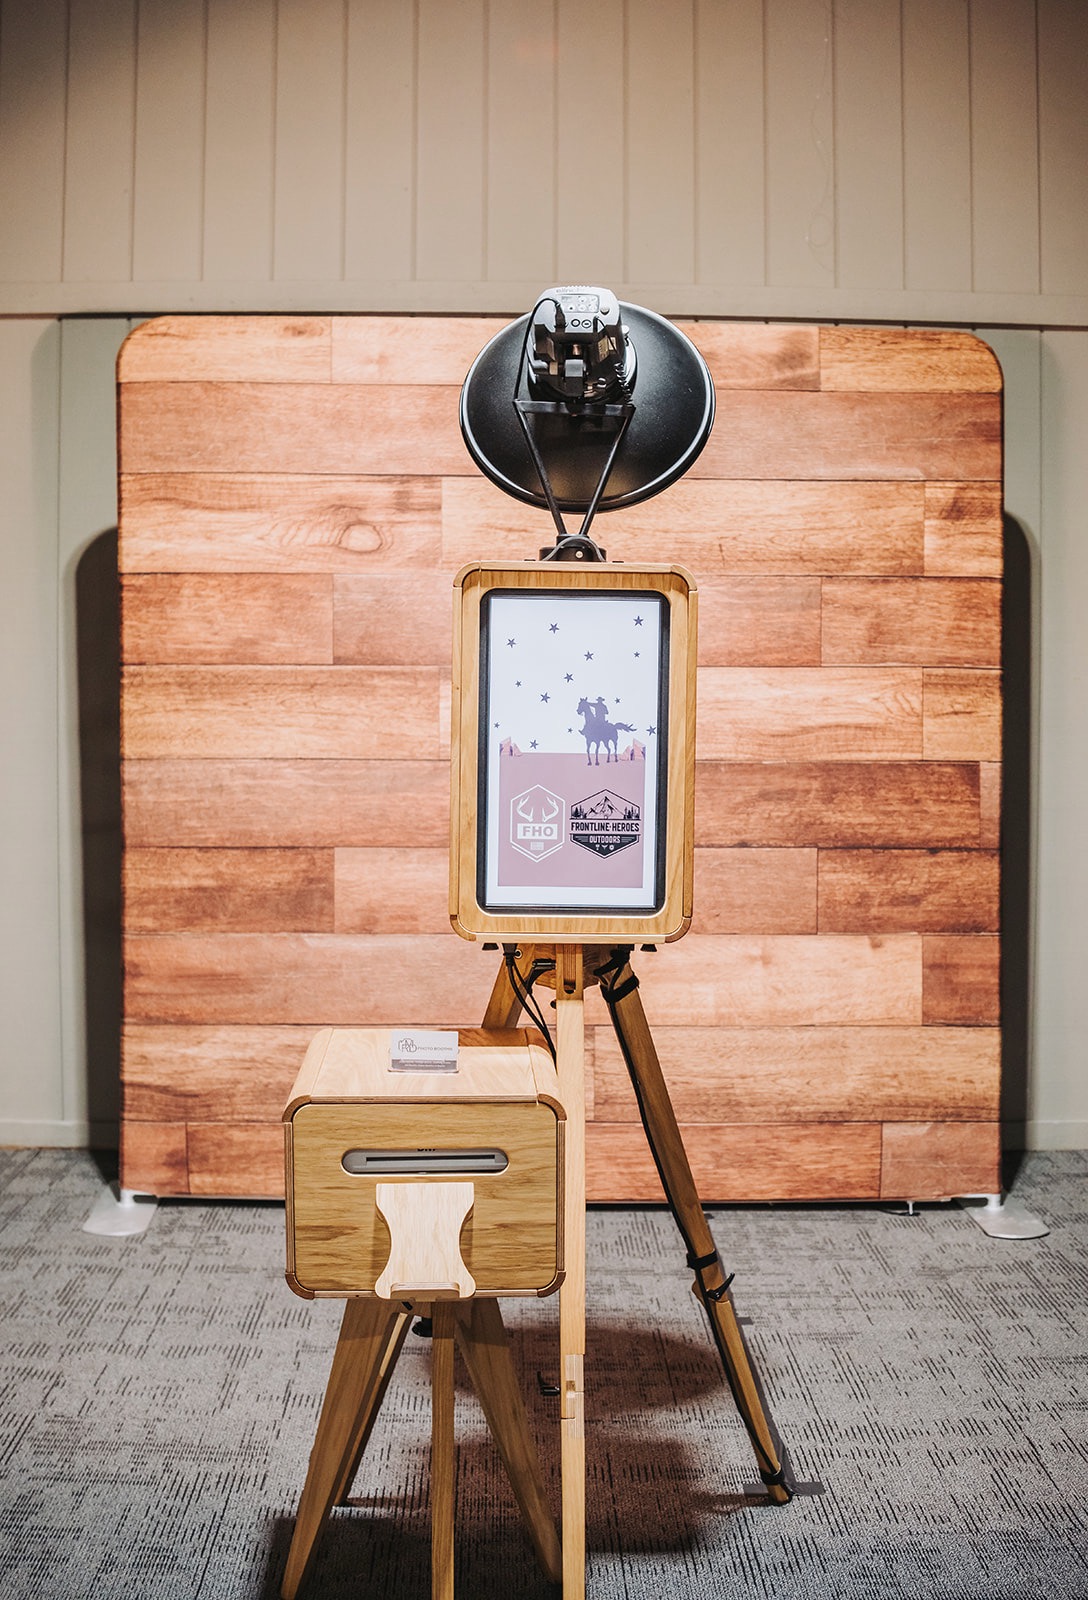
Rmdphotobooths handles template design, on-site proofing, and live event activation for San Antonio events — so you get prints that look exactly the way you imagined, without the last-minute scramble. Our team brings the booth, the branded template, and the expertise to make every output something guests will treasure. Browse our event experiences to find the booth type that fits your event, then book your date before it fills up.
Note: All images used in our templates and on our site are real photos from actual Rmdphotobooths events — never AI-generated stock imagery.
Sources
- What is a template? | Customily Help Center
- How To Create A Photo Template – Photobooth Supply Co
- Photo upload personalization · Customix Help
- Templates · Pictify documentation
- What Is a Template, and What Is It For? · AI Photo Booth Pro – Activation King