TL;DR:
- A photo booth run of show is a detailed, time-stamped plan that ensures smooth setup, operation, and breakdown during an event. Proper planning, strategic placement, and disciplined execution help prevent disruptions, delays, or technical issues. Following a comprehensive schedule maximizes guest engagement and protects equipment, resulting in a successful activation.
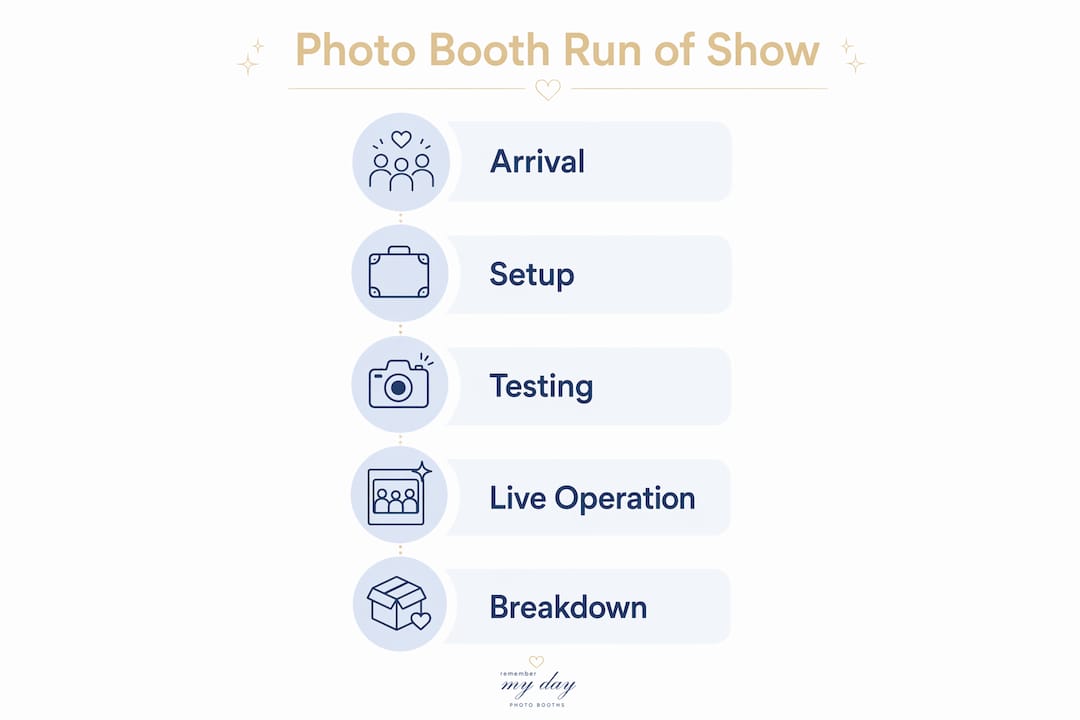
A run of show is a minute-by-minute schedule that maps every action from booth arrival to final breakdown, keeping your photo booth activation on track no matter what the event throws at you. Without one, even the most beautiful setup can fall apart when the DJ starts early, the caterer needs your power outlet, or a queue of 40 guests forms with no one directing traffic. The event day photo booth run of show is the single document that prevents those moments from becoming disasters. This guide walks you through every phase, from gear and staffing to live operations and teardown, with real throughput numbers and timing benchmarks you can use right now.
What is an event day photo booth run of show?
A run of show, in the context of event production, is a structured timeline document that lists every task, cue, and transition in chronological order. Event planners use run of show templates for everything from keynote speeches to catering service windows. For photo booths specifically, it covers arrival time, setup sequence, testing windows, activation hours, queue management cues, and breakdown order.
The photo booth timeline is not the same as a general event schedule. It is a separate, booth-specific document your operator holds and follows independently. Think of it as the stage manager’s script for your photo booth. Every team member knows their role, every task has a time stamp, and nothing is left to improvisation.
The value of this document shows up most clearly during high-pressure moments. When the event coordinator changes the cocktail hour start time by 20 minutes, your run of show tells you exactly which tasks to compress and which to protect.
What equipment, staff, and setup do you need?
Getting your photo booth ready on event day starts with knowing exactly what you are bringing and who is doing what. Missing one cable or arriving with one fewer staff member than planned can delay your entire activation.
Core equipment checklist
Every professional photo booth setup requires these components:
- Camera and lens: A DSLR or mirrorless camera with a portrait lens (typically 50mm or 85mm equivalent)
- Lighting: Two or more studio-grade strobes or LED panels. Controlled artificial lighting is the recommended standard because venue ambient light is unpredictable and often too dim for sharp, shareable photos
- Backdrop: Branded, themed, or neutral backdrop with a sturdy stand and sandbags for stability
- Printer: A dye-sublimation printer with enough media loaded for your expected guest count, plus 20% extra
- Software: Booth software such as Darkroom Booth, Simple Booth HALO, or Snappic, pre-configured with your print template and digital sharing settings
- Power and connectivity: A dedicated power strip, extension cords, and confirmed Wi-Fi credentials or a mobile hotspot for digital delivery
Staffing roles
| Role | Responsibility |
|---|---|
| Lead Operator | Manages camera, software, and technical issues throughout the event |
| Booth Attendant | Greets guests, directs posing, manages the queue, and hands out prints |
| Assistant (optional) | Monitors printer supplies, tidies props, and supports the attendant during peak traffic |
A three-person crew is the standard for high-volume events. A solo operator can manage smaller gatherings of under 100 guests, but anything larger benefits from at least two people on the floor.
Pro Tip: Confirm power outlet locations and load capacity with your venue contact at least 48 hours before the event. Printers and lighting rigs draw significant power, and a tripped breaker mid-event is one of the most avoidable problems in photo booth management.
How do you build a photo booth setup timeline?
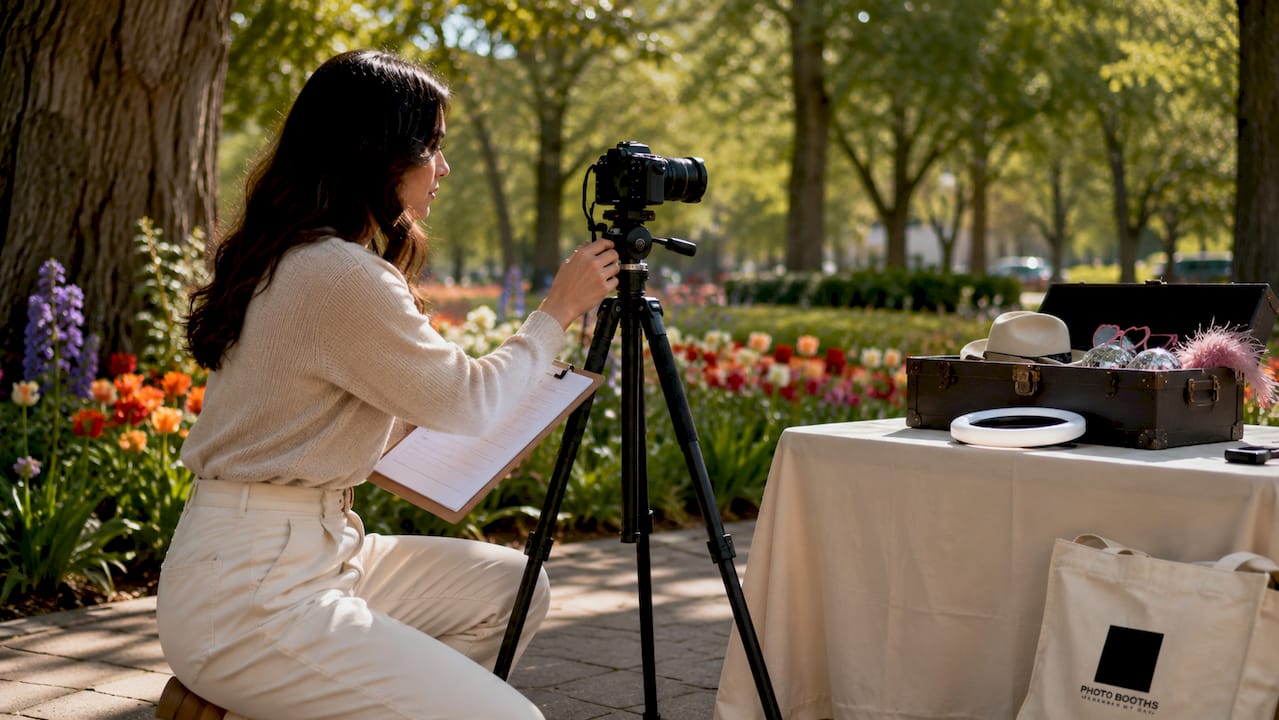
The setup window is where most photo booth problems are born. Rushing through assembly to meet a tight arrival window means skipping tests, and skipped tests mean surprises in front of guests.
Step-by-step setup sequence
Follow this order every time, regardless of event type:
- Arrive and assess the space. Walk the venue, confirm your designated footprint, and identify power sources. Professional photo booth setups require 30–90 minutes of assembly time before the event, with the booth fully operational at least 15 minutes before doors open.
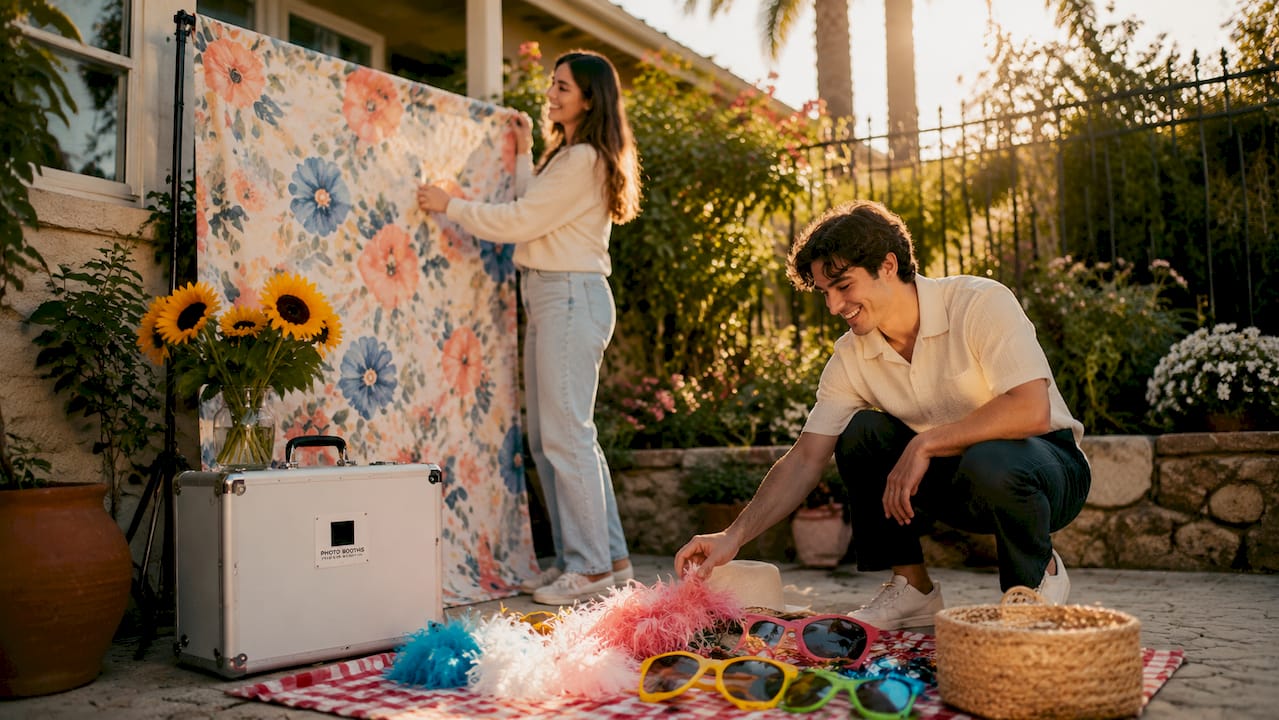
- Build the backdrop first. Assemble the stand, attach the backdrop, and secure it with sandbags or weights. This is your largest physical element and sets the visual anchor for everything else.
- Position and level the camera. Mount the camera on its stand or enclosure at the correct height for your expected guest mix. Adults-only events typically center at eye level; family events need a lower position.
- Set up and calibrate lighting. Place your strobes or LED panels at 45-degree angles to the subject. Run full pre-event tests on camera, printer, lighting, and software at least one hour before guests arrive to catch color calibration issues, paper jams, or syncing errors.
- Connect and configure software. Open your booth software, load the print template, verify the digital sharing workflow, and run three to five test captures. Check that prints match your on-screen preview exactly.
- Load the printer and run a test print. Confirm colors are accurate, paper feeds cleanly, and the cut is clean. Print at least two test strips before declaring the booth ready.
- Arrange props and signage. Set out your prop table and place guest-facing signage near the booth entrance. Clear, friendly instructions reduce confusion and speed up throughput from the first guest onward.
- Final walkthrough. Have your attendant stand in the booth as a test subject. Confirm framing, lighting, and print quality one final time before doors open.
Pro Tip: For multi-day activations, schedule a dedicated install day at least two hours before the first event day begins. Setting up on a separate day eliminates the pressure of working around arriving guests and gives your team time to solve any technical issues without an audience.
How do you keep the booth running smoothly during the event?
Live event operation is where your photo booth schedule planning pays off. A well-run booth feels effortless to guests. Behind that experience is a crew executing a tight workflow with clear responsibilities.
Throughput and session management
Speed matters more than most planners realize. A well-managed three-person crew can handle up to 180 captures and prints per hour, roughly one guest session every 20 seconds. That number tells you exactly how long your queue will take to clear. If you have 60 guests waiting, expect a 20-minute wait at peak efficiency. Share that math with your event coordinator so they can manage expectations.
Session duration is your primary throughput lever. Train your attendant to keep groups moving with warm, enthusiastic direction rather than letting guests linger after their shots. A friendly “Your prints are coming out now, and the gallery link is on its way to your phone!” is all it takes to move the line forward with a smile.
Booth placement strategy
Placement in a high-visibility, high-traffic area is the single biggest driver of activation success. Visibility drives engagement more than any prop selection or print design. Position your booth where guests naturally gather: near the cocktail area, along the main path between the bar and the dance floor, or adjacent to the entrance for early arrivals. Avoid isolated corners, narrow hallways, or spots directly beside loud speakers.
For optimal booth placement at San Antonio venues, consider sightlines from the main seating area. Guests who can see the booth from their table are far more likely to visit it.
Live operation checkpoints
Run through these checks throughout the event:
- Every 30 minutes: A dedicated attendant should tidy props, replenish printer supplies, and check equipment status to keep the booth guest-ready at all times
- At the halfway point: Confirm remaining print media and swap in a fresh cartridge if you are below 25% capacity
- Queue monitoring: If the line exceeds 10 guests, call in your assistant or alert the event coordinator to make an announcement directing guests to the booth
- Last call timing: Start your first last-call announcement 20–30 minutes before closing, then issue a final 10-minute warning to clear the queue without cutting anyone off abruptly
Pro Tip: Ask the DJ or MC to make a live announcement about the photo booth at the 90-minute mark of the event. A 15-second shoutout from the stage drives more traffic than any sign you can put up. Coordinate this cue in your run of show template so it happens automatically.
How do you shut down the booth without disrupting the event?
Breakdown timing is one of the most overlooked parts of a photo booth event day checklist. A poorly timed teardown pulls guests out of the moment and leaves an awkward gap in the room.
Breakdown sequence
Follow this order to close out cleanly:
- Wait for the right moment. Avoid scheduling breakdown during high-energy event moments like the last dance, sparkler exit, or final toast. Let those moments land before you touch a single piece of equipment.
- Close the queue and communicate. Announce that the booth is closing, thank guests warmly, and direct any remaining guests to the digital gallery link. Never just shut down without a word.
- Remove props and backdrop first. These are the lightest, least technical elements. Pack them into their cases before touching any electronics.
- Power down software and hardware. Close the booth software, eject any media cards, and shut down the printer before disconnecting power. Skipping this step risks corrupting your session files.
- Disassemble camera and lighting. Remove the camera from its mount, cap the lens, and pack lighting equipment into padded cases.
- Break down the stand and backdrop. Collapse the stand carefully and roll or fold the backdrop according to the manufacturer’s instructions to avoid creasing.
- Confirm post-event deliverables. Before leaving the venue, verify that the digital gallery is live and that the host has the correct link and access instructions. This step prevents frantic follow-up calls the next morning.
Pro Tip: Build a 15-minute buffer into your breakdown window on your run of show template. Venues often have strict load-out deadlines, and a rushed teardown is where equipment gets damaged or left behind.
Key takeaways
A successful event day photo booth run of show depends on early arrival, thorough testing, strategic placement, and a disciplined breakdown sequence that protects both your equipment and the guest experience.
| Point | Details |
|---|---|
| Arrive and set up early | Allow 30–90 minutes for setup and complete all tests at least one hour before doors open. |
| Staff for your volume | A three-person crew handles up to 180 captures per hour; solo operators suit events under 100 guests. |
| Place for visibility | Position the booth in high-traffic areas where guests can see it from the main gathering space. |
| Manage the queue actively | Issue last-call announcements 20–30 minutes before closing and check supplies every 30 minutes. |
| Time your breakdown carefully | Begin teardown only after key event moments conclude, and confirm digital gallery access before leaving. |
What we have learned running hundreds of events
After working events across San Antonio, from intimate backyard weddings to corporate galas with 500-plus guests, the thing that separates a great photo booth activation from a forgettable one is almost never the equipment. It is the preparation.
We have seen beautiful, expensive booths sit nearly empty because they were tucked into a corner behind the catering station. We have also seen simple setups generate lines 20 people deep because the attendant was energetic, the placement was perfect, and the run of show kept everything moving. The document matters. The discipline to follow it matters more.
One thing we push hard on is technical redundancy. We always bring a backup camera body, an extra print media roll, and a second hotspot. None of those things cost much to carry. All of them have saved an activation at some point. If you are working with a vendor who does not mention backup plans, ask directly. The answer tells you a lot about how they will perform when something goes sideways at 8 PM with 200 guests waiting.
The other thing most guides do not say plainly: your attendant is the most important person at the booth. Not the camera. Not the printer. The person who greets guests, keeps the energy up, and makes everyone feel like a star for 20 seconds. Invest in training that person as much as you invest in the gear.
— RMD
Ready to make your event shine with Rmdphotobooths?
Planning a flawless photo booth activation takes time, and having the right partner makes all the difference. Rmdphotobooths brings professional staffing, premium equipment, and over 1,000 five-star reviews to every event we serve in San Antonio. Whether you need a traditional photo booth, a 360° experience, or a glam setup with custom prints, we handle the entire run of show so you can focus on your guests.

Our team arrives early, tests thoroughly, and manages every detail from setup to breakdown. We also offer personalized booth experiences tailored to your event’s branding and theme. Ready to create those “wow” moments your guests will treasure forever? Book your booth today and let us bring your vision to life.
FAQ
What is a run of show for a photo booth?
A run of show is a time-stamped schedule that outlines every task from booth arrival to final breakdown. It keeps the operator, attendant, and event coordinator aligned throughout the event.
How early should a photo booth be set up?
Professional photo booth setups require 30–90 minutes of assembly time, with the booth fully operational at least 15 minutes before guests arrive.
How many guests can a photo booth handle per hour?
A three-person crew can process up to 180 captures per hour, averaging one 20-second session per guest. Smaller crews will see lower throughput.
When should you announce last call at the photo booth?
Issue the first last-call announcement 20–30 minutes before the booth closes, followed by a final warning 10 minutes before closing to clear the remaining queue without cutting guests off.
How do you avoid disrupting the event during breakdown?
Schedule teardown only after key event milestones like the last dance or sparkler exit have concluded. Build a 15-minute buffer into your breakdown window to avoid rushing.
