
TL;DR:
- Choosing the smallest reliable backdrop that fits branding and venue constraints ensures both visual framing and logo legibility for photos. Measuring the camera-to-subject distance and verifying material, size, and lighting needs are essential before procurement. Proper mounting, lighting, and planning reduce common issues and ensure beautiful, effective event photos.
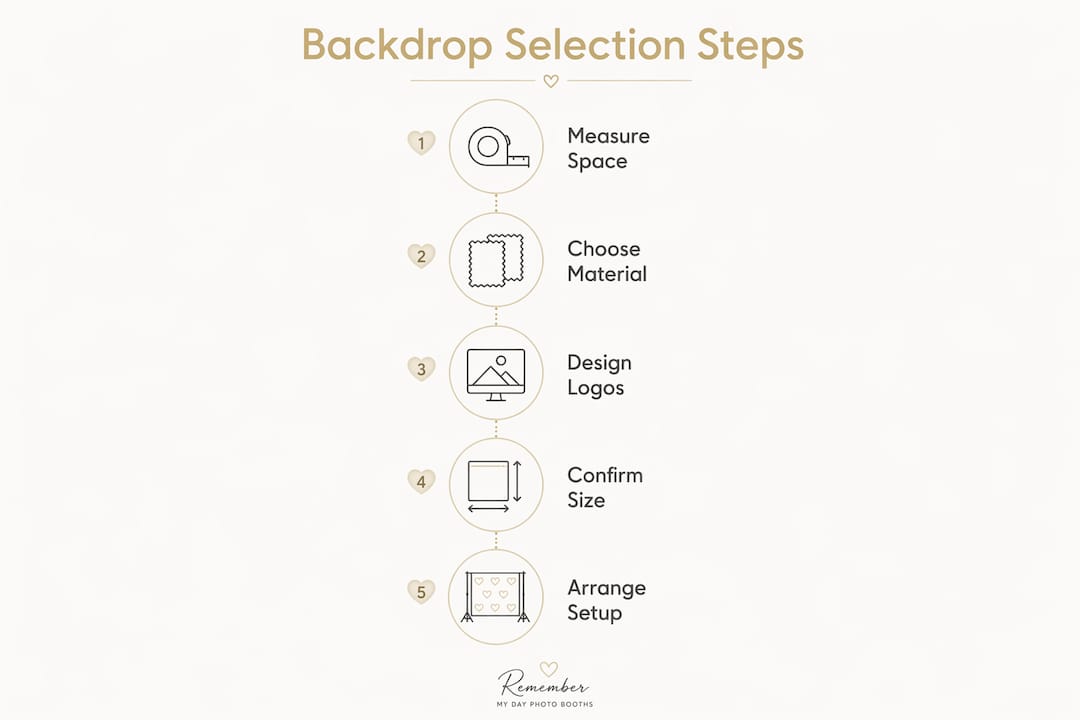
Choose the smallest backdrop that reliably frames your intended photo composition while meeting branding legibility and venue constraints. That single rule covers the three decision drivers that actually matter: photographic framing (does the backdrop fill the camera’s view without wasted edges?), logo legibility (can sponsors and branding be read in a cropped photo?), and logistics (will it fit, mount safely, and arrive on time?).
Quick TL;DR checklist before you order:
- Measure the available footprint, ceiling height, and camera-to-subject distance
- Pick the backdrop type that matches your event format (step-and-repeat, fabric, vinyl, seamless paper, pop-up, or LED/video wall)
- Choose a material and finish based on lighting conditions and reuse needs
- Verify lighting placement will not create glare on your chosen surface
- Confirm production or delivery lead time against your event date
Table of Contents
- What backdrop type works best for your event?
- How do you choose the right backdrop size?
- Which material and finish actually photographs well?
- Do your logos and text actually read in photos?
- Setup, mounting, and lighting tips that protect your photos
- What does procurement actually cost, and how long does it take?
- Common backdrop mistakes and how to fix them on-site
- Key Takeaways
- Our take on what planners consistently underestimate
- Ready to make your event photo-ready? Rmdphotobooths can help.
- Useful sources and further reading
What backdrop type works best for your event?
Backdrop type is the first real fork in the road, and getting it wrong costs more than money. It costs you the photos. Here is how each major category performs across the event types you are most likely planning.
Step-and-repeat
The step-and-repeat is the industry standard for corporate branding and sponsor visibility. A repeating logo grid keeps every sponsor readable regardless of how a photographer crops the shot. Standard sizing often runs in the range suited for solo and small-group photos, with wider options available for larger corporate events. Setup is fast, print costs are low, and the format is immediately recognizable at press events, product launches, and red carpet activations.
Seamless paper
Seamless paper rolls are the go-to for portrait studios and controlled-environment shoots. They are inexpensive, available in dozens of colors, and produce a clean, distraction-free background. The tradeoff is durability: paper tears, creases, and cannot survive an outdoor breeze. Best for: indoor headshot stations, small brand activations, and one-day events where budget is tight and conditions are controlled.
Fabric (polyester/stretch)
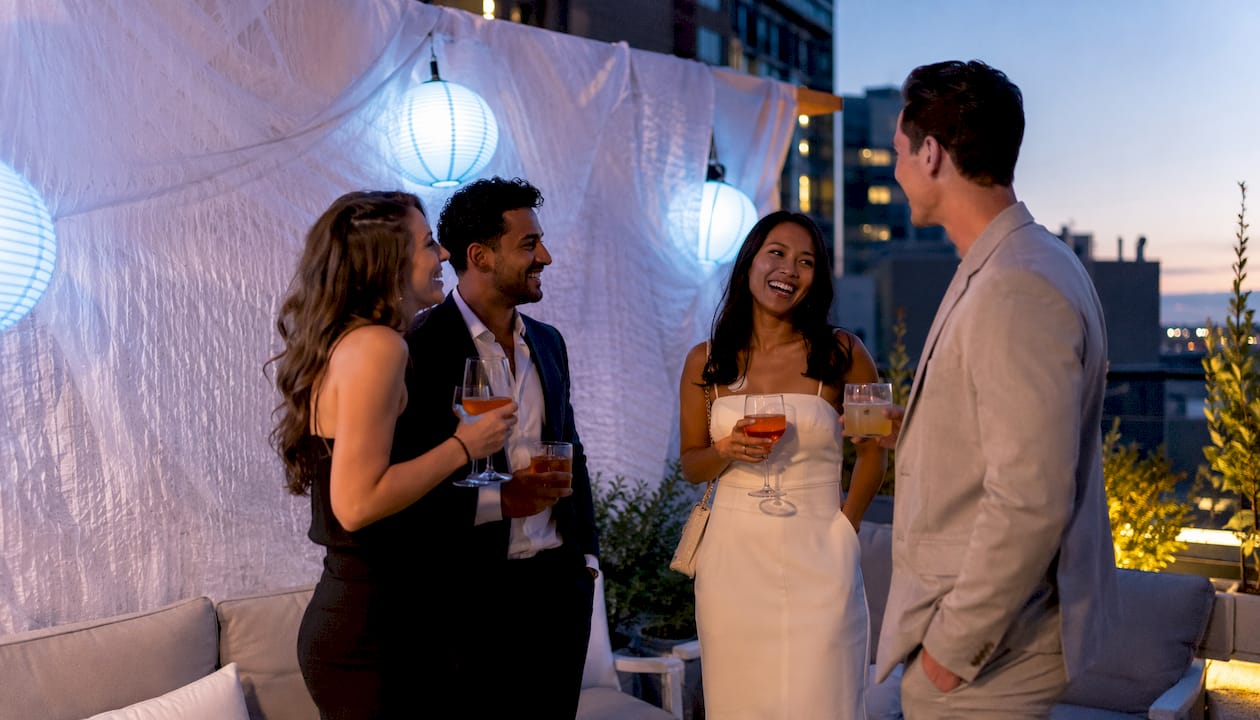
Fabric backdrops absorb light rather than reflect it, which makes them the safest choice for events with heavy flash photography. Tension fabric (also called pillowcase or stretch fabric) pulls taut over a frame, eliminating most wrinkle risk. Dye-sublimation printing on polyester produces rich, accurate color. Fabric is also packable and lightweight. Best for: weddings, galas, social events, and any setup where a matte, photogenic surface matters more than rock-bottom cost.
Vinyl
Vinyl is durable, easy to wipe clean, and accepts high-resolution UV or solvent printing at a lower cost per square foot than fabric. The risk is glare: vinyl surfaces can create hotspots under direct flash or strong uplighting. Best for: outdoor events (where durability beats glare risk), trade shows, and multi-day activations where the backdrop will take physical wear.
Pop-up / collapsible
Pop-up backdrops use a spring-loaded or telescoping frame that sets up in minutes without tools. They are compact, self-contained, and ideal for traveling activations, roaming photo moments, and events where setup time is measured in minutes rather than hours. Trade-off: most pop-up systems top out at 8’x8’, and the frame is visible if the backdrop fabric sags or shifts.
LED / video wall
An LED video wall turns a static backdrop into a dynamic, programmable canvas. It is the right choice when you need live content, branded motion graphics, or broadcast-quality IMAG (image magnification) behind a stage. The technical requirements are significant: the wall needs power, rigging or ground-support structures, a content management system, and an operator. Coordinating LED content cadence with camera frame rates and shutter speeds is a production detail that separates broadcast-safe builds from ones that flicker on camera. Best for: general sessions, keynote stages, award shows, and large-scale branded activations.
Comparison at a glance
| Type | Best for | Standard sizes | Durability / maintenance | Cost (buy vs. rent) | Portability | Branding visibility | Finish / photo quality |
|---|---|---|---|---|---|---|---|
| Step-and-repeat | Corporate, red carpet, press | 8’x8’, 10’x8’, 12’x8’ | High; wipe-clean vinyl | Low buy cost; rent available | Moderate | Excellent | Good (vinyl glare risk) |
| Seamless paper | Portraits, small activations | 4’–9’ wide rolls | Low; single-use | Very low buy; rarely rented | High | Low | Excellent (matte) |
| Fabric / stretch | Weddings, galas, social | 8’x8’, 10’x8’, 10’x10’ | Medium; wash or steam | Moderate buy; widely rented | High | Good | Excellent (matte) |
| Vinyl banner | Outdoor, trade shows | Custom; 8’x8’ to 12’x8’ | High; wipe-clean | Low buy; rent available | Moderate | Excellent | Good (glare risk) |
| Pop-up / collapsible | Roaming, quick setups | Up to 8’x8’ | Medium; fabric panels | Moderate buy; rent available | Excellent | Moderate | Good |
| LED / video wall | Keynotes, broadcast, IMAG | 10’–12’ wide | High; requires operator | High buy; rent standard | Low | Excellent | Excellent (with correct pitch) |
Quick pros/cons for decision-making:
- Step-and-repeat: fast ROI on sponsor visibility; glare risk on vinyl under flash
- Seamless paper: cheapest option; tears easily, no outdoor use
- Fabric: best photo quality; needs steaming or tension frame to prevent wrinkles
- Vinyl: most durable; avoid glossy finish under direct flash — considering trade show entertainment needs can guide material choice for high-traffic activations
- Pop-up: fastest setup; limited max size
- LED/video wall: most dynamic; highest cost and technical complexity
How do you choose the right backdrop size?
Size is where most planners make their first mistake. They pick a backdrop that looks impressive in the room but leaves dead space in the camera frame, or they order something too narrow for a group of six. The fix is a simple measurement method you can run before you ever talk to a vendor.
Measurement method:
- Measure the available footprint (width and depth the backdrop can occupy)
- Note the ceiling height or rigging point height
- Estimate the camera-to-subject distance (typically 8–15 feet for photo booth setups; 20–50+ feet for stage shots)
- Decide on your primary framing: tight headshot, 2–4 person group, or full stage width
- Add 20% to your minimum width to account for camera angle variation and cropping
For social-media activations and photo booths, a minimum width of 8–10 feet handles group photos comfortably and keeps key design elements within vertical (9:16) and square (1:1) crop-safe zones.
Standard size reference
Backdrops come in a variety of sizes sized for different photo needs and group sizes, ranging from small setups for individuals to large formats for stages and keynotes.
Group photo rules of thumb:
- 1 subject: 5’–7’ wide minimum
- 2–4 subjects: 8’ wide minimum
- 5+ subjects: 10’–12’ wide minimum
- Height: match or exceed ceiling height minus 12" clearance; for stages with risers, add riser height to subject height
Measurement checklist to share with your venue and vendor:
- Room width and depth at the backdrop location
- Ceiling height or rigging point height
- Distance from backdrop to camera position
- Distance from backdrop to nearest obstruction (columns, doors, bars)
- Any venue restrictions on wall attachment, rigging, or floor anchoring
Practical site constraints such as ceiling height, stage dimensions, and sightlines must drive scale decisions. Many venues accept 8’ backdrops comfortably, but loft and warehouse venues often need 10’–12’ heights to create visual presence. Corporate general sessions commonly use 14’–24’ heights when rigging allows.
Which material and finish actually photographs well?
Material choice is a photography decision as much as a budget decision. The finish you pick determines how the backdrop behaves under flash, uplighting, and ambient venue light.
Material trade-offs:
- Fabric / stretch: Matte finish absorbs light and eliminates glare. Wrinkle risk is real unless you use a tension frame or steam on-site. Dye-sublimation printing produces the most accurate color reproduction of any soft-goods option. Packable and lightweight for transport.
- Vinyl: Durable, printable, and cost-effective. Glossy vinyl creates hotspots under direct flash; matte-laminated vinyl reduces this significantly. Heavy to transport in large sizes; rolls or folds for storage.
- Seamless paper: Perfectly matte, zero glare, excellent color neutrality. Tears and creases easily; single-event lifespan in most cases. No outdoor use.
- Scenic / constructed: Architectural depth and texture add perceived production value that flat surfaces cannot match. Matte finishes and layered elements photograph more reliably across lighting conditions than glossy single-plane surfaces. High cost and labor-intensive setup.
- LED / video: Dynamic and fully programmable. Requires careful content and technical management to photograph well (see the legibility section below).
Printing methods and color fidelity:
Large-format dye-sublimation on polyester fabric produces the richest color and the sharpest fine detail for soft backdrops. UV or solvent printing on vinyl is faster and cheaper but can show banding on gradients if resolution is insufficient. For rigid panels, direct UV printing on foam board or aluminum composite gives a clean, flat result. Always request a minimum of 150 DPI at final print size for fabric and vinyl; seamless paper typically prints at 100–150 DPI.
Maintenance and storage:
- Fabric: machine-wash or steam; fold loosely or roll to prevent permanent creases
- Vinyl: wipe with a damp cloth; roll (never fold) to avoid crease lines in print
- Seamless paper: store vertically in original tube; discard damaged sections
- LED panels: dust with a soft cloth; store in padded road cases
Pro Tip: Bring a handheld garment steamer to every event. A two-minute steam pass on a fabric backdrop before the photographer arrives removes 90% of shipping wrinkles. For tension fabric systems, check all corner attachments first — a loose corner causes more visible distortion than any wrinkle.
Do your logos and text actually read in photos?
Design legibility is the most commonly skipped specification in backdrop planning, and it shows up immediately in post-event photos when sponsor logos are blurry smudges or text disappears into the background.
The distance-to-text-size rule
Plan for at least 1 inch of letter height per 25 feet of viewing distance to maintain readability from the back rows. A 300-foot ballroom requires roughly 12-inch letter height for text to be legible from the farthest seat. For photo backdrops, the relevant distance is the camera-to-backdrop distance, not the room depth. At a typical 10-foot camera distance, 0.5-inch letter height is the minimum; at 30 feet, you need at least 1.25 inches.
Stat callout: For IMAG and broadcast camera work, LED video walls should use a pixel pitch of 1.5mm–2.6mm for audiences and cameras within 15 feet. Coarser pitches of 3.9mm and above are acceptable for larger viewing distances where fine detail is less critical.
Camera-first logo placement
Design for the primary camera frame, not the back row. Logos that look correctly sized in the room can be cropped out entirely if they sit outside the photographer’s typical framing. Place critical sponsor logos and branding within the center 60% of the backdrop width and the center 70% of the height. Avoid stacking all logos in the exact vertical center of the frame, where subjects’ heads will overlap them.
For step-and-repeat patterns, the repeating grid solves the cropping problem automatically. Any crop of a well-designed repeat will still contain at least one full logo. That is why step-and-repeat backdrops remain the corporate standard for sponsor walls.
Testing legibility during load-in
- Print a scaled mockup at 11"x17" and view it from a proportional distance
- Photograph the backdrop with your phone from the camera position and zoom in on logos
- For LED walls, play back content on-screen and check for flicker by recording a short video clip at the event’s ambient shutter speed
Pro Tip: Stand at the camera position, hold your phone up, and pinch-zoom to the tightest crop a photographer would use. If you cannot read every sponsor name clearly, the logos are too small. Fix it in the file before the event, not after.
For more on how technology shapes event photography outcomes, the role of technology in event photography is worth a read before you finalize your LED or digital backdrop specs.
Setup, mounting, and lighting tips that protect your photos
A backdrop that photographs beautifully in a studio can look terrible at an event if mounting and lighting are not coordinated in advance. These are the details that separate a polished photo moment from a chaotic one.
Mounting and rigging:
- Self-supporting pipe-and-drape or tension frame systems work in most venues without wall attachment
- Weighted bases (sandbags, water-filled ballast) are non-negotiable for freestanding systems in high-traffic areas
- Always confirm venue rigging restrictions in writing before finalizing a fly-rigged or truss-hung backdrop
- Heavy scenic or floral walls can require rear support structures 2–3 feet behind the face; factor that depth into your footprint
Lighting rules:
- Avoid direct flash or hard uplighting on glossy vinyl; use matte surfaces or add a scrim between the light and the backdrop
- Prefer matte materials for events with heavy flash use
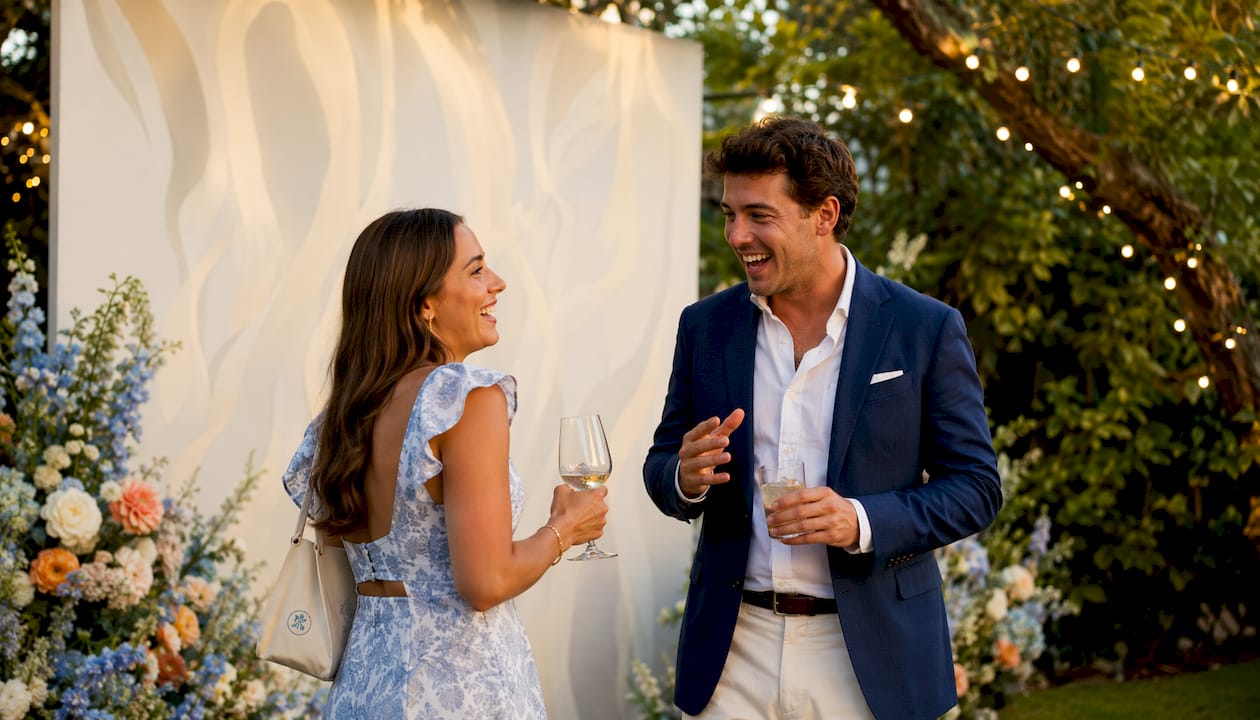
- Uplighting behind a sheer or stretch fabric layer creates depth and warmth without glare
- Match LED color temperature (typically 3200K–5600K) to the photographer’s white balance setting before the event starts
Placement guidance:
- Position the backdrop where guests naturally flow: near entrances, adjacent to bars, or alongside lounge areas
- Ensure at least 8–10 feet of clear space in front of the backdrop for the photographer and subjects
- Align the backdrop center with the primary camera position, not the room center
Setup checklist for load-in:
- Mounting hardware (poles, clamps, crossbars, tension frame)
- Sandbags or ballast weights
- Grommets, bungee cords, or zip ties for fabric attachment
- Extension cords and power strips for lighting
- Lighting gels or diffusion material
- Steamer and spare clamps
- Gaffer tape
Outdoor setups: Large flat surfaces act like sails in any wind above 10 mph. Use mesh or perforated vinyl for outdoor backdrops, add substantial ballast, and tether the frame to fixed anchor points. Have a contingency plan (indoor alternative or weighted tent structure) for any outdoor event where weather is a variable.
For a full venue preparation walkthrough, the venue photo booth preparation steps guide covers site-check details worth reviewing before load-in day.
What does procurement actually cost, and how long does it take?
Budget and lead time are where good backdrop plans fall apart. Here is a practical reference to share with your team and vendors.
Procurement checklist:
- Final artwork files at correct resolution (150 DPI minimum at print size for fabric/vinyl)
- Material and finish confirmed in writing
- Finished dimensions (width x height, with bleed and margin specs)
- Rigging plan and hardware list approved by venue
- Lighting needs confirmed with AV team
- Transport and storage plan (who delivers, who strikes, where it goes after)
- Fire-code compliance certificate for fabric (most US venues require flame-retardant certification)
- Installation labor confirmed (vendor crew, in-house crew, or self-install)
Lead times and cost ranges
| Option | Typical lead time | Rough cost range | Best when |
|---|---|---|---|
| Fabric backdrop rental | 1–2 weeks | $150/event | One-off events, tight budgets |
| Vinyl step-and-repeat rental | 1–2 weeks | $100/event | Corporate, sponsor walls |
| Custom fabric print (buy) | 2–4 weeks | $300 | Multi-event reuse, brand consistency |
| Custom vinyl print (buy) | 1–3 weeks | $150 | Outdoor, high-wear use |
| Scenic / constructed build | 4–8+ weeks | — | Unique fabrication, flagship events |
| LED / video wall rental | 2–4 weeks (with programming) | — | Keynotes, broadcast, IMAG |
Rentals are cost-effective for one-off events; custom builds are worth the investment only when the backdrop will be reused across multiple events or requires unique fabrication that a rental cannot provide.
Questions to ask every vendor:
- What file format, resolution, and color profile do you need?
- What bleed and margin do you require at the edges?
- What is the minimum logo size for legibility at this print size?
- How are sponsor tiers differentiated in the layout (size, position, color)?
- How many crew members does setup and strike require, and are they included?
- What is your change and cancellation policy after artwork approval?
Rent vs. buy decision factors: If you host more than three events per year with consistent branding, buying a fabric backdrop system typically pays for itself within the first year. Storage space and brand consistency across events are the two factors that tip the decision toward buying.
Common backdrop mistakes and how to fix them on-site
Most backdrop problems are predictable. Here are the ones we see most often, and what to do when they happen.
Common mistakes:
- Ordering a backdrop too narrow for the intended group size (the most frequent error)
- Ignoring text legibility at camera distance, resulting in unreadable sponsor logos in photos
- Choosing glossy vinyl without matte lamination for a flash-heavy event
- Failing to account for outdoor wind loads on large flat surfaces
- Missing custom print lead times and scrambling for a generic rental
Numbered troubleshooting steps (by time-to-fix):
- Wrong size for the camera frame (immediate fix): Move the camera back to widen the frame, or reposition subjects closer together. If the backdrop is too narrow, add props or floral arrangements at the sides to fill the visual frame.
- Wrinkled fabric (immediate fix): Steam the surface in vertical strokes from top to bottom. For tension fabric, check and tighten all corner attachments before steaming.
- Glare on vinyl under flash (immediate fix): Angle the backdrop 5–10 degrees away from the direct flash axis, or diffuse the flash with a bounce card. Moving the light source off-axis also helps.
- Backdrop shifting or leaning (immediate fix): Add sandbags to the base, tighten all clamps, and check that the crossbar is level. For outdoor setups, add tethering to a fixed anchor.
- Logos not readable in photos (schedule-dependent fix): If you catch this during load-in, request a file revision and reprint if time allows. On-site workaround: move the camera closer to reduce the effective viewing distance and increase apparent logo size.
- Backdrop did not arrive on time (schedule-dependent fix): Use peel-and-stick wallpaper or decals as a fast temporary solution for small photo spots, or repurpose venue drapery with a branded overlay print.
Backup items to bring on-site every time:
- Handheld garment steamer
- Extra clamps and bungee cords
- Sandbags (minimum two per freestanding leg)
- Gaffer tape (not masking tape)
- Spare printed panels or a rolled backup section for vinyl builds
Key Takeaways
The single most important action you can take when specifying a backdrop is to measure the camera-to-subject distance first, then work backward to the minimum backdrop size, material, and finish that satisfies both photographic framing and branding legibility.
| Point | Details |
|---|---|
| Size from the camera out | Measure camera distance and group size before ordering; minimum 8’–10’ wide for groups of 4–6. |
| Match material to lighting | Use matte fabric or matte-laminated vinyl for flash-heavy events; reserve glossy surfaces for controlled lighting only. |
| Design for the camera frame | Place critical logos within the center 60% of backdrop width; use step-and-repeat grids to survive any crop. |
| Confirm lead times early | Custom fabric prints need 2–4 weeks; scenic builds need 4–8+ weeks; secure rentals 4–6 months out for peak seasons. |
| Rmdphotobooths for integrated setups | Rmdphotobooths pairs backdrop options with studio lighting and branding overlays for photo-ready event experiences in San Antonio. |
Our take on what planners consistently underestimate
The conventional wisdom in backdrop planning focuses almost entirely on aesthetics: pick something pretty that matches your color palette. That advice is not wrong, but it leaves out the two factors that actually determine whether your backdrop earns its place in the budget.
The first is camera-frame design. Most planners design a backdrop for the room, meaning they think about how it looks to a guest standing 30 feet away. Photographers work from 8–15 feet with a lens that compresses and crops. A backdrop that looks stunning in person can produce mediocre photos if the logo placement, color contrast, and text sizing were not designed for that specific camera distance. The fix is simple: stand at the camera position during design review, not at the back of the room.
The second underestimated factor is lead time. We have seen beautiful custom fabric builds arrive two days after an event because the planner assumed “a few weeks” was enough. Custom fabrication, fire-code certification, and freight shipping each add time that compounds. Build your backdrop timeline the same way you build your catering timeline: work backward from the event date with a buffer for revisions.
One more thing worth saying plainly: the backdrop is not a decoration. It is a photography set. Every photo taken at your event will include it. Treat the backdrop spec with the same rigor you give the photographer’s shot list, and the photos will show it.
Ready to make your event photo-ready? Rmdphotobooths can help.
Picking the right backdrop is one thing. Having it arrive on time, set up correctly, and photograph beautifully alongside a full photo experience is another. Rmdphotobooths delivers exactly that for events in San Antonio, pairing photo booth experiences with integrated studio lighting, custom branding overlays, and on-site support so your backdrop and booth work together from the first shot to the last.

Whether you need a classic step-and-repeat for a corporate sponsor wall, a glam-ready fabric backdrop for a wedding or gala, or a fully branded activation with digital overlays, we handle the production details so you can focus on your guests. Our team brings the hardware, the expertise, and the enthusiasm to make every photo moment count.
Ready to lock in your date? Book your experience and let us bring your vision to life.
Useful sources and further reading
- Event Backdrop Ideas: From Weddings to Corporate Launches — Step-and-repeat sizing standards and corporate backdrop use cases
- Event Backdrop Design: Stage Backgrounds That Photograph Well — Distance-to-text-size ratios, LED pixel pitch guidance, camera-first design principles, and LED content cadence for broadcast
- Backdrop Design Ideas & Custom Event Builds — Material trade-offs, finish effects under event lighting, and rent vs. buy guidance
- How to Choose a Backdrop for Your Event Theme — Structural and outdoor safety considerations for scenic and floral walls
- How to Choose the Ideal Backdrop for Your Event — Social-media sizing guidance and crop-safe zone recommendations
- Party Planning: How to Make Easy Backdrops — Quick temporary backdrop solutions including peel-and-stick options
- Photo Backdrop Rentals: Choosing the Right One for Your Event — Rental planning, placement strategy, and coordination with broader rental inventory
- How to Choose the Perfect Event Drapery & Backdrop — Fabric selection, draping styles, lighting interaction, and fire-code considerations