TL;DR:
- Effective personalized photo booth templates balance strong branding with ample photo space to create memorable keepsakes. Designing cohesive digital overlays, print layouts, and thematic elements enhances guest engagement and reflects the event’s visual identity. Consistency across all outputs and careful placement of brand elements ensure a polished, unified guest experience.
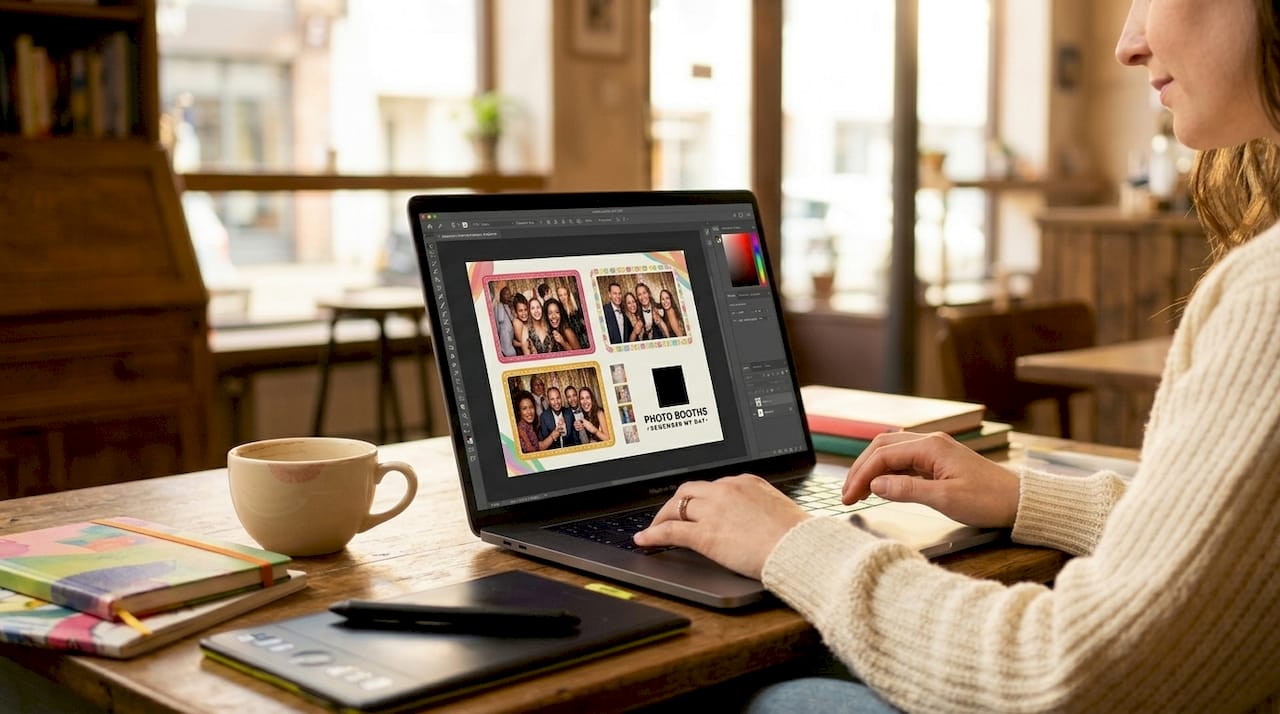
Personalized photo booth templates are custom-designed overlays, print layouts, and digital assets that transform a standard photo booth into a fully branded guest experience. Event organizers searching for booth template inspiration will find that the best designs balance strong brand messaging with generous photo space, creating keepsakes guests actually want to treasure forever. Platforms like Canva Pro and BespokeBooth have made it easier than ever to access ready-to-edit formats, while professional services like Rmdphotobooths bring those designs to life at real celebrations. This guide covers the most effective examples of personalized booth templates across print, digital, and interactive formats so you can make your next event truly shine.
1. Examples of personalized booth templates: print layout styles
Print templates are the most tangible output of any photo booth experience, and their design directly affects how guests feel about the keepsake they take home. The two most common formats are the 2×6 inch strip and the 4×6 inch postcard, and each serves a different purpose for event organizers.
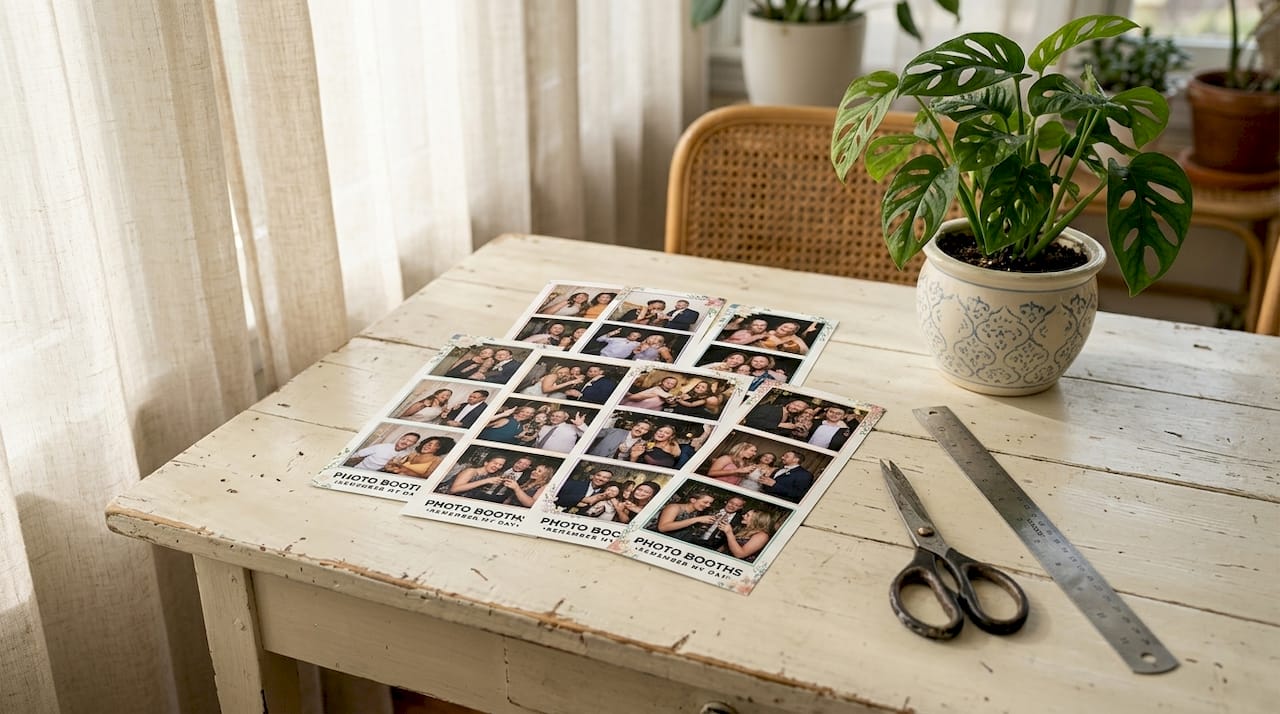
The 2×6 strip fits 3 to 4 photos stacked vertically, leaving a narrow footer or header for branding. The 4×6 postcard gives you more real estate for event details, logos, and decorative borders. Both formats work beautifully when you follow one core rule: reserve 15 to 25% of the print area for logos and branding. That constraint keeps the guest’s face front and center while still delivering a polished, branded result.
Popular design elements that work across both formats include:
- Monograms and custom crests for weddings and milestone birthdays
- Event hashtags and QR codes printed in the footer for social sharing
- Brand color borders that frame photos without competing with them
- Event dates and venue names tucked into a clean lower strip
Pro Tip: Before finalizing any print template, test it with a real photo. Place a face in each photo frame and check whether the branding overlaps eyes, foreheads, or shoulders. This “safe zone” check takes two minutes and prevents a lot of disappointed guests.
| Template Format | Best Use Case | Branding Space |
|---|---|---|
| 2×6 inch strip | Weddings, private parties | 15 to 20% footer or header |
| 4×6 inch postcard | Corporate events, brand activations | 20 to 25% side panel or bottom |
| 5×7 inch portrait | Galas, formal events | 20% decorative border |
2. Digital overlay templates: static and animated options
Digital overlays are the on-screen layer guests see when they step in front of the camera, and they set the visual tone for the entire experience. A well-designed overlay does two things at once: it frames the guest beautifully and reinforces the event’s brand identity without feeling like an advertisement.
Static overlays are the most common starting point. They typically include a logo in one corner, a subtle frame or border, and an event name or date. Cohesive branding touchpoints across welcome screens, overlays, and delivery emails improve guest engagement and brand recall significantly. That means your overlay should not exist in isolation. It should look like it belongs to the same design family as your print template and your email delivery.
Animated overlays take things further. A looping confetti burst, a glittering frame, or a branded countdown animation draws guests in and creates excitement before the shutter even clicks. Turnaround times for these assets vary: static overlays typically take 1 to 3 days, animations take 3 to 5 days, and email templates take 2 to 4 days. Plan your timeline accordingly, especially for large corporate events where approval chains add extra days.
Common digital template types to request from your designer or platform include:
- Welcome screen animations that greet guests with the event name and host logo
- Countdown overlays that build anticipation during the photo sequence
- Branded idle screens that display sponsor logos or event hashtags when the booth is not in use
- Photo delivery email templates that carry the same color palette and fonts as the print design
Pro Tip: Use Canva, Adobe Photoshop, or your photo booth software’s native editor to build your overlay. Export as a PNG with a transparent background so it layers cleanly over any photo. A Canva Pro subscription is required for transparent PNG exports, which most booth software requires for compatibility.
3. Canva templates vs. Photoshop templates: which fits your event?
Choosing between Canva and Photoshop for your booth templates is not just a design preference. It is a practical decision that affects turnaround speed, design flexibility, and who on your team can actually make edits.
Canva Pro templates cover up to 90% of standard photo booth template needs, making them the go-to choice for event organizers who are not professional designers. You can swap colors, update text, and drop in a logo in under 30 minutes. The tradeoff is that frame locations in Canva templates are fixed, and you cannot apply layer-based gradients or advanced blending effects. For most weddings, birthday parties, and community events, that limitation never matters.
Photoshop templates offer layer-by-layer control that Canva simply cannot match. You can create soft vignettes, apply texture overlays, and build complex multi-element compositions. Photoshop’s advanced effects are the right choice for high-end brand activations, luxury galas, or any event where the visual bar is exceptionally high. The learning curve is steeper, and edits take longer, but the output quality is noticeably richer.
| Platform | Best For | Key Limitation |
|---|---|---|
| Canva Pro | Non-designers, quick turnarounds | Fixed frame positions, no layer gradients |
| Adobe Photoshop | Advanced branding, luxury events | Steeper learning curve, slower edits |
| BespokeBooth | Ready-made photo booth libraries | Requires Canva Pro for transparent exports |
Pro Tip: Build your master template in Photoshop for quality, then export a flattened version into Canva for last-minute text edits at the event. This two-step workflow gives you the best of both platforms without sacrificing speed on the day.
4. Thematic and interactive booth template concepts
Thematic templates are where booth design examples go from functional to genuinely memorable. These are the designs guests photograph and share, the ones that make your event feel like a fully realized world rather than a room with a camera in it.
“Booth templates are part of conversion architecture. Clarity in brand messaging beats minimalist branding that buries the value proposition. Louder, clearer templates consistently outperform subtle designs at live events.” — Trade Show Booth Strategy Toolkit
That principle applies directly to photo booth templates. A wedding template with a delicate floral arch and the couple’s monogram tells a story. A sports team activation template with bold team colors and a mascot graphic creates instant energy. A holiday party template with a snowy frame and a branded hashtag turns every guest into a social media ambassador for your event.
Interactive elements push engagement even further. Pose guide overlays printed on a small card or displayed on a welcome screen tell guests exactly how to stand, which removes hesitation and produces better photos. QR codes embedded in the template footer let guests access their digital gallery instantly. Some personalized trade show displays now incorporate animated GIF sequences where each frame in the strip contributes to a short looping animation, which guests share far more readily than static prints.
Strong thematic template categories to consider for your next event include:
- Wedding and engagement templates featuring floral motifs, script fonts, and couple monograms
- Corporate brand activation templates with bold logo placement, brand color fills, and campaign hashtags
- Holiday and seasonal templates using festive borders, seasonal color palettes, and event-specific copy
- Sports and school event templates with team colors, mascots, and score-style typography
- Luxury gala templates featuring gold foil effects, dark backgrounds, and elegant serif fonts
Industry leaders confirm that personalization should encompass the entire guest journey, not just a static logo drop. When your welcome animation, overlay, print template, and delivery email all share the same visual language, guests feel the care and intention behind the event. That feeling is what turns a photo into a memory worth keeping.
Pro Tip: Build a one-page brand sheet before designing any template. List your event colors (hex codes), fonts, logo file, and one or two design references. Share it with your booth provider at least a week before the event so every digital and print touchpoint matches.
5. Cohesive design across digital and print outputs
The most overlooked principle in custom booth design ideas is visual consistency between what guests see on screen and what they hold in their hands. Digital and physical templates must match aesthetically to create a smooth, satisfying guest experience. When the overlay uses a soft blush palette and the print template uses navy and gold, guests notice the disconnect even if they cannot articulate why.
Start by locking in your color palette and font choices before designing either asset. Apply them to the overlay first, then carry the exact same hex codes and typefaces into the print template. If you are working with a provider like Rmdphotobooths, share your brand sheet early so their team can align both outputs from the start. You can explore customizing your photo booth experience in detail to understand how overlays, animations, and print designs work together.
Exceeding 25% branding area in print templates risks overlapping guest faces or cutting off images during auto-printing. This is the single most common mistake in print template design, and it is entirely avoidable. Keep your branding tight, purposeful, and positioned in a dedicated zone so the photo always wins.
Key takeaways
The most effective personalized booth templates balance clear brand messaging with generous photo space, creating a cohesive visual experience from welcome screen to printed keepsake.
| Point | Details |
|---|---|
| Reserve branding space carefully | Keep logos and event details to 15 to 25% of print area to protect guest photos. |
| Match digital and print designs | Use the same hex codes and fonts across overlays, animations, and print templates. |
| Choose the right platform | Use Canva Pro for speed and accessibility; use Photoshop for advanced, high-end events. |
| Plan digital asset timelines | Allow 1 to 5 days for custom overlays and animations depending on complexity. |
| Use thematic templates strategically | Match template style to event type for stronger guest engagement and social sharing. |
What we have learned from designing booth templates across hundreds of events
After working with event organizers across San Antonio and beyond, we have seen one pattern repeat itself more than any other: the hosts who invest time in template design before the event always get better guest reactions than those who treat it as an afterthought.
The mistake we see most often is not poor design. It is misaligned design. A gorgeous overlay that shares nothing visually with the print template creates a jarring experience, even at a beautifully produced event. We have watched guests hold their print strip and look back at the booth screen with a slightly puzzled expression. That moment is avoidable.
Our honest recommendation is this: treat your booth template as one piece of a larger visual system, not a standalone graphic. Your welcome screen, your overlay, your print layout, and your email delivery should all feel like they came from the same creative mind. When they do, guests do not just take a photo. They feel the event. That is the difference between a keepsake and a piece of paper.
— RMD
Bring your vision to life with Rmdphotobooths
At Rmdphotobooths, we love helping event organizers create those “wow” moments that guests talk about long after the party ends. Our team works with you to design personalized photo booth experiences that cover every touchpoint, from custom welcome animations and branded overlays to beautifully printed keepsakes your guests will treasure forever. With over 1,000 five-star reviews and experience across weddings, corporate events, and large celebrations in San Antonio, we know how to bring your vision to life.

Whether you need a classic 2×6 strip template with your monogram or a full branded activation with animated overlays and QR-coded delivery emails, we make the process fun and stress-free. Book your booth today and let us help you create an experience your guests will treasure forever.
FAQ
What are the standard sizes for photo booth print templates?
The two most common print template sizes are the 2×6 inch strip (holding 3 to 4 photos) and the 4×6 inch postcard. Both formats support logos, hashtags, and event dates when branding is kept to 15 to 25% of the total print area.
How do I keep branding from covering guest faces in a print template?
Define a dedicated branding zone in the footer or header of your template and keep all logos and text within that area. Exceeding 25% branding coverage risks overlapping guest faces during auto-printing, so always test with a real photo before finalizing.
Can I use Canva to design a photo booth template?
Yes. Canva Pro covers up to 90% of standard photo booth template needs and is accessible for non-designers. Note that a Canva Pro subscription is required to export PNGs with transparent backgrounds, which most photo booth software requires for overlay compatibility.
How long does it take to create custom digital booth assets?
Static overlays typically take 1 to 3 days, animated overlays take 3 to 5 days, and custom email delivery templates take 2 to 4 days. Interface colors and button text can often be updated within the same day.
What makes a photo booth template truly personalized?
A truly personalized template reflects the event’s visual identity across every touchpoint, including the welcome screen, overlay, print layout, and delivery email. When all four elements share the same colors, fonts, and design language, guests experience the event as a cohesive, intentional celebration rather than a collection of separate elements.
