TL;DR:
- Personalized photo booth thank you cards combine high-resolution images with heartfelt messages to preserve memorable moments. Proper design includes the right format, high-quality images, and tactile finishes while coordinating branding elements for maximum impact. Planning early and requesting proofs ensures professional results, transforming simple cards into cherished keepsakes.
Photo booth thank you card design is the art of crafting personalized appreciation cards that pair photo booth images with heartfelt messages to preserve event memories. A well-designed card uses a standard 5×7 format, premium cardstock, and at least 300 DPI resolution photos to produce prints guests will treasure. Whether you are planning a wedding, corporate celebration, or private party, the right design approach turns a simple card into a keepsake. This guide covers everything from choosing the best photos to assembling DIY cards and working with professional printers, so your gratitude lands with real impact.
What are the essential elements of photo booth thank you card design?
The foundation of any great custom photo booth card is format, image quality, and print material. The most common size is the 5×7 flat card, though folded versions work well for longer personal messages. Most professional designs feature 1–3 high-resolution photos with custom text, event dates, and names printed alongside the images.
Photo resolution is non-negotiable. Any image below 300 DPI will appear pixelated on premium cardstock, no matter how good it looks on a phone screen. Always request the highest-resolution digital files from your photo booth operator immediately after the event.
DIY vs. professional printing: what each approach requires
| Requirement | DIY approach | Professional print |
|---|---|---|
| Card size | 5×7 or custom cut | Standard 5×7 flat or folded |
| Image resolution | 300 DPI minimum | 300 DPI minimum |
| Materials | Cardstock, dies, foam tape, stamps, markers | Print-ready PDF or design file |
| Assembly time | Under 30 minutes per batch | 5 business days from approval |
| Finish options | Enamel dots, embossing, hand coloring | Hot foiling, UV coating, matte or gloss |
Professional printers typically deliver custom-printed cards in about 5 business days from final design approval, not counting shipping. Plan your timeline backward from your send date to avoid a last-minute rush.
Pro Tip: Order a single proof copy before printing your full batch. Catching a color or crop issue on one card saves you from reprinting hundreds.
How can you creatively design photo booth cards to engage recipients?
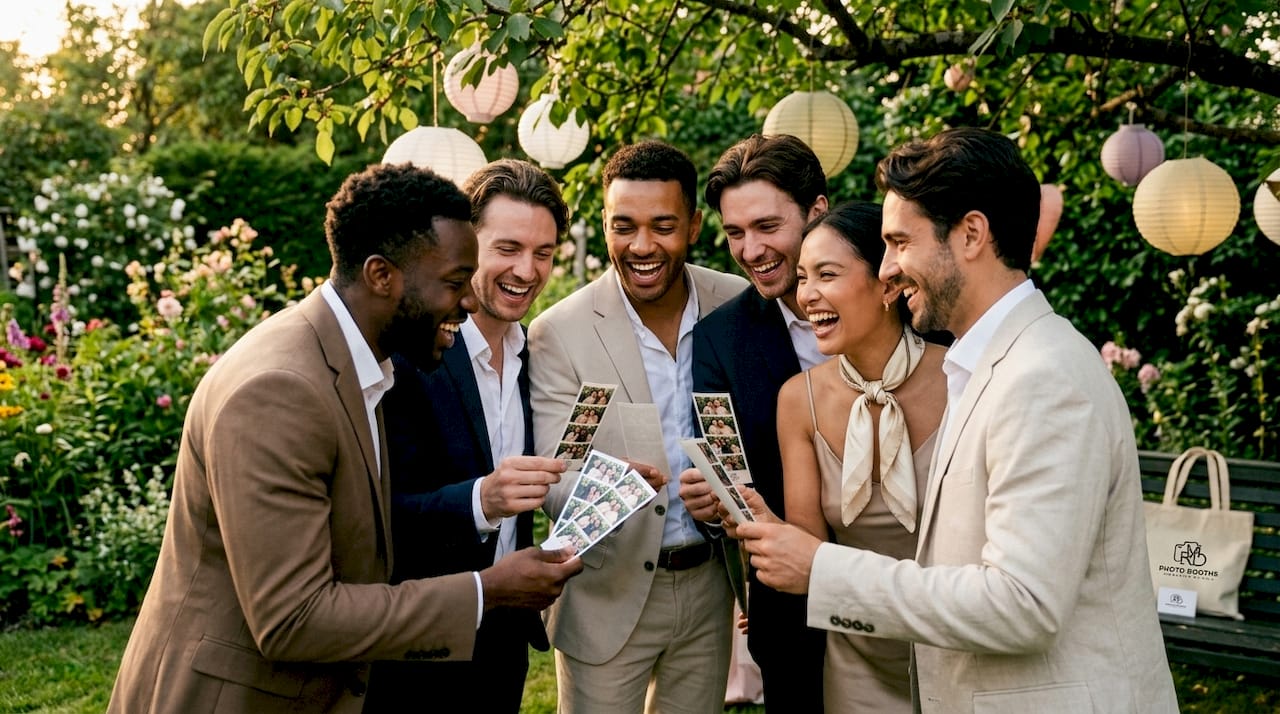
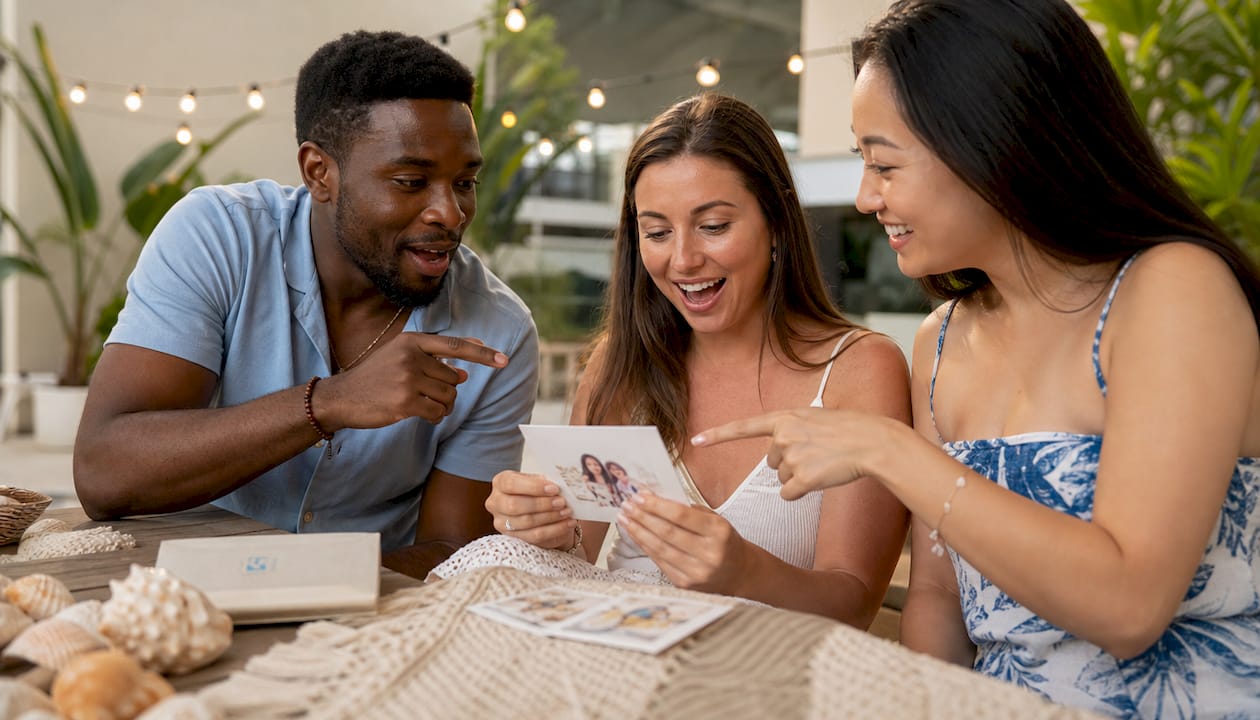
The most memorable personalized gratitude cards focus on one or two standout images rather than cramming in every shot from the night. Design experts recommend selecting “hero” photos that capture genuine emotion, then letting elegant finishes carry the visual weight. A single laughing group shot with gold hot foiling around the border says far more than six small images competing for attention.
Incorporating event branding
Integrating event branding such as logos, themed colors, and custom typography creates cohesive cards that feel like a natural extension of your celebration. For weddings, this means matching the card’s font and color palette to your invitation suite. For corporate events, it means including your company logo and brand colors so the card reinforces your identity long after the event ends. Branded thank you cards improve guest recall by harmonizing visual elements with the event’s atmosphere.
Tactile design elements that spark joy
Tactile finishes transform a flat card into something guests want to hold onto. The most effective options include:
- Hot foiling: Adds metallic shimmer to borders, text, or graphic accents. Gold and rose gold are the top choices for weddings.
- Embossing: Creates a raised texture that guests can feel, adding a luxury quality without extra color.
- Enamel dots: Small adhesive gems that add subtle sparkle to DIY cards. Place them at corners or along borders for a polished look.
- Foam tape mounting: Foam adhesive squares lift photo strips off the card surface, creating a shadow effect that draws the eye directly to the image.
These tactile elements work best when used sparingly. One or two accents per card creates elegance. Too many compete with the photo itself.
AI trading card formats
AI-powered photo booths now produce custom branded cards on-site with holographic finishes, personalized stats, and protective cases. These trading card-style prints serve as party favors during the event and as the base for a thank you card afterward. The format is especially popular for milestone birthdays, sports-themed parties, and corporate team events. Guests receive something genuinely surprising, which makes the follow-up thank you card feel even more special.
Pro Tip: Match your card’s background color to one of the secondary colors in your event photos. This creates visual harmony without requiring a graphic design degree.
What are the step-by-step methods for creating personalized photo booth cards?
Three distinct paths exist for producing wedding photo booth designs and event thank you cards: DIY assembly, template-based online design, and professional print production. Each suits a different budget, timeline, and skill level.
DIY card assembly
- Select your hero photo and print it at home or at a local print shop at 300 DPI minimum.
- Cut your cardstock base to 5×7 using a die-cutting machine or a craft knife and ruler.
- Layer a slightly smaller decorative paper panel on top of the base using foam tape for dimension.
- Mount your printed photo using foam adhesive squares to create a raised focal point.
- Stamp your thank you message using an ink stamp set, or write it by hand with a brush marker.
- Add enamel dots, ribbon, or embossed accents as finishing touches.
- Insert into a matching envelope and seal.
A full batch of DIY cards is achievable in under 30 minutes once your materials are prepped. The Spellbinders die-cutting system is a widely used tool for cutting consistent card shapes and decorative layers.
Template-based online design
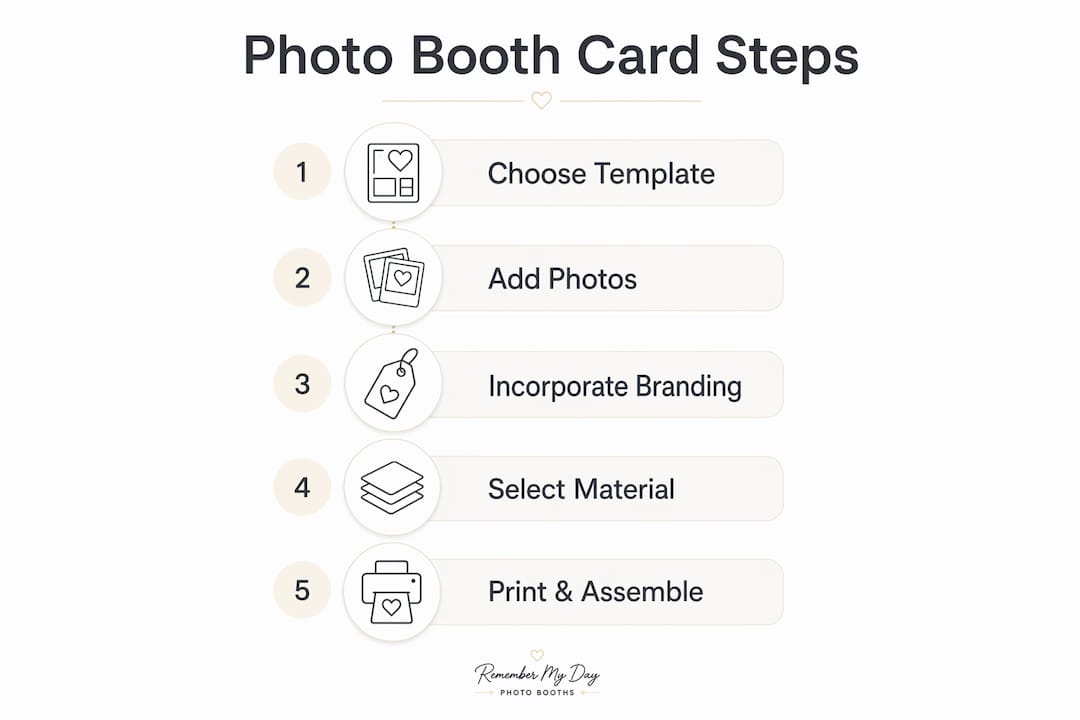
| Step | Action |
|---|---|
| 1. Choose a template | Select a 5×7 flat or folded layout that fits your event style |
| 2. Upload your photo | Use the highest-resolution file available (300 DPI or above) |
| 3. Customize text | Add names, event date, and a short thank you message |
| 4. Match branding | Adjust font, color palette, and any logo placement |
| 5. Proof and order | Review a digital proof, then submit for professional printing |
Professional print production
Working with a professional printer gives you access to premium finishes and consistent quality across large quantities. Share your event branding guide, preferred color codes, and approved photo files with the printer upfront. Confirm the 5-business-day turnaround window and add buffer time for shipping. Request a physical proof before approving the full run.
Pro Tip: For AI trading card formats, coordinate with your photo booth vendor before the event. Confirm that print-ready digital assets include event branding and meet resolution requirements so you are not chasing files after the celebration.
How do you avoid common pitfalls in photo booth card design?
The most frequent mistake is using low-resolution photos. A file that looks sharp on a phone screen often prints blurry on cardstock. Request 300 DPI files directly from your photo booth operator immediately after the event, before those files get compressed or archived.
Layout overcrowding is the second most common issue. Placing too many photos on one card fragments the viewer’s attention and reduces the emotional impact of each image. Stick to one or two hero shots and let white space do the work.
Additional pitfalls to watch for:
- Ignoring branding coherence: Mixing fonts, colors, or graphic styles that do not match your event theme makes the card feel rushed. Choose one font pairing and one color palette before you start designing.
- DIY durability issues: Cards assembled without foam tape or proper adhesive can peel or warp. Use acid-free materials to prevent yellowing over time.
- AI trading card coordination gaps: AI photo booths require vendor coordination before the event to confirm that final cards include on-brand, high-resolution digital assets. Skipping this step leads to mismatched branding or unusable image files.
- Tight print timelines: Professional printing takes about 5 business days from approval. Add shipping time and at least one round of proofing. Start the design process at least three weeks before your send date.
Tactile design choices also affect durability. For inspiration on how presentation and texture influence the way people perceive and remember a physical object, the principle applies directly to card design. A card that feels substantial gets kept. A flimsy card gets tossed.
Key Takeaways
The most effective photo booth thank you card design combines 300 DPI images, event-matched branding, and one or two hero photos to create a card guests genuinely keep.
| Point | Details |
|---|---|
| Resolution is the baseline | Always request 300 DPI files from your photo booth operator right after the event. |
| Limit your hero photos | Use one or two standout images per card to maximize emotional impact. |
| Match your event branding | Align fonts, colors, and logos with your event theme for a cohesive, polished result. |
| Plan your timeline early | Professional printing takes about 5 business days plus shipping, so start at least three weeks out. |
| Tactile finishes add lasting value | Hot foiling, embossing, and foam mounting turn a flat card into a keepsake guests treasure. |
What we have learned from designing thousands of event cards
After working with event organizers across hundreds of celebrations, one truth stands out: the cards guests keep are never the ones with the most photos. They are the ones that feel personal. A single image of a couple laughing in a photo booth, printed on thick matte cardstock with a gold-foiled border and a handwritten note inside, will sit on a refrigerator for years. A card packed with six small images and generic text goes straight into the recycling bin.
We have also seen how much branding matters, even for personal events. When a wedding thank you card uses the same color palette and font as the invitation, guests feel the care that went into every detail. That coherence signals effort. Effort signals love. And that is exactly what a thank you card is supposed to communicate.
The AI trading card format genuinely excites us. It is one of the few formats where the photo booth experience and the thank you card become the same object. Guests leave the event holding something they already treasure, and the follow-up card simply adds a personal message to something they already love. We recommend exploring AI photo booth options early in your event planning process so the vendor has time to build your branding into the design.
One last thing: do not wait until after the event to think about your cards. The best event photo booth planning includes a card design plan from the start. Know your format, your color palette, and your printer before the first guest arrives. That preparation is what separates a card people cherish from one they forget.
— RMD
Rmdphotobooths makes your event photos card-worthy

At Rmdphotobooths, we know that the best thank you cards start with the best photos. Our photo booth experiences are built to produce high-resolution, beautifully composed images that translate perfectly onto premium cardstock. From traditional booths to AI-powered trading card formats, every setup we offer delivers print-ready digital files with your event branding already built in. We serve San Antonio and surrounding areas with over 1,000 five-star reviews behind us. When you are ready to create memories worth sending, book your booth and let us handle the photos so you can focus on the celebration.
FAQ
What size should a photo booth thank you card be?
The standard size for photo thank you cards is 5×7 inches, available in flat or folded formats. This size accommodates one to three photos alongside custom text and fits standard envelopes.
What photo resolution do I need for thank you card printing?
Photos must be at least 300 DPI for clear, sharp prints on cardstock. Request high-resolution files directly from your photo booth operator immediately after the event.
How long does professional thank you card printing take?
Professional custom-printed photo thank you cards typically take about 5 business days from final design approval, not including shipping time. Build in at least three weeks from design start to mailing date.
What is an AI trading card photo booth format?
An AI trading card photo booth produces custom branded cards on-site with holographic finishes and personalized details. These cards serve as both party favors and the base for a personalized thank you card after the event.
How do I make DIY photo booth thank you cards look professional?
Use foam adhesive squares to mount photo strips for a dimensional effect, add hot foiling or embossing for tactile elegance, and limit your design to one or two hero images. Matching your card’s color palette to your event branding ties the whole design together.