
TL;DR:
- Glam booth makeup lighting should be set at 5000–5500K with a CRI of 95 or higher to ensure accurate skin tone and makeup color rendering. Proper positioning involves placing the main light 10–15 degrees above eye level at a 30–45 degree angle for flattering, dimensional photos. Consistent, well-tested lighting and white balance prevent color shifts and improve photo quality at events.
Glam booth makeup-ready lighting is defined as soft, front-facing illumination set between 5000–5500K color temperature to replicate natural daylight and prevent shadows that distort makeup in photos. The difference between a stunning glam shot and a washed-out disappointment almost always comes down to lighting, not makeup skill. Brides, event photographers, and party guests who understand the right makeup lighting setup walk away with photos they treasure forever. This guide covers every glam booth lighting setup decision you need to make, from color temperature and positioning to equipment choices and on-site troubleshooting.
What are the ideal color temperature and brightness settings for glam booth makeup lighting?
Color temperature is the single most important variable in a glam booth lighting setup. The 5000–5500K range mimics natural outdoor daylight, which is the gold standard for foundation matching and detail work. At this temperature, skin tones render accurately, blush reads as blush, and concealer blends without looking chalky or gray.
Warmer tones in the 3200–3500K range serve a different purpose. They simulate indoor or evening ambient light, which helps you preview how makeup will look under venue chandeliers or warm-toned ballroom lighting. Makeup artists often use this warmer setting as a final check before a client steps into a reception hall.
Brightness matters just as much as color temperature. For sensitive or aging skin, reducing brightness to 40–50% and increasing the distance between the light source and the subject softens the appearance of fine lines. Harsh brightness at close range amplifies texture, which is the opposite of what a glam booth experience should deliver.
Color Rendering Index, or CRI, measures how accurately a light source reveals the true color of objects compared to natural sunlight. A CRI of 95 or higher is the professional standard for beauty photography. Lights below CRI 90 shift skin tones toward yellow or green, making even expertly applied makeup look off in photos.
| Setting | Recommended Value | Why It Matters |
|---|---|---|
| Color temperature (daylight) | 5000–5500K | Matches natural light for accurate foundation and skin tone |
| Color temperature (warm check) | 3200–3500K | Previews makeup under indoor event lighting |
| CRI rating | 95 or higher | Ensures true color rendering in photos |
| Brightness for sensitive skin | 40–50% of maximum | Reduces harsh texture and fine-line emphasis |
| Light-to-subject distance | 12–18 inches | Balances detail clarity with soft, flattering coverage |
Pro Tip: Set your glam booth light to 5000K for the makeup application phase, then switch to 3200K for a 30-second warm-light preview before the final shot. This two-step check catches any blush or bronzer that reads too heavy under event lighting.
How should glam booth lighting be positioned to highlight makeup best?
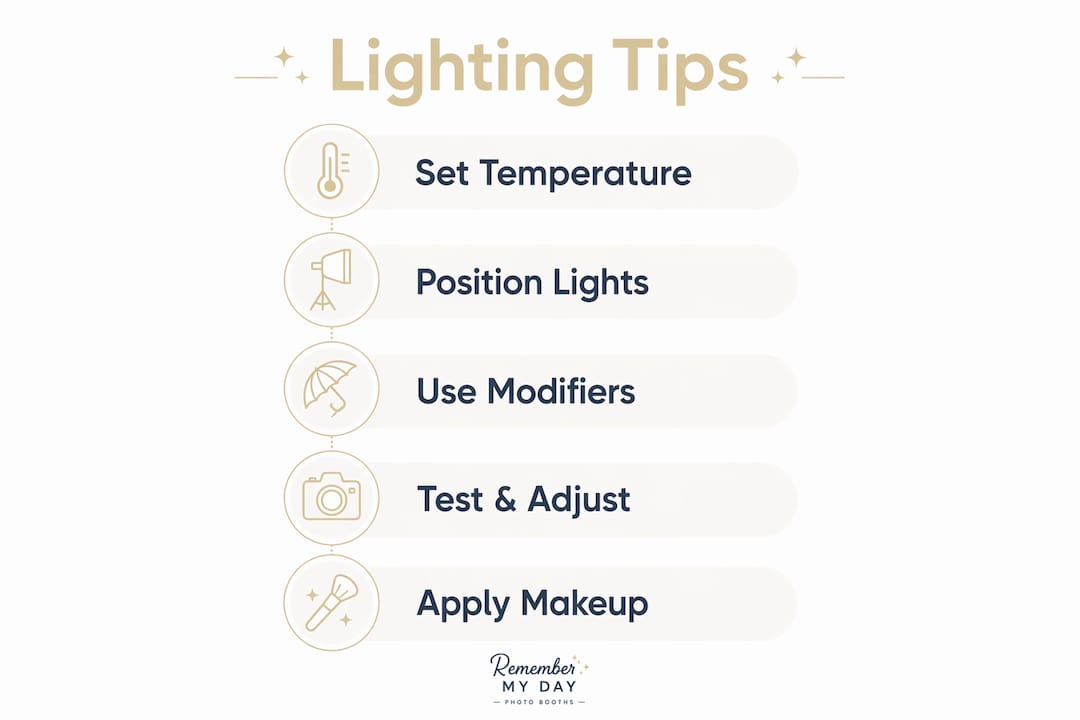
Positioning controls whether your lighting flatters or exposes. The professional standard places the main light source 10–15 degrees above eye level and slightly off-center. This angle mimics the way sunlight falls on a face outdoors, creating gentle dimension without harsh shadows.
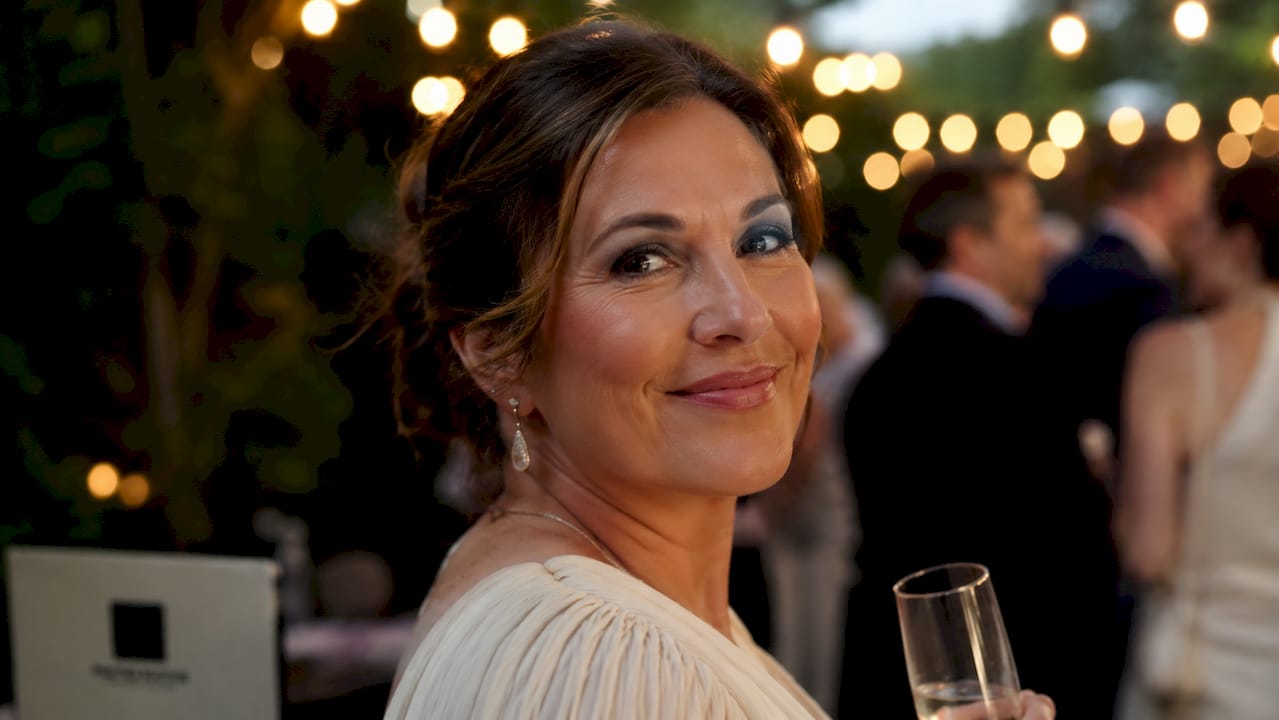
Butterfly lighting is the industry standard for beauty portraits. Achieved by placing a softbox or beauty dish above and in front of the face at a 30–45 degree angle, it creates a small, flattering shadow directly under the nose. That shadow defines the cheekbones and jawline, adding a cinematic quality that a flat, straight-on ring light alone cannot replicate.
Fill light placement is equally important. A fill light set at roughly half the intensity of the main light softens shadows on the opposite side of the face without erasing depth entirely. Without fill, one side of the face goes dark, and makeup on that side disappears in the photo.
Distance control follows the Inverse Square Law: moving a light twice as close increases its intensity fourfold. This principle gives you precise control over brightness without changing any settings on the light itself. Moving the light back two feet can eliminate glare on a shiny forehead; moving it forward can bring out eye shadow detail.
Key positioning guidelines for your glam booth lighting setup:
- Place the main light 10–15 degrees above eye level, never directly overhead or below chin level.
- Use butterfly lighting at a 30–45 degree angle above center for cheekbone definition.
- Set fill light at 50% of main light intensity on the opposite side to soften shadows.
- Keep the main light 12–18 inches from the subject for detail without glare.
- Avoid placing lights directly to the side, which creates unflattering split-face shadows.
Pro Tip: Tape a small piece of white foam core to the opposite side of your main light as a budget fill reflector. It bounces enough light to soften shadows without adding another power source to manage.
Which lighting tools and modifiers deliver the best glam booth makeup-ready setup?
Ring lights, softboxes, and LED panels each approach the glam booth lighting challenge differently. A ring light with 95+ CRI and adjustable color temperature positioned 12–18 inches above eye level delivers clean, even front-facing light with minimal shadow. The circular catchlight it creates in the eyes is a signature beauty photography look that reads as polished and professional.
Softboxes produce softer, more directional light than ring lights. Softbox modifiers sized appropriately to their distance from the subject create flattering shadows that add dimension without harshness. The key is the diameter-to-distance ratio: a larger softbox placed farther away produces the same soft quality as a smaller one placed closer, but covers more of the face evenly.
LED panels with adjustable color temperature and high CRI ratings offer the most flexibility for event environments. They run cool, draw low power, and can shift from 3200K to 5500K with a dial. For event photo booth setups where you need to move equipment quickly between venues, LED panels pack down faster than softbox rigs.
Modifiers worth adding to any setup:
- Diffusion panels: Stretch over LED panels or ring lights to soften output and reduce glare on oily or dewy skin.
- Reflectors: White or silver reflectors bounce light back to fill shadow areas without adding another powered source.
- Barn doors: Attach to LED panels to control light spill and prevent venue ambient light from mixing with your setup.
- Beauty dishes: Deliver a focused, slightly harder light than softboxes, ideal for dramatic glam looks with strong contouring.
How to test and troubleshoot glam booth lighting for flawless makeup on camera
Testing your lighting before guests arrive is not optional. It is the step that separates professional results from guesswork. Shoot test frames at the exact location where the glam booth will operate, using the same camera settings you plan to use during the event. Review those frames on a calibrated monitor or a phone screen held next to the subject’s face.
Mixed light sources are the most common cause of patchy, uneven makeup in glam booth photos. Mixing multiple color temperatures causes uneven shadows that make foundation look streaky and blush look muddy. The fix is simple: pick one color temperature and commit to it. Turn off or block any ambient light sources that differ from your chosen setup.
Professionals recommend achieving a three-to-one subject-to-ambient light ratio for consistent glam booth photos. This means your booth lighting should be three times brighter than the surrounding venue light. At this ratio, the camera’s auto white balance cannot average the two sources together, and makeup color stays true.
Locking camera white balance is a step many photographers skip at events. When white balance is set to auto, the camera constantly adjusts as ambient light changes, which shifts skin tones between shots. Set white balance manually to match your light source’s color temperature and lock it before the first guest steps in.
Common pitfalls and how to fix them:
- Harsh overhead lighting: Block venue ceiling lights above the booth with a portable backdrop or reposition the booth away from direct overhead fixtures.
- Uneven illumination: Check that both sides of the face receive light by shooting a test frame and examining shadow depth on each cheek.
- Glare on skin: Move the main light back six inches or add a diffusion panel to reduce intensity without losing color quality.
- Color shift between shots: Lock white balance manually and avoid repositioning lights after the first test frame.
- Flat, shadowless look: Introduce a second light at a 30–45 degree angle using the butterfly technique to restore facial dimension.
Pro Tip: Shoot a short video clip of a test subject in the booth and scrub through it frame by frame. Video reveals flickering from mismatched LED frequencies that still photos miss entirely.
What are makeup application tips for glam booth lighting scenarios?
Applying makeup under the wrong light is one of the most common reasons glam booth photos disappoint. Applying base makeup under daylight-balanced light at 5000–5500K gives you the most accurate view of coverage, blending, and undertone matching. Foundation applied under warm incandescent light often looks too light or too pink once photographed under daylight-balanced booth lighting.
The “second-light check” method is a professional technique worth adopting. After completing the full makeup look under daylight-balanced light, switch to a warmer 3200K source for 60 seconds and examine blush, bronzer, and powder. Warm light reveals whether those products will look natural under venue lighting or appear overdone.
Makeup application tips tailored to glam booth lighting conditions:
- Blend foundation under 5000–5500K light to catch any unblended edges that daylight exposes but warm light hides.
- Check blush and bronzer under warm light before finalizing, since these products intensify under cooler daylight-balanced setups.
- Avoid heavy powder application near the hairline and jaw, where glam booth lighting catches excess product and creates a white cast in photos.
- Use a portable lighted mirror with adjustable color temperature for touch-ups at the event, so makeup prep matches the booth’s lighting conditions.
- Apply highlight sparingly. Glam booth lighting already creates luminosity. Heavy highlighter on the nose bridge or cheekbones can blow out in high-resolution photos.
For brides and event guests, coordinating with your makeup artist about the booth’s lighting setup before the event pays off in every photo. Share the color temperature and positioning details so the artist can calibrate their application accordingly. This is a detail that customizing your photo booth experience makes genuinely easy to communicate in advance.
Key Takeaways
The most effective glam booth makeup-ready lighting setup combines 5000–5500K daylight-balanced illumination, butterfly positioning at 30–45 degrees, and a CRI of 95 or higher to deliver accurate, flattering photos every time.
| Point | Details |
|---|---|
| Color temperature matters most | Set lights to 5000–5500K for accurate makeup rendering and true skin tone color. |
| CRI 95+ is non-negotiable | Lights below CRI 90 shift skin tones and make even great makeup look off in photos. |
| Butterfly positioning adds dimension | Place the main light 30–45 degrees above center to define cheekbones and avoid flat lighting. |
| Lock white balance before shooting | Manual white balance prevents color shifts between shots as venue ambient light changes. |
| Do a second-light check | Preview the final makeup look under 3200K warm light to catch any product that reads too heavy. |
What we’ve learned from setting up glam booths at real events
After working across hundreds of events in San Antonio, from weddings at historic venues to corporate galas with complex ambient lighting, the lesson that keeps proving itself is this: the lighting setup matters more than the camera.
We have seen guests arrive with flawless professional makeup that photographed poorly because the booth was positioned near a window with shifting afternoon light. We have also seen simple, well-applied makeup photograph beautifully because the lighting was consistent, front-facing, and properly color-balanced. The camera captures what the light reveals.
The mistake we see most often is treating the glam booth as a standalone unit without accounting for the venue’s existing light. A ballroom with warm amber uplighting will fight a 5500K booth light and create mixed-source color problems that no post-processing fix can fully correct. Arriving early to assess ambient light and adjusting the booth position or adding barn doors to block spill is the move that separates great results from acceptable ones.
Small adjustments produce outsized results on high-resolution cameras. Moving a light six inches, adding a diffusion panel, or switching from 5500K to 5000K can shift a photo from “pretty good” to genuinely stunning. We encourage every client to schedule a brief lighting test before guests arrive. That 15-minute investment protects hours of makeup preparation and creates photos worth keeping for a lifetime.
— RMD
Rmdphotobooths brings expert glam booth lighting to your event
At Rmdphotobooths, we know that great photos start with great lighting. Our glam booth rental in San Antonio is built around professional-grade, makeup-ready illumination that flatters every skin tone and captures every detail of your look.

Every glam booth we set up uses high-CRI continuous lighting with adjustable color temperature, positioned and tested before your first guest steps in. We handle the lighting setup so you can focus on the celebration. With over 1,000 five-star reviews and experience across weddings, corporate events, and private parties, we know what it takes to create those “wow” moments. Book your glam booth today and let us make your event truly shine.
FAQ
What color temperature is best for glam booth makeup photos?
The best color temperature for glam booth makeup photos is 5000–5500K, which mimics natural daylight and renders skin tones and makeup colors accurately. Warmer settings around 3200–3500K work well as a secondary check to preview how makeup looks under indoor event lighting.
What CRI rating should glam booth lights have?
Glam booth lights should have a CRI of 95 or higher to accurately render makeup colors in photos. Lights below CRI 90 introduce color shifts that make foundation and blush look unnatural on camera.
What is butterfly lighting and why does it matter for beauty photos?
Butterfly lighting places the main light above and in front of the face at a 30–45 degree angle, creating a small shadow under the nose that defines cheekbones and the jawline. It is the industry standard for beauty portraits because it adds dimension that flat, direct lighting cannot produce.
How do I prevent mixed lighting from ruining glam booth photos?
Choose one color temperature for your entire setup and block or turn off any ambient light sources that differ from it. Locking the camera’s white balance manually prevents the camera from averaging mixed sources, which keeps makeup colors consistent across every shot.
Should I apply makeup differently for a glam booth setting?
Apply base makeup under daylight-balanced light at 5000–5500K for the most accurate blending, then do a second-light check under warm 3200K light to preview blush and bronzer. Avoid heavy highlighter and excess powder near the hairline, since glam booth lighting amplifies both.