
TL;DR:
- Effective event photo booth planning involves thorough equipment organization, strategic location selection, and comprehensive setup testing. Proper staffing, clear guest instructions, and creative post-event displays enhance guest engagement and enjoyment. Allow sufficient time for setup, testing, and troubleshooting to ensure a smooth, memorable experience.
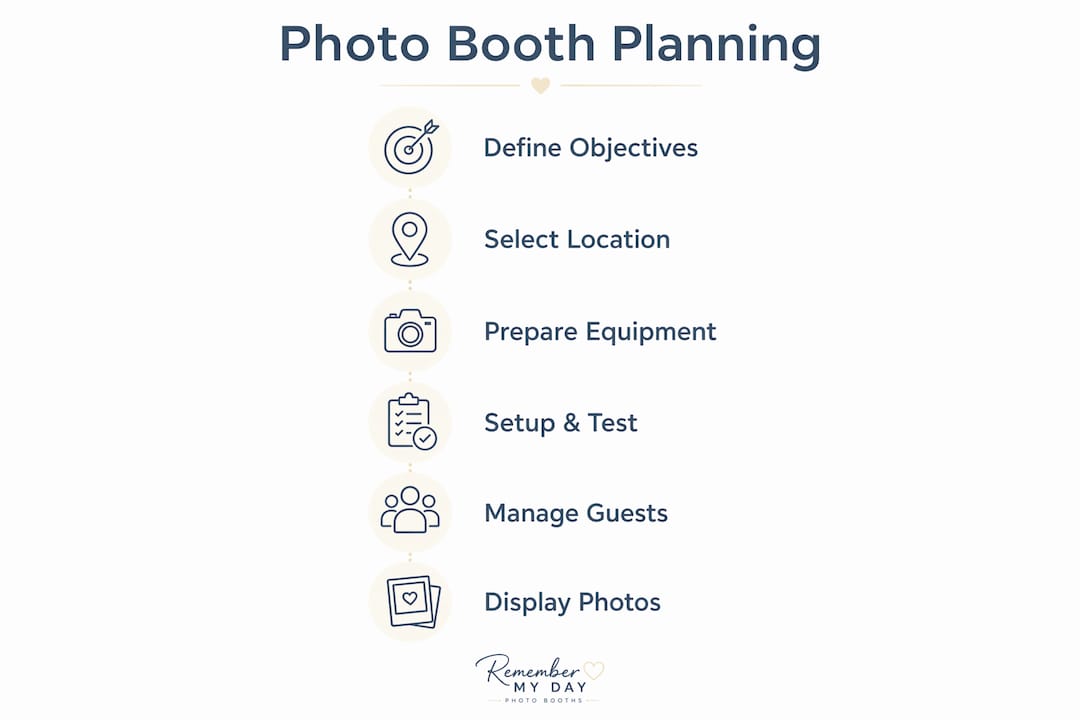
Step by step event photo booth planning is the process of systematically organizing equipment, space, and timing to create an engaging and hassle-free photo booth experience at any event. Whether you are coordinating a wedding reception in San Antonio or a corporate networking night, the difference between a booth that guests love and one that sits empty comes down to preparation. This guide walks you through every phase, from defining clear objectives and selecting the right gear to testing your setup and managing guest flow. Get these steps right, and your photo booth becomes one of the most talked-about moments of the night.
What are the essential tools for event photo booth planning?
The right equipment is the foundation of any successful photo booth setup. Every professional rig centers on five categories: camera, lighting, touchscreen interface, print station, and backdrop with props.
| Equipment Category | Purpose | Popular Options |
|---|---|---|
| Camera | Captures high-resolution images | DSLR (Canon, Nikon), mirrorless cameras |
| Lighting | Eliminates shadows, flatters guests | Ring lights, softbox kits, LED panels |
| Touchscreen Interface | Controls software, guides guests | iPad, dedicated kiosk displays |
| Print Station | Delivers instant keepsakes | DNP, HiTi, Mitsubishi dye-sub printers |
| Backdrop and Props | Sets the visual theme | Fabric backdrops, balloon walls, themed props |
Software is just as critical as hardware. Platforms like Darkroom Booth, Simple Booth HALO, and Snappic handle image capture, on-screen editing, and digital sharing in one package. Choosing software that supports both print and social media sharing gives guests two ways to keep their memories.
Modern booths also offer features that go well beyond a simple snapshot. AI-powered photo booth technology can transform guest photos into watercolor portraits or stylized art in seconds. A 360-degree video booth creates shareable slow-motion clips that guests post immediately. These extras turn a standard rental into a genuine conversation piece.
Pro Tip: Pack all gear in color-coded cases and follow a logical assembly order every time. Experienced professionals who organize gear this way cut setup time significantly and reduce the chance of leaving a cable or adapter behind.
How do you select the best photo booth location at your event?
Location determines how many guests actually use your booth. A booth tucked in a corner near the coat check will get a fraction of the traffic that a booth placed near the bar or dance floor receives.
Use these criteria when scouting your spot:
- Visibility: The booth should be visible from the main gathering area. Guests need to see it to use it.
- Accessibility: Allow at least 8–10 feet of clear space in front of the backdrop for a guest line and group shots.
- Power access: Confirm the nearest outlet can handle your equipment load. Inadequate electrical capacity is one of the most common causes of booth malfunction at live events.
- Foot traffic flow: Position the booth so the line does not block a main walkway, bar, or catering station.
- Lighting conditions: Avoid placing the booth near windows with direct sunlight. Natural light changes throughout the event and can wash out your studio lighting.
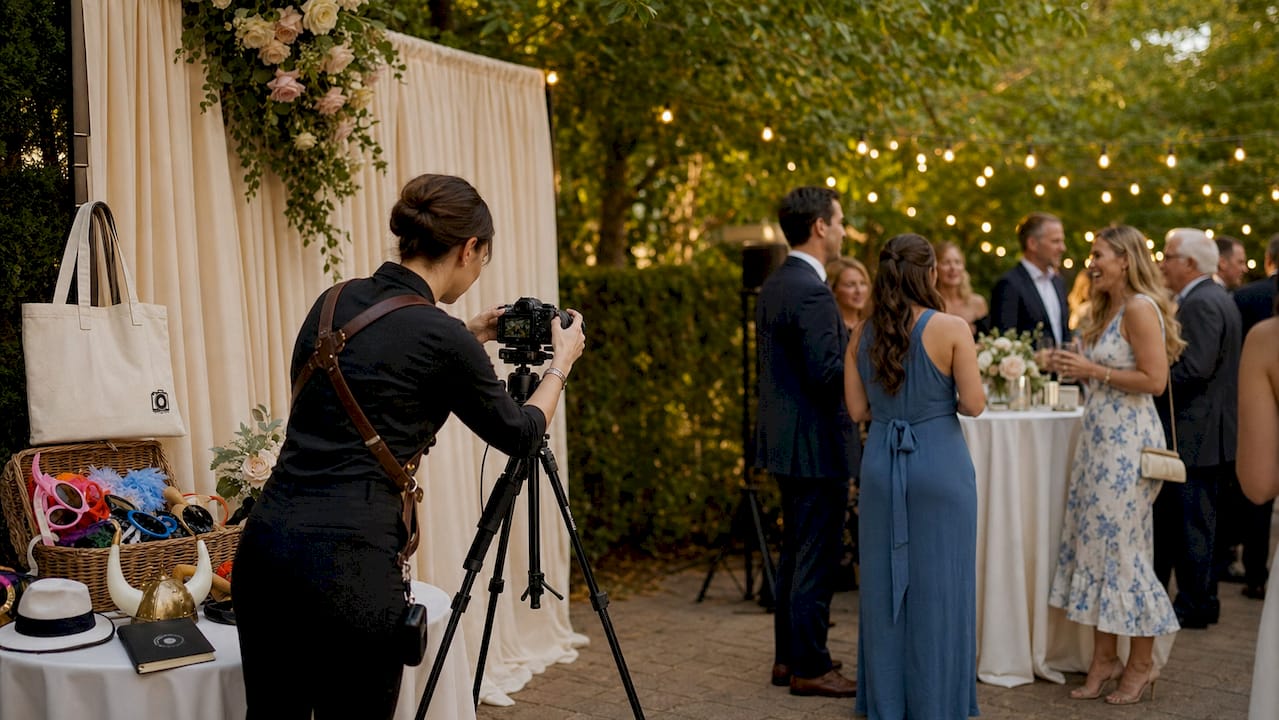
For weddings, the cocktail hour space is often the best placement. Peak booth traffic at weddings happens during cocktail hour, so placing the booth there captures guests at their most social and relaxed. For corporate events, position near networking break areas to catch guests between sessions.
Backdrop placement matters too. A clean, well-lit backdrop with branded or themed elements photographs beautifully and encourages guests to share images online. Pair it with a small prop table within arm’s reach so guests can grab items without stepping out of frame.
Pro Tip: Visit the venue at least one day before the event. Test your lighting against the actual background wall and check for glare, shadows, or color casts that only show up on location.
What are the step-by-step setup and testing procedures?
A flawless booth on event day is the result of a disciplined setup process. Professional setups require a minimum of 30–45 minutes for basic assembly, with 90 minutes recommended for a full, stress-free test run. Build that time into your event timeline without exception.
Follow this numbered sequence every time:
- Unpack and inventory all gear against your checklist before touching any equipment.
- Assemble the frame or enclosure according to the manufacturer’s instructions.
- Install the backdrop and smooth out any wrinkles. Fabric backdrops benefit from a steamer.
- Mount and position the camera at eye level for most guests, roughly 5 feet high.
- Set up and adjust lighting so it flatters faces without harsh shadows. Test with a live subject.
- Connect and configure the touchscreen interface and load your event’s software template.
- Set up the print station and load paper and ink. Run a test print immediately.
- Connect to Wi-Fi or confirm offline mode is active. Offline modes that store images for later delivery protect the guest experience in venues with weak connectivity.
- Run a complete test cycle: capture a photo, apply a filter or overlay, print it, and send a digital copy via email or SMS.
- Arrange props on the prop table and do a final visual check of the full setup.
Complete your full operational test at least 60 minutes before guests arrive. That window gives you time to fix a paper jam, recalibrate color settings, or swap out a faulty cable without any pressure.
Common issues to watch for during testing include:
- Print color that looks too warm or too cool compared to the screen preview
- Touchscreen lag caused by an outdated software version
- Wi-Fi drops that interrupt digital sharing
- Backdrop wrinkles that create distracting shadows in photos
Resolving these before the first guest arrives is what separates a professional setup from an amateur one.
How do you manage guest flow and interaction during the event?
Smooth guest flow keeps the energy high and the line moving. The biggest mistake planners make is assuming guests will figure out the booth on their own. They will not, and a confused guest slows down everyone behind them.
Here is how to keep things running well:
- Station a booth attendant at every event with more than 50 guests. The attendant guides guests through the touchscreen, suggests prop combinations, and handles minor technical issues on the spot.
- Post clear signage at the booth entrance with a simple three-step instruction: step in, tap the screen, grab your print. Large, readable text works better than a paragraph of instructions.
- Monitor supply levels throughout the event. Knowing peak usage times by event type lets you schedule supply checks strategically. For weddings, restock paper and ink before the reception dinner ends, not after the rush starts.
- Keep a backup kit on site. This should include extra print paper, ink cartridges, a spare USB cable, and a portable Wi-Fi hotspot.
- Rotate props regularly. Swapping in new props midway through the event gives returning guests a reason to visit the booth again.
For personalized photo booth experiences, consider adding a custom overlay that matches your event theme. A branded corporate overlay or a monogram for a wedding makes every print feel intentional and special.
What are the best ways to display photo booth pictures after the event?
The photos do not have to disappear when the event ends. Creative display ideas extend the joy and give guests something to treasure long after the night is over.
Popular display methods include:
- Photo collage walls: Arrange prints in a grid pattern on a foam board or corkboard. This works beautifully at weddings as a guest book alternative.
- Mini albums: Provide small kraft paper albums at the booth so guests can slip their prints in before leaving.
- Photo garlands: String prints along a twine line with mini clothespins for a charming, rustic display.
- Framed shadow boxes: Collect a curated selection of prints and frame them as a post-event keepsake for the host.
Digital sharing extends the reach even further. Set up automatic email or SMS delivery so guests receive their digital copy within minutes. Encourage social sharing by including a custom event hashtag on every print overlay. A digital memory board or a collaborative message wall can also complement your booth by giving guests a second way to leave a mark on the event.
| Display Method | Best For | Effort Level |
|---|---|---|
| Collage wall | Weddings, milestone birthdays | Medium |
| Mini albums | All event types | Low |
| Photo garlands | Casual parties, showers | Low |
| Framed shadow box | Corporate gifts, wedding keepsakes | High |
| Digital sharing via SMS/email | All event types | Low |
Key takeaways
Successful event photo booth planning depends on clear goals, organized equipment, strategic placement, and a complete technical test run at least 60 minutes before guests arrive.
| Point | Details |
|---|---|
| Define objectives first | Clear goals like brand awareness or guest keepsakes direct every equipment and software choice. |
| Allow 90 minutes for setup | Build in buffer time for assembly, lighting adjustment, and a full test cycle before the event starts. |
| Choose location strategically | Place the booth near peak social zones and confirm power access and foot traffic flow in advance. |
| Staff the booth with an attendant | A dedicated attendant keeps the line moving and resolves technical issues before they frustrate guests. |
| Plan post-event displays | Collage walls, mini albums, and digital sharing extend guest enjoyment well beyond the event itself. |
What we have learned after hundreds of events
The single biggest mistake we see is treating setup as something that can be rushed. Planners book a beautiful venue, choose a stunning backdrop, and then try to set up in 20 minutes because the caterer needed the space longer. That is where things go wrong. A paper jam at the start of cocktail hour, a touchscreen that has not been calibrated, a backdrop with a wrinkle right at eye level. These are not bad luck. They are the result of skipping the buffer.
What we have found actually works is treating the photo booth setup process like a dress rehearsal. Run the full cycle at home or in the shop before you ever load the van. Print a test photo. Send a test text. Confirm the overlay looks right. Then do it again on site. That second run catches the issues the first one missed.
We also believe technology should serve the guest, not impress the planner. A 360-degree booth is spectacular, but if your venue has a low ceiling or a narrow hallway, it creates more problems than memories. Match the technology to the space and the crowd. A well-lit traditional booth with a great backdrop and fun props will outperform a technically complex setup that confuses guests every single time.
The events we are most proud of are not the ones with the fanciest gear. They are the ones where every guest walked away with a print in hand and a smile on their face.
— RMD
Ready to make your event unforgettable?
Planning a photo booth from scratch takes time, gear, and a lot of moving parts. If you want to skip the stress and go straight to the “wow” moments, Rmdphotobooths has you covered.

We offer everything from traditional photo booth rentals to AI-powered experiences and 360-degree video booths, all backed by over 1,000 five-star reviews across weddings, corporate events, and private parties in San Antonio. Every rental includes professional setup, a dedicated attendant, and all the props and printing supplies you need. Browse our full range of photo booth experiences or book your date now before your preferred slot fills up.
FAQ
How long does it take to set up a photo booth?
Professional photo booth setup takes a minimum of 30–45 minutes for basic assembly, with 90 minutes recommended for a complete test run including printing and digital sharing.
When should i test the photo booth before the event?
Complete a full operational test at least 60 minutes before guests arrive. This gives you time to fix print jams, connectivity issues, or software errors without any pressure.
Where is the best place to put a photo booth at a wedding?
The cocktail hour space is the best location for a wedding photo booth. Wedding booth traffic peaks during cocktail hour when guests are social, relaxed, and looking for something fun to do.
Do i need a booth attendant at my event?
Yes, for any event with more than 50 guests. An attendant guides guests through the touchscreen, keeps the line moving, and handles minor technical issues before they become bigger problems.
What should i include in a photo booth planning checklist?
Your checklist should cover camera, lighting, touchscreen software, print station supplies, backdrop, props, power access confirmation, Wi-Fi or offline mode setup, and a complete test cycle before the event starts.
