Event design is the discipline of intentionally shaping how attendees move through, feel about, and remember an experience — and the single first action to take is defining the outcome you want attendees to walk away with before you touch a single vendor contract. Get that outcome on paper first. Everything else, from furniture to lighting cues to the run-of-show, flows from it.
Here are the five design dimensions that frame every decision in this guide:
- Visual environment: color palette, décor, branding surfaces, and spatial aesthetics.
- Spatial layout: floor plan, traffic flow, sightlines, and seating configuration
- Sensory atmosphere: lighting, sound, scent, and tactile touchpoints
- Attendee journey: the sequence of experiences from arrival through close
- Programming: content, activations, entertainment, and pacing.
Key Takeaways
Event design is the strategic discipline of shaping attendee movement, emotion, and memory across five dimensions, and it must be locked in writing before any vendor contract is signed.
| Point | Details |
|---|---|
| Define the outcome first | Write a one-sentence attendee outcome before any creative or vendor work begins. |
| Lock design before vendors | Issue a design brief to every vendor before contracts are signed to prevent costly misalignment. |
| Map the journey in five phases | Use arrival, orientation, engagement peak, transitions, and close as the framework for every design decision. |
| Protect lighting and AV budget | These two line items have the highest impact on perceived quality and are the most frequently cut by mistake. |
| Rmdphotobooths for activation | Rmdphotobooths photo booth experiences integrate with your design brief to drive dwell time, branded social shares, and measurable engagement at San Antonio events. |
Table of Contents
- What event design actually means (and how it differs from styling)
- Core principles every event designer relies on
- Common types of event design and when each approach fits
- A step-by-step event design workflow you can follow
- The technical and sensory elements you need to specify
- How to measure whether your event design achieved its goals
- Frequent event design mistakes and how to fix them
- How to use an attendee-journey template and integrate interactive experiences
- Three mini case scenarios showing event design in practice
- Practical checklists, timeline milestones, and cost drivers
- A practitioner’s perspective on what actually matters in event design
- Photo booth experiences that serve your event design goals
- Sources
What event design actually means (and how it differs from styling)
Event design is frequently confused with two neighboring disciplines: event styling and event planning. The confusion costs planners real money and real outcomes. Event designing shapes attendee movement, feelings, and memory across all five dimensions listed above. Styling is the decorative layer that sits on top of a design. Planning is the logistics engine that executes it. All three are necessary; none is interchangeable.
| Discipline | Core focus | Primary deliverable |
|---|---|---|
| Event design | Attendee experience and behavior | Design brief, journey map, spatial concept |
| Event styling | Decorative aesthetics | Mood board, décor specification |
| Event planning | Logistics and execution | Run-of-show, vendor contracts, budget |
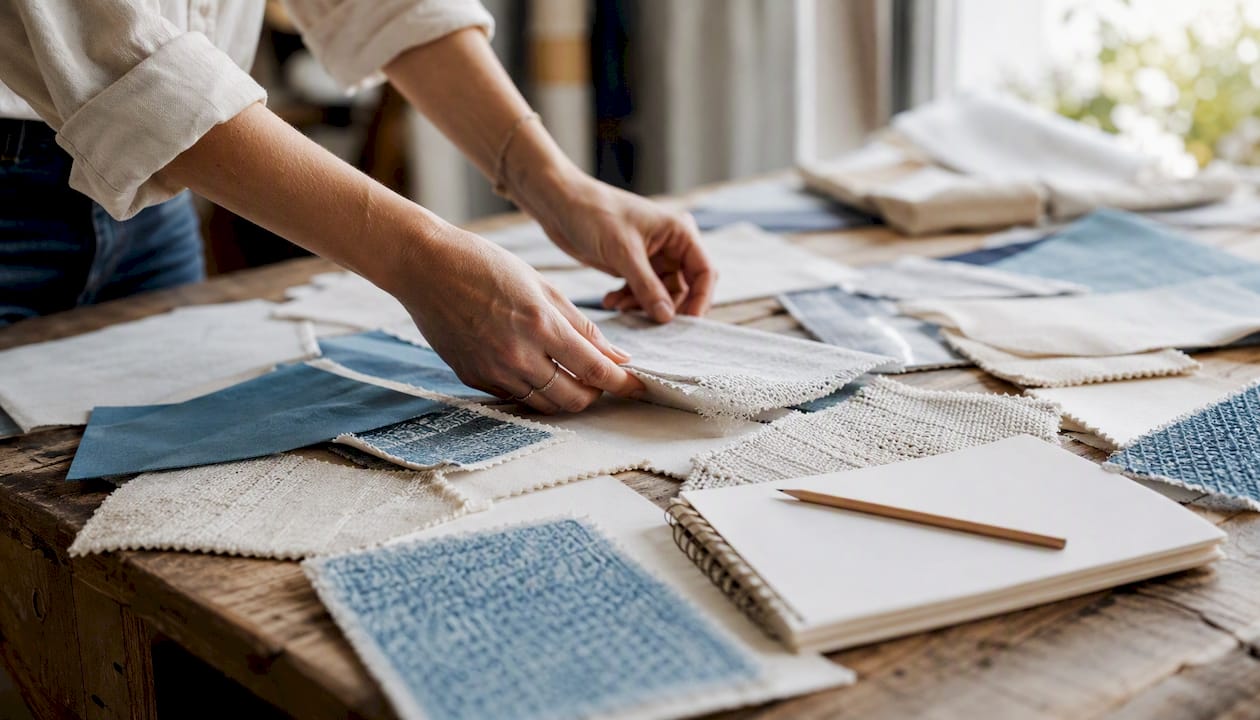
The five simultaneous dimensions of event design give you a practical lens for every decision. Visual environment covers everything a guest sees: color, texture, branding, and décor. Spatial layout determines how people move and where they gather. Sensory atmosphere layers in lighting temperature, background sound levels, and even scent. The attendee journey maps the emotional arc from arrival to departure. Programming fills that arc with content, activations, and entertainment that reinforce the event’s core message.
Pro Tip: Lock your design intent in writing before you sign a single vendor contract. A caterer, AV company, or furniture rental firm selected before the design brief exists will make choices that serve their defaults, not your attendee outcomes.
Core principles every event designer relies on
Strong event design is guided by a compact set of principles. When trade-offs arise, these principles tell you which choice to make.
- Storytelling and theme: Every element should reinforce a single narrative. Strong themes function as conversation starters and drive pre-event buzz and social sharing, which means the theme should be communicated in the save-the-date, not just the décor.
- Attendee journey and emotional mapping: Design the emotional arc deliberately. Arrival should feel welcoming and orienting; the engagement peak should feel energizing; the close should feel satisfying and memorable.
- Spatial intelligence and flow: Pre-planned circulation prevents bottlenecks and maximizes reach. Academic urban-design research confirms that spatial intelligence in public-space events requires deliberate pre-planning to avoid crowd congestion.
- Sensorial design: Lighting, sound, scent, and texture work together. Brighter, cooler lighting improves attention during content-heavy sessions; warmer, softer lighting supports networking and relaxed conversation.
- Timing, pace, and scale: The rhythm of transitions matters as much as the content itself. A session that runs long compresses the networking break, which collapses the social value of the event.
- Branding consistency: Every touchpoint, from the entrance sign to the napkin print, should feel like it belongs to the same story.
Think of your event as a series of peak moments connected by transitions. Map them on a simple timeline: arrival, orientation, first engagement peak, mid-event transition, second peak, and close. Assign a design owner and a target emotion to each. That single diagram will surface more conflicts and opportunities than any mood board.
Common types of event design and when each approach fits
Not every event calls for the same design approach. The format shapes which dimensions dominate.
- Corporate conferences and summits: Content and networking compete for design priority. Theater-row seating maximizes capacity but limits interaction; cabaret-style encourages discussion but reduces sightlines to the stage. The primary design trade-off is always capacity versus connection. For corporate event theme examples that balance both, a strong theme anchors the content track while activations in the networking zones carry the social energy.
- Weddings and social events: Guest comfort and personal storytelling dominate. The attendee journey here is deeply emotional, and the design must honor the couple’s or host’s narrative at every touchpoint, from the ceremony entrance to the last song.
- Brand activations and experiential events: Interaction and social lift are the primary metrics. The design prioritizes dwell time, shareable moments, and brand recall. Every activation zone should have a clear call to action and a measurable output (photo taken, badge scanned, sample collected).
- Hybrid and virtual events: The design must serve two simultaneous audiences. Harvard’s HSPH research on real-world event planning documents that clearer circulation, stronger contingency plans, and integrated virtual elements are the practical shifts that make hybrid formats work. The in-room experience and the digital stream need separate journey maps that converge at key moments.
Pro Tip: For hybrid events, assign a dedicated “virtual attendee producer” whose only job is managing the digital experience. The in-room team will always default to serving the physical audience when pressure hits.
A step-by-step event design workflow you can follow
A five-stage process keeps design decisions in the right order and prevents the most common and expensive mistakes.
- Define objectives and audience. Write one sentence describing the attendee outcome. Identify the audience segments and their expectations. Set success metrics before any creative work begins. A structured planning timeline reduces last-minute stress and improves vendor availability.
- Develop concept and theme. Translate the objective into a theme and visual language. Deliverables: mood board, color palette, tone-of-voice guide, and a one-paragraph design brief.
- Map the attendee journey. Sketch the emotional arc from arrival to departure. Assign a design touchpoint and a target emotion to each phase. This map becomes the brief for every vendor.
- Spatial planning and technical brief. Draw or commission a floor plan. Specify lighting zones, AV positions, sightlines, and traffic flow. Identify accessibility requirements and safety egress paths. Seating configuration is a design decision, not a logistics one — choosing the right event seating directly affects how attendees interact and feel.
- Detail design, rehearsal, and run-of-show. Finalize all vendor specs. Run a full technical rehearsal. Walk the space as an attendee would. Lock the run-of-show document and distribute it to every vendor 72 hours before the event.
Budget drivers to flag early: venue and production (typically the largest line items), AV and lighting, activations and entertainment, and printed or digital signage. Timeline milestones: concept locked at 12+ weeks out, floor plan approved at 8 weeks, vendor specs issued at 6 weeks, rehearsal completed 48 hours before doors open.
Pro Tip: Freeze your design intent before final vendor contracts are signed. Changes after contracts are executed cost two to three times more and compress the timeline for every downstream vendor.
The technical and sensory elements you need to specify
Briefing vendors without a specification document is one of the fastest ways to watch a design concept dissolve on event day. Here is what to cover.
- Lighting: Specify color temperature (warm 2700K–3000K for social zones, cool 4000K–5000K for content stages), intensity levels, and programmed transition cues tied to the run-of-show. Lighting is the most powerful nonverbal cue for shifting attendee mood and attention.
- Sound and AV: Background music levels (typically 65–70 dB for networking, lower for content sessions), speaker placement, microphone types, and screen/projection sightlines from every seating zone.
- Seating and furniture: Configuration (theater, cabaret, lounge, banquet), ergonomic fit for session length, and flow between zones. For outdoor setups, outdoor event seating workflows require additional planning for terrain, weather contingencies, and temporary structure permits.
- Wayfinding and signage: Entry signage, directional markers, session-room identifiers, and emergency egress signs. Every sign is a branding surface and a guest-experience touchpoint.
- Branding surfaces: Step-and-repeat backdrops, table linens, stage fascia, digital screens, and photo activation zones.
- Scent and tactile cues: Subtle ambient scent in arrival zones, textured materials at touch points (registration desk, lounge seating), and branded tactile giveaways.
- Catering flow: Station placement relative to traffic flow, service timing tied to the run-of-show, and dietary signage.
- Accessibility and safety: Wheelchair-accessible pathways, hearing loop availability, clear egress routes, and emergency procedure briefings for all staff. Peer-reviewed research on event safety and crowd management confirms that rehearsed, staged flow and controlled circulation reduce risk in dense gatherings.
| Element | Specification to lock | Vendor to brief |
|---|---|---|
| Lighting | Color temperature, intensity, transition cues | Lighting/AV company |
| Sound | dB levels by zone, speaker placement | AV company |
| Seating | Configuration, count, ergonomic spec | Furniture rental |
| Signage | Locations, sizes, brand standards | Print/production vendor |
| Activations | Footprint, power, staffing, data capture | Activation vendor |
How to measure whether your event design achieved its goals
Design without measurement is decoration. Every design objective should map to at least one metric and one data source.
- Engagement: Session attendance rates, dwell time at activation zones, and badge-scan data at key touchpoints.
- Sentiment: Post-event survey Net Promoter Score (NPS), open-text responses, and on-site pulse surveys during breaks.
- Social reach: Branded hashtag volume, photo shares from activation zones, and user-generated content (UGC) impressions.
- Behavioral outcomes: Lead scans at brand activations, product samples collected, or sign-ups completed at interactive stations.
| Design objective | Design signal | Measurement method |
|---|---|---|
| Maximize networking | Lounge dwell time | Badge scan + time-stamp data |
| Drive brand recall | Branded photo shares | Social listening / hashtag count |
| Improve content retention | Session attendance rate | Badge scan at room entry |
| Increase attendee satisfaction | Post-event NPS | Survey tool (e.g., Typeform, SurveyMonkey) |
Photo booth interactions are a particularly clean data source. Each print or digital share carries a timestamp, a branded overlay, and a social destination, giving you engagement data, brand impression data, and UGC in a single touchpoint. For corporate event engagement strategies, tying photo activation data to your post-event report makes the ROI case for interactive experiences concrete and repeatable.
Frequent event design mistakes and how to fix them
Most event design failures trace back to a small set of recurring errors. Recognizing them early is far cheaper than fixing them on-site.
- Confusing styling for design. Selecting décor before writing a design brief produces beautiful rooms that don’t serve the attendee journey. Fix: write the brief first; let it dictate the aesthetic.
- Locking vendors before the design is set. A caterer or AV company booked before the floor plan exists will default to their standard setup. Fix: issue a design brief to every vendor before contracts are signed.
- Ignoring flow. Bottlenecks at registration, restrooms, and catering stations destroy the attendee experience faster than any décor choice. Fix: walk the floor plan as an attendee would, at peak load, before finalizing it.
- Poor sightlines. Tall centerpieces, misplaced pillars, and stage placement that forces neck-craning all signal that spatial planning was an afterthought. Fix: check sightlines from the worst seat in the room during the site visit.
- Under-investing in lighting and AV. These two line items have the highest impact on perceived production quality and the highest frequency of being cut to save budget. Fix: protect lighting and AV in the budget before any other line item is finalized.
- Insufficient rehearsal. A run-of-show that has never been walked through live will have gaps, timing errors, and vendor miscommunications. Fix: schedule a full technical rehearsal 48 hours before the event, with every vendor present.
- Accessibility oversights. Wheelchair paths blocked by furniture, no hearing assistance, and unreadable signage are both ethical failures and legal liabilities. Fix: assign one team member as the accessibility lead from the design brief stage onward.
Pro Tip: During rehearsal, assign one person to walk the entire event as a first-time attendee with no briefing. They will find every wayfinding gap, every sightline problem, and every awkward transition that the production team has stopped seeing.
How to use an attendee-journey template and integrate interactive experiences
A journey template turns abstract design intent into a briefing tool every vendor can use. Here is a five-phase structure you can adapt for any event format.
- Arrival: Design touchpoints: entrance signage, greeter positioning, registration flow, first sensory impression (lighting, scent, music). Target emotion: welcomed, oriented, curious.
- Orientation: Design touchpoints: wayfinding signage, welcome remarks or video, printed or digital program. Target emotion: informed, comfortable, ready to engage.
- Engagement peak: Design touchpoints: keynote stage, activation zones, photo experiences, branded moments. Target emotion: energized, connected, inspired.
- Transitions: Design touchpoints: lighting cue changes, music shifts, break signage, catering station placement. Target emotion: refreshed, social, anticipatory.
- Close: Design touchpoints: closing remarks, gift or takeaway, exit experience, social share prompt. Target emotion: satisfied, grateful, likely to share.
For each phase, assign a metric and an owner. Arrival dwell time is owned by the registration lead. Engagement-peak photo shares are owned by the activation vendor. Close NPS is owned by the event manager.
Integrating interactive experiences into the journey:
- Place photo activations at the engagement peak and at the close, not at registration where guests are still orienting.
- Brief the activation vendor with the journey map, not just the footprint spec. They need to know the target emotion and the measurement goal.
- For themed photo setups, align the booth’s visual design with the event’s color palette and branding surfaces so the activation feels like part of the design, not a vendor add-on.
- Assign a dedicated activation host whose job is to encourage participation and capture data, not just operate the equipment.
- For interactive event experiences, the activation zone should have clear sightlines from the main traffic path and enough footprint for a queue of four to six guests without blocking flow.
Pro Tip: Brief your photo booth vendor with the run-of-show, not just the setup time. Knowing when the engagement peak hits lets them staff up, prep props, and prime the queue at exactly the right moment.
Three mini case scenarios showing event design in practice
Conference: content meets networking
Objective: Drive session attendance and post-event lead generation for a 400-person B2B summit.
Primary design choice: Cabaret seating in breakout rooms (discussion-first) with a theater-style main stage. Activation zones placed in the networking corridor between sessions.
Measurement: Badge scans at breakout room entries and lead-capture scans at activation stations.
Do: Use lighting transitions to signal session starts and networking breaks without a verbal announcement.
Don’t: Place all activations in one corner; distribute them along the natural traffic path between sessions.
Wedding: guest comfort and storytelling
Objective: Create an emotionally resonant experience that reflects the couple’s story and keeps guests engaged through a four-hour reception.
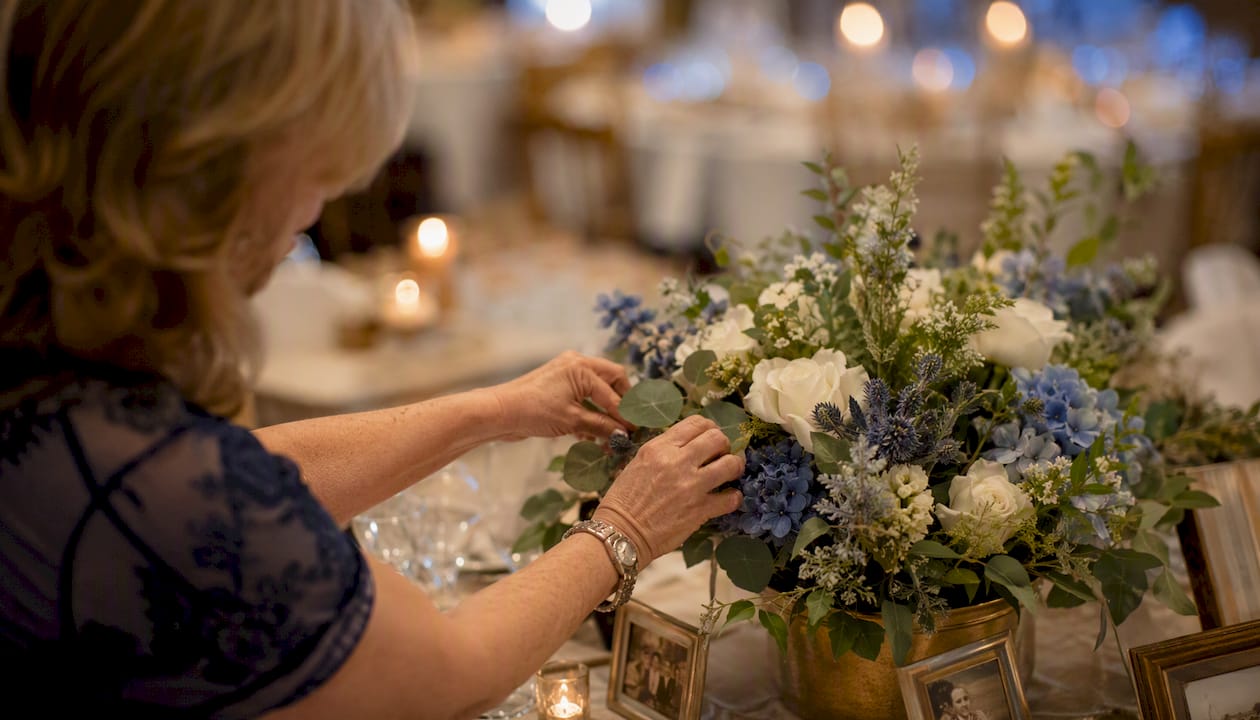
Primary design choice: A narrative arc built into the room layout: guests move from a cocktail hour that tells the couple’s “how we met” story through signage and photos, into a reception room designed around their shared passions.
Measurement: Guest NPS survey and social share count from the branded photo activation.
Do: Use warm lighting (2700K) throughout the reception to support relaxed conversation and flattering photography.
Don’t: Overload the journey with too many “moments” — three to four peak experiences across four hours is the right pace.
Brand activation: interaction and social lift
Objective: Generate a significant number of branded social shares and product samples distributed at a consumer pop-up.
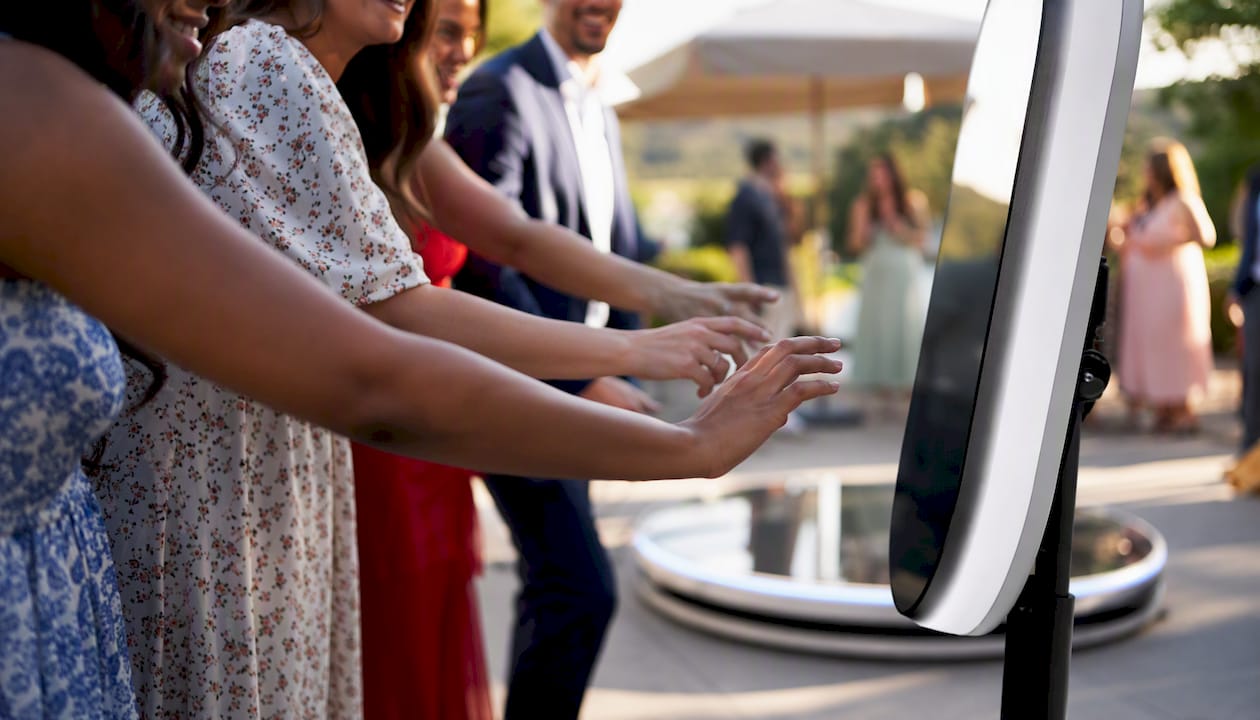
Primary design choice: A 360° video booth as the centerpiece activation, surrounded by product sampling stations. The booth’s branded overlay carries the campaign hashtag on every share. For corporate event entertainment ideas, a 360° booth consistently outperforms static photo activations on share rate and dwell time.
Measurement: Branded share count from the booth’s digital delivery system and sample redemption count.
Do: Position the activation so the queue is visible from the venue entrance — social proof drives participation.
Don’t: Skip the dedicated activation host; unattended booths see significantly lower participation rates.
Practical checklists, timeline milestones, and cost drivers
A well-structured timeline is the difference between a design that gets executed and one that gets compromised. The checklist below maps key deliverables to planning milestones.
12+ weeks out:
- Design brief written and approved
- Success metrics defined
- Venue confirmed and site visit completed
- Sustainability and accessibility requirements documented
8–10 weeks out:
- Floor plan approved
- Vendor shortlist issued with design brief
- Theme and visual language finalized
- Attendee-journey template completed
4–6 weeks out:
- All vendor contracts signed (after design brief, not before)
- Technical specs issued to lighting, AV, and production vendors
- Signage and branding artwork submitted for production
- Accessibility lead assigned
1–2 weeks out:
- Run-of-show document distributed to all vendors
- Full technical rehearsal scheduled
- Contingency plans documented for weather, AV failure, and attendance variance
48 hours before:
- Technical rehearsal completed with all vendors present
- Attendee-facing walk-through completed
- Final run-of-show version locked and distributed
Primary cost drivers: Venue and production typically represent the largest share of the budget. AV and lighting follow, and they are the most frequently under-budgeted line items relative to their impact on perceived quality. Activations and entertainment vary widely by format. Printed signage and branding surfaces are often overlooked until late in the process, when rush production fees inflate the cost.
For sustainability, build eco-friendly practices into the design brief from the start: specify reusable or compostable materials, minimize single-use printed collateral with digital alternatives, and choose vendors with documented sustainability practices. Modern event planning frameworks treat sustainability and DEI as default design brief items, not optional add-ons.
A practitioner’s perspective on what actually matters in event design
The most common mistake we see from planners who are new to design thinking is treating the design brief as a creative document rather than a strategic one. It is not a mood board. It is a decision filter. Every vendor question, every budget trade-off, and every last-minute change request gets answered by asking: “Does this serve the attendee outcome we defined on page one?”
Three things we have learned from working across hundreds of events:
First, the run-of-show is the most undervalued document in event design. Planners spend weeks on décor and hours on the run-of-show. Flip that ratio. A precise, minute-by-minute run-of-show with lighting cues, music transitions, and vendor handoffs is what separates a smooth event from a chaotic one.
Second, lighting budget cuts hurt more than any other cut. When budgets get tight, lighting is often the first line item reduced. It is almost always the wrong call. Guests rarely notice the brand of chair they sat in. They absolutely notice when the room feels flat, too bright, or disconnected from the moment.
Third, interactive activations work best when they are designed into the journey, not dropped into it. A photo booth placed in a corner as an afterthought generates a fraction of the engagement of one that is positioned at the engagement peak, briefed with the run-of-show, and staffed by someone whose job is to make guests feel excited to participate.
Pro Tip: Assign a dedicated “timeline manager” on event day whose only job is watching the clock and flagging the event director when any segment runs more than two minutes over. This single role prevents the cascade of delays that compresses the close and leaves guests with a flat final impression.
Photo booth experiences that serve your event design goals
Every event design needs moments that guests want to share. Rmdphotobooths delivers exactly that for events across San Antonio, with over 1,000 five-star reviews and a lineup built to serve real design objectives, not just fill a corner.
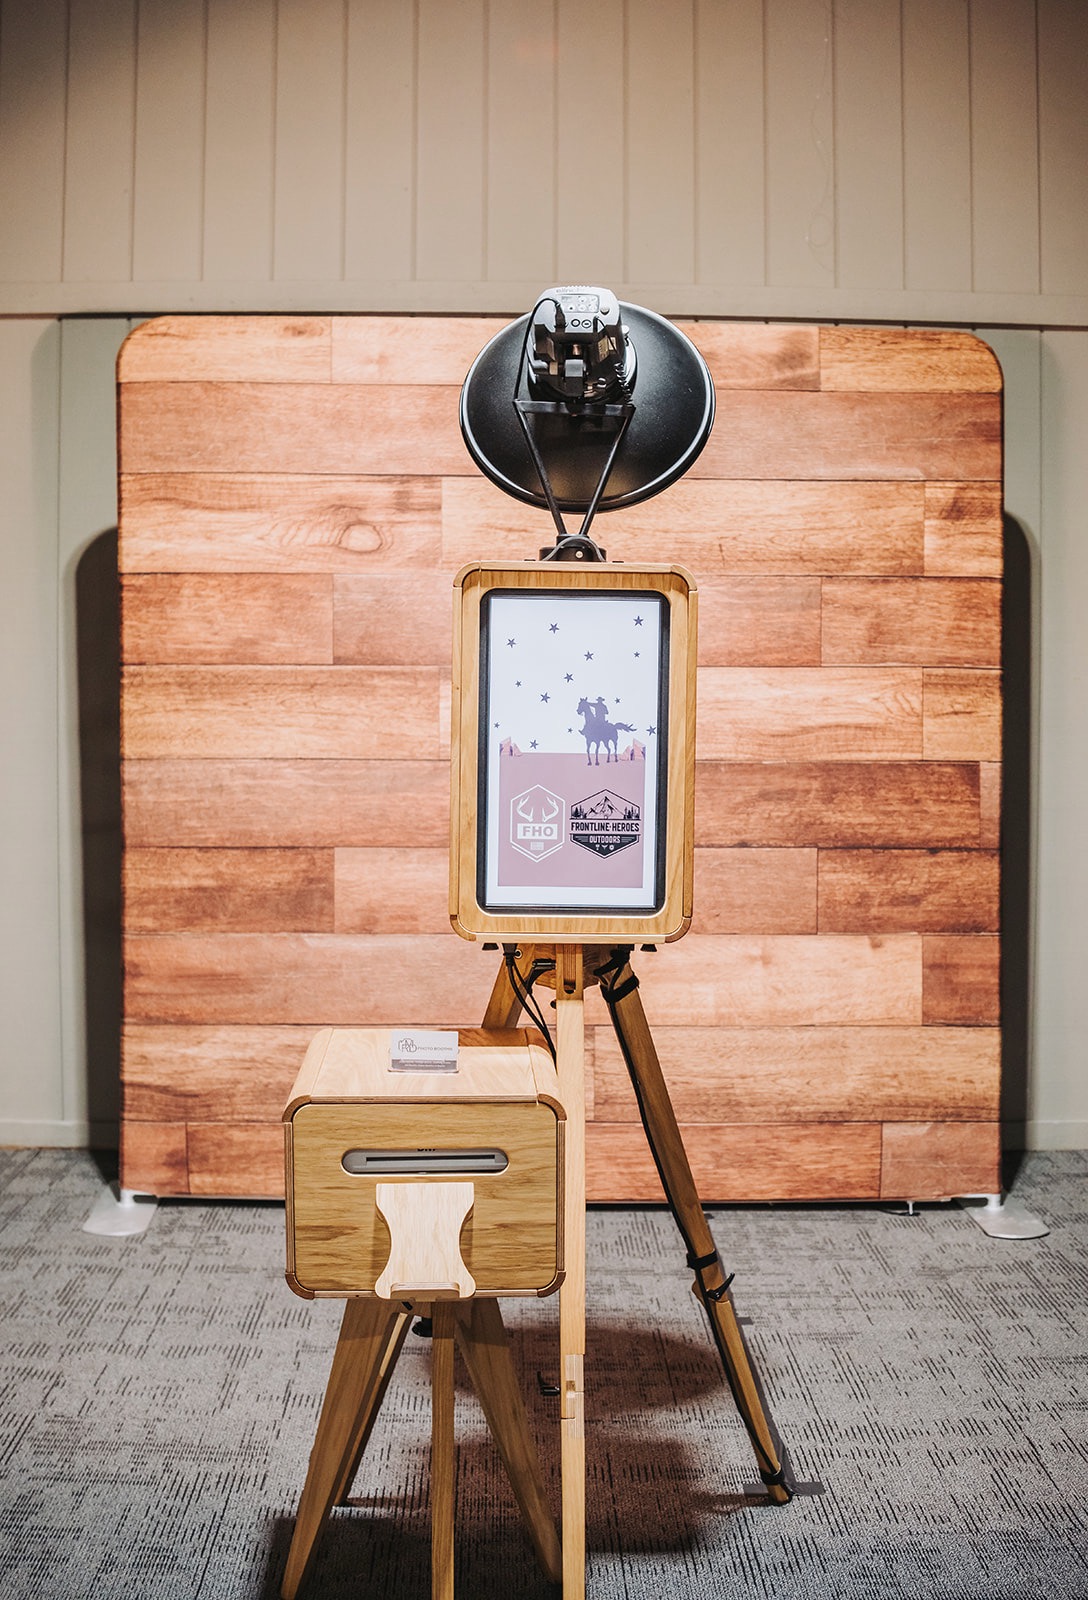
A traditional photo booth anchors the engagement peak and generates branded UGC with every print. The 360° booth turns the activation zone into the most talked-about moment of the night, with video shares that carry your brand far beyond the venue. Glam booths, AI-powered watercolor portraits, roaming booths, and audio guest books each solve a specific design problem: dwell time, social lift, brand recall, or emotional close.
Every booth comes with custom branding, studio lighting, and on-site support so the activation integrates with your design rather than interrupting it. Check out the full range of photo booth experiences and book your date before your event window closes.
Sources
- Event designing 101: how to create a memorable attendee experience
- Event Planning Checklist 2026: Step-by-Step Guide
- An academic article examining event risks and mitigation during COVID-era
- Real-world event planning during COVID-19
- 100 event theme ideas