Good photo booth guest flow comes down to three decisions: put the booth where guests naturally pass but never where they have to stop and squeeze by, leave enough clear floor for the booth plus a short line, and give guests a simple way to know what to do next. Get those right and the booth stays busy all night without clogging the bar, the dance floor, or the doors.
We have set up booths at weddings, corporate galas, and backyard parties, and the same lesson shows up every time: the booth itself is rarely the problem. The spot around it is. This guide walks you through placement, space, booth-specific tweaks, line control, and the small touches that make guests say, “That was so easy.”
TL;DR
- Place the booth where guests can see the fun from the room, but keep it off main walkways, entrances, exits, and the bar line.
- Plan at least 8×8 feet of clear space for the booth, a short queue, and a spot to view or collect prints.
- Open-air, enclosed, 360, and roaming booths each need different breathing room, so match the layout to the booth type.
- Keep accessible routes open: 36 inches wide is the baseline under the 2010 ADA Standards.
- Use clear signage, a short soft open before guests arrive, and a friendly attendant to keep groups moving.
Table of Contents
- What guest flow really means for a photo booth
- Where to place the booth
- How much space to allow
- Keep accessible routes open
- Adjust the plan for each booth type
- Keep the line moving
- A sample layout for a 150-guest reception
- Our take: design the flow before you pick the booth
- Ready to plan your booth?
- FAQ
- Sources
What guest flow really means for a photo booth
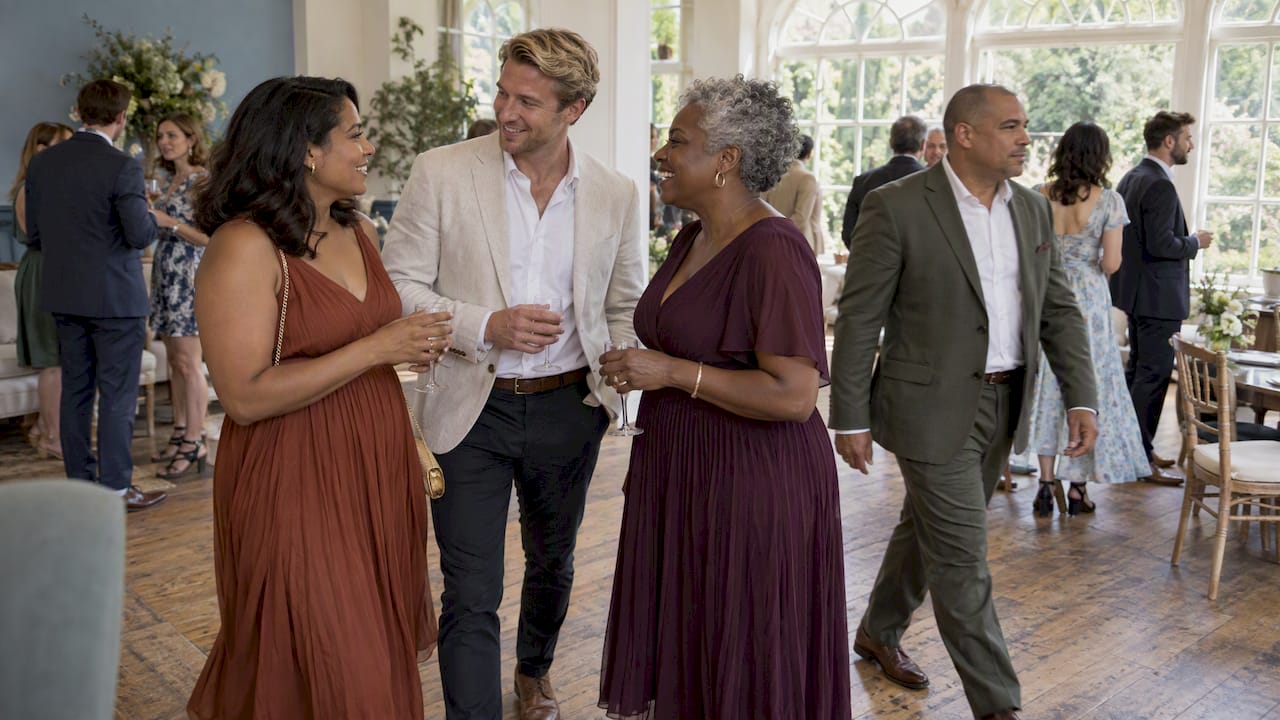
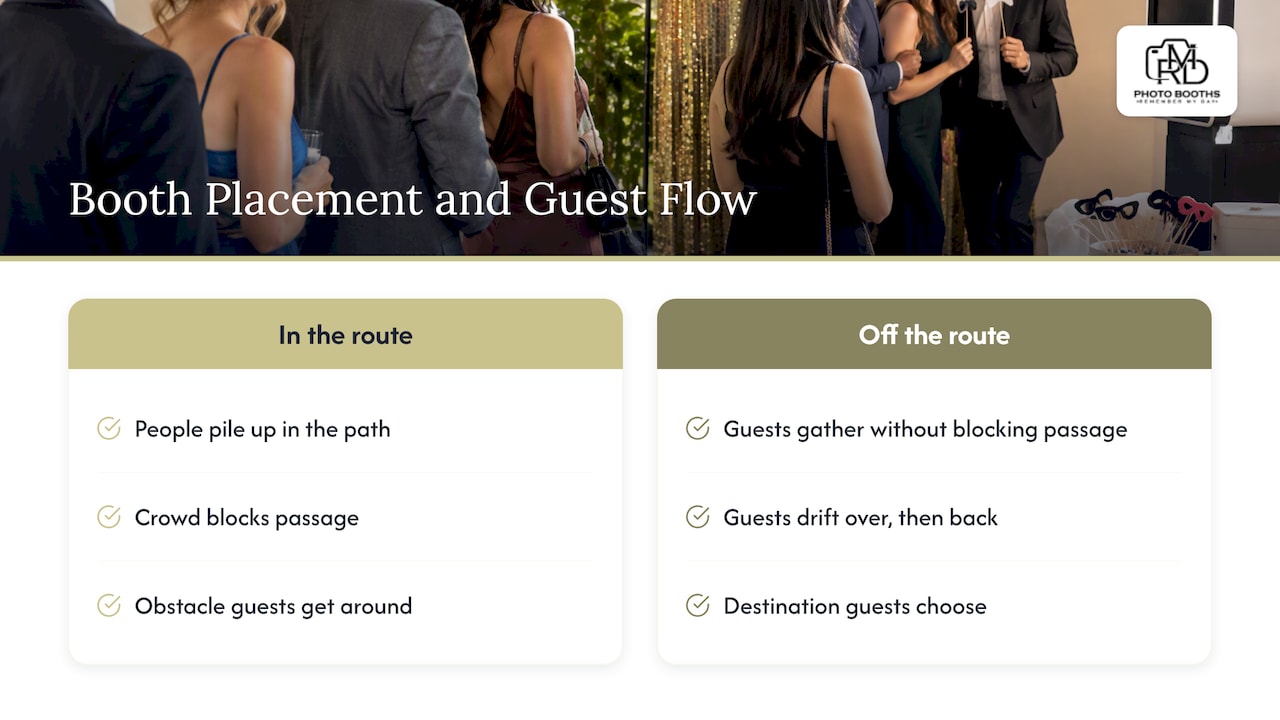
Guest flow is the path your guests take through the event: arriving, mingling, eating, drinking, dancing, and heading home. A photo booth adds a stopping point to that path. If the stopping point sits in the path, people pile up. If it sits just off the path, people drift toward it, take their photos, and drift back.
The rule of thumb we use: the booth should be a destination guests choose, not an obstacle they have to get around. That means visible, easy to reach, and with room for the crowd it attracts. A popular booth does create a crowd, and that is exactly what you want, as long as the crowd has somewhere to stand.
Where to place the booth
Make it visible, not in the way
Guests join in when they see others having fun. Put the booth in a spot with a clear sightline from the main room, such as along a side wall near the dance floor or in a lounge area, so laughter and flashes draw people over. A booth tucked into a back hallway can feel like a hidden treat, but it often sits empty because nobody sees it.
Zones to avoid
Skip these spots, even when they look convenient on the floor plan:
- Entrances and exits. Arrivals and departures happen in waves, and a line near the door makes both feel cramped.
- Right beside the bar or buffet. Two lines merging is how bottlenecks start. Leave a gap between them.
- Restroom corridors. Guests with a purpose will be squeezing past guests waiting for photos.
- Narrow hallways and pre-function corridors. If two people cannot pass comfortably beside the line, the booth is too close.
- Directly in front of speakers or the DJ. Noise makes it hard to hear instructions, and a crowd gathers in front of the music.
- Under or next to other big attractions. If you are staging a large showpiece like a drink tower, keep the two apart so each gets its own audience. For ideas on arranging feature installations around a booth, see these champagne tower photo booth layouts.
Match placement to the moment
Think about when the booth will be busiest. At a wedding, the rush usually comes right after dinner and during open dancing. At a corporate event, it often hits during cocktail hour and networking breaks. Place the booth near where people will be in those windows. Our step-by-step event photo booth planning guide walks through timing the booth to your schedule, and our wedding photo booth setup guide covers the reception-specific details.
Check power, backdrop, and load-in
A great spot on paper still has to work in practice. Confirm there is a power outlet nearby, so cords do not stretch across walking paths. Make sure the load-in route from the vehicle to the spot is clear, and that the backdrop will not be washed out by a bright window or a spotlight. Our event photo booth setup guide explains how we assemble and secure components so nothing sticks out into the walkway.
How much space to allow
A booth is more than its footprint. You need room for the booth, a short line, and a place for guests to look at or collect prints without standing in the next guest’s shot. One operator planning guide gives a typical minimum of 8×8 feet of clear space for exactly that combination. Treat it as a floor, not a target. For a 200-guest reception, or any event where you expect big groups, give the booth more.
A quick way to check your layout is to walk it:
- Stand where the line will form and picture six people waiting.
- Ask whether a guest carrying two drinks could still walk past them.
- Check that the print or share area does not sit in the line’s path.
- Look for doors, aisles, or service routes that the line would cover.
If any answer is no, shift the booth a few feet or turn it so the line forms along a wall instead of out into the room.
Keep accessible routes open
Guest flow is also an access question. Guests who use wheelchairs, walkers, or strollers need a clear path to the booth and around it. Under the 2010 ADA Standards as applied in a U.S. Department of Justice agreement, accessible routes must be at least 36 inches wide, may narrow to 32 inches for no more than 24 inches, and need to be at least 42 inches wide for a U-turn around an obstruction less than 48 inches wide.
In practice, that means:
- Do not run booth cables, lighting stands, or prop tables across the main route.
- Keep the line from forming in the only wide path to the restrooms or exits.
- Make sure at least one approach to the booth is step-free and wide enough to turn around.
Those figures come from a specific agreement, so ask your venue manager what applies to your space. Venues also have their own capacity and egress rules, so ask them to confirm that your booth location does not block exit paths before you finalize the floor plan.
Adjust the plan for each booth type
Not every booth moves guests the same way. Here is how we think about the main types, along with our published starting prices so you can see how the options compare.
| Booth type | How guests use it | Flow tip | Starting price |
|---|---|---|---|
| Traditional booth | Small groups step in, pose, and step out | Place along a wall with a short line space beside it | From $900 |
| Selfie booth | Quick, one-touch shots in open space | Needs less depth, but keep sightlines clear | From $625 |
| 360 booth | Guests stand on a platform while the camera orbits | Needs a wide circle of clear floor and a viewing crowd | From $1,295 |
| Robot booth | Guests interact with a robot arm camera | Needs space for a crowd to gather and watch | From $1,395 |
| Roaming booth | Moves through the crowd | Almost no fixed footprint, so little queue | From $650 |
| Vintage booth | Enclosed, classic strips | Plan for waiting space outside the curtain | From $1,300 |
Open-air booths
Open-air setups have no walls, so groups of ten or more can fit and spectators can watch and cheer. The tradeoff is that the crowd spills outward. Give the booth a defined edge, like a backdrop on one side and a stanchion or floor marker on the other, so guests know where the line starts. Our selfie booth works well when floor space is limited because guests snap and go.
Enclosed booths
Enclosed and curtained booths feel private, which some guests love. They also hide the fun, so place them where guests can see the line forming and hear the laughter. Plan the waiting area outside the entrance, not in front of it, so people leaving do not collide with people entering. If you are weighing formats, our guide to digital versus traditional booths compares them for different events.
360 booths
A 360 booth is a show. Guests gather around the platform to cheer, which is part of the magic and also the main flow challenge. Leave a ring of open floor around the platform so the camera can spin freely and spectators stay at a safe distance. Keep it away from walkways and the dance floor edge, and review our 360 booth safety checklist for hosts and venues. If you are choosing between formats, our 360 versus traditional comparison helps you check space and cost.
Robot and roaming booths
A robot booth draws a curious crowd. Put it in an open area with a wide approach, because people will stop to watch before they step up. A roaming option solves a lot of flow problems by going to the guests instead of asking guests to come to it. If your venue is tight, that can be the easiest answer. Read more about what to expect in our robot photo booth ideas.
Digital and experience-style booths
AI portrait and water color experiences take guests a little longer per turn than a quick snapshot, so the line can grow if you do not plan for it. Give them their own corner with seating or a standing area nearby, and let guests know roughly how long to wait.
Keep the line moving
Do a soft open
Have the booth ready before guests arrive. An operator guide recommends a soft open five to ten minutes early so the booth is working and the first guests can hop in without waiting for setup. The first few photos set the tone: when early guests start posing, others follow.
Manage big groups
Big groups are wonderful for the photos and tough for the line. A few moves that help:
- Set a pose limit. Two or three quick poses per turn keeps each group moving.
- Invite groups to take a second round later. Everyone gets a turn first.
- Send big groups to a wider spot. An open-air setup or a 360 platform suits a group of twelve far better than a small curtained booth.
- Let guests pre-plan. A few seconds of “who’s in, who’s doing what” before stepping up saves a lot of line time.
We go deeper on this in our photo booth queue management guide, including what to do when a rush hits all at once.
Use signage that actually helps
Simple signs do a surprising amount of work. Put one sign by the booth that says what to do in three steps, such as “Step in, pick a prop, press start,” and another that says where to find your photos or prints. A sign that marks the line start keeps people from clustering at the booth door. Keep the words short and the text large, so a guest holding a drink can read it in two seconds.
Add a friendly attendant
A person at the booth is the best guest flow tool there is. They greet guests, explain the steps, cheer on the shy ones, and keep the line orderly without making it feel like a line. Talk with your provider about how the booth will be attended, and make sure the person knows your event schedule, so they can quietly adjust when the toast starts or dinner is served. If you want guests to feel at ease, share our photo booth etiquette tips for guests on how to pose, share, and respect the space.
Give people somewhere to wait
A waiting line is much more pleasant when there is something to look at. A small screen showing recent photos, a prop table beside the line, or a spot to sit makes the wait feel like part of the fun. Props that sit off to one side also keep guests from picking and choosing inside the booth, which slows the next group.
A sample layout for a 150-guest reception
Here is a simple example of how this comes together. Suppose your reception has a dance floor in the center, a bar on the east wall, and a buffet on the north side.
- Place the booth on the west wall, about 15 feet from the dance floor edge, so it is visible from the floor.
- Mark an 8×8 foot minimum footprint, then add a few more feet on the side where the line will form.
- Run cables along the wall and cover them, so none cross the walking route to the restrooms.
- Put the print or share station at the end of the line, not at the booth entrance.
- Keep a 36 inch route clear from the nearest door to the booth.
- Add a sign by the line start and another by the share station.
- Plan a soft open before cocktail hour, then check with the attendant after dinner when the rush starts.
That one sketch avoids the entrance, the bar, and the buffet, keeps a clear route, and gives the line a home. Adapt it to your room and your booth.
Our take: design the flow before you pick the booth
Most hosts choose a booth by looks and then hunt for a place to put it. We flip that. Start with your room, your guest count, and your schedule, and then choose the experience that fits the space.
Our view is that a booth earns its keep when guests keep coming back to it. That happens when the spot feels easy, the staff feels welcoming, and the experience feels special. We offer everything from a quick selfie setup to a roaming robot, 360 platforms, and AI portraits, so we can match the booth to the room instead of squeezing your room around the booth. We also bring studio lighting, branding, and custom overlays, so the booth looks like part of your event and not an add-on parked in a corner.
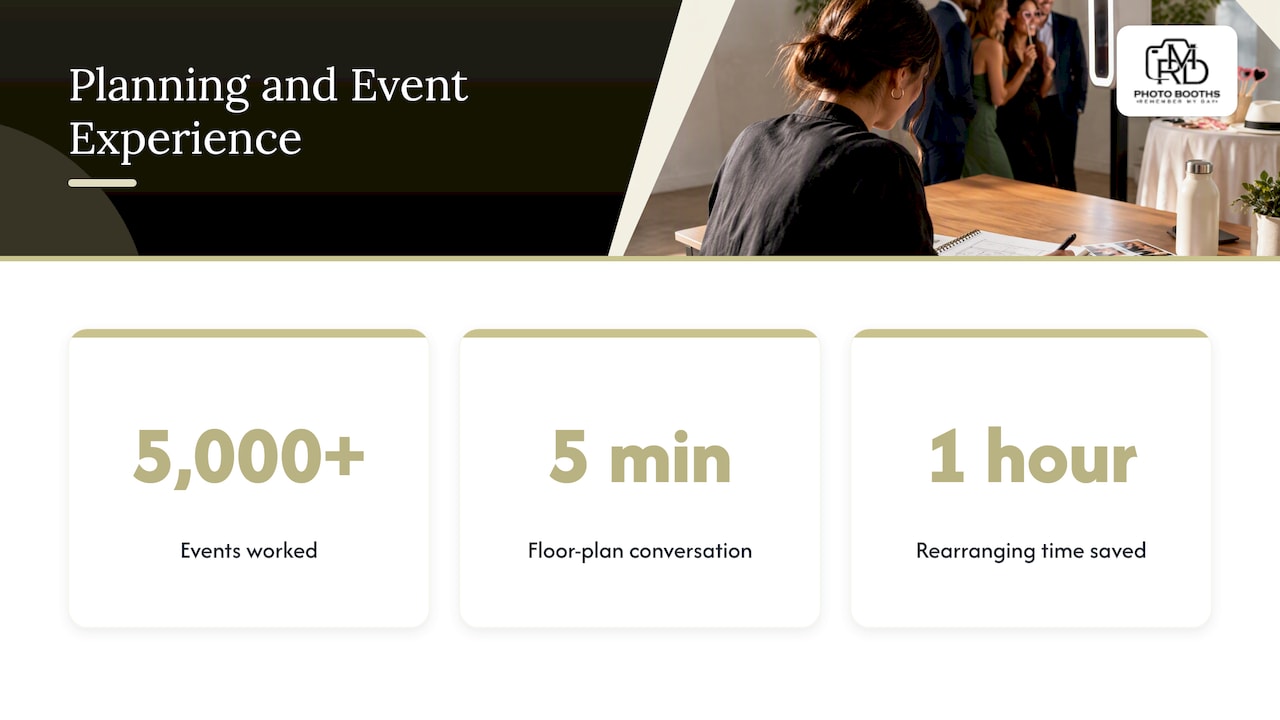
Our team has worked more than 5,000 events, and we have found that a five-minute floor-plan conversation before the day saves an hour of rearranging during it. Ask us anything about your venue, and we will help you map it.
— RMD
Ready to plan your booth?
If you are in San Antonio or the surrounding area, we would love to help you find the right booth and the right spot for it. Our experiences page lists every option with starting prices, from an audio guest book at $275 to our Glambot® at $2,795, and you can reserve your date on our booking page.
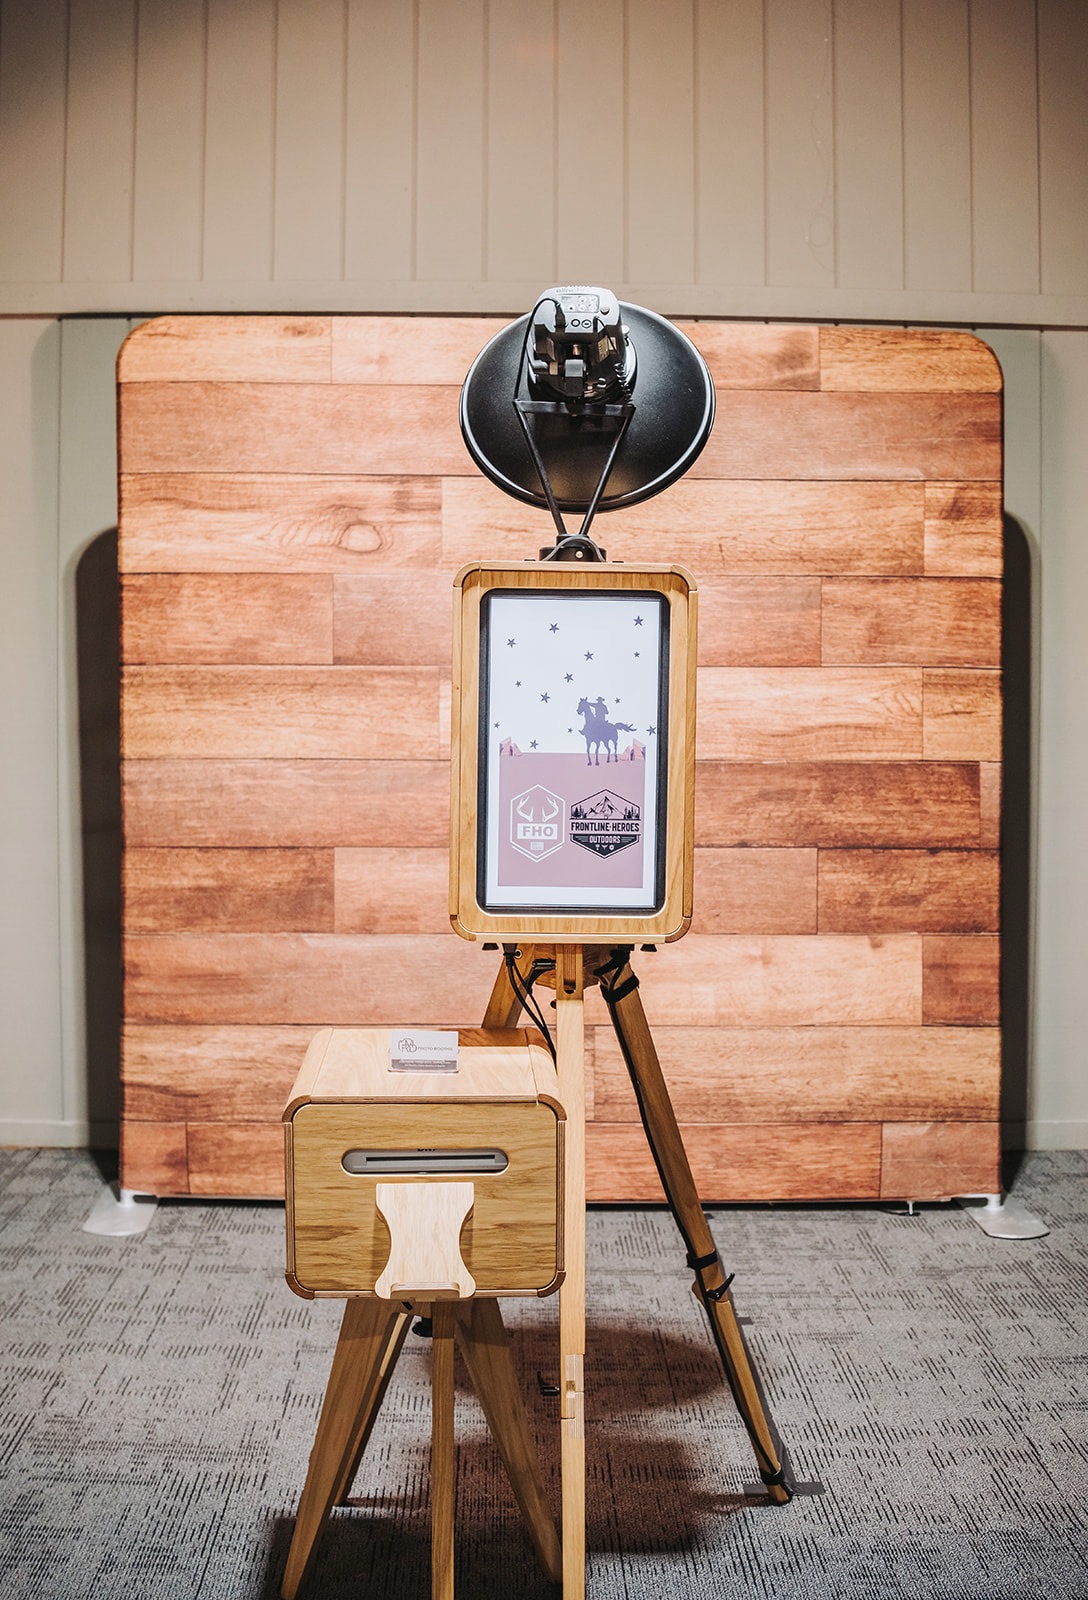
Tell us your venue, guest count, and the vibe you want, and we will help you sketch the layout so your guests flow right to the fun.
FAQ
Where is the best place for a photo booth at a wedding?
Put it along a side wall near the dance floor or lounge, where guests can see it but do not walk through it. Stay away from the entrance, the bar, and the buffet. Our wedding setup guide has more detail.
How much room does a photo booth need?
A typical minimum is 8×8 feet of clear space for the booth, a short queue, and a place to view prints. Bigger crowds or 360 and robot booths need more. Ask your provider for the exact footprint of the booth you choose.
How do I stop a line from forming at the booth?
Start the booth early, limit poses per turn, post a short instruction sign, and have an attendant guide groups. Placing the booth away from the bar and exits also keeps any line out of the way. See our queue management tips.
Do I need to think about accessibility?
Yes. Keep the route to and around the booth open, with accessible routes at least 36 inches wide under the 2010 ADA Standards. Check with your venue about its own rules before you finalize the layout.
Is a roaming booth good for tight venues?
Often, yes. A roaming booth moves through the crowd, so it needs no fixed queue area. It starts at $650 with us, and it pairs well with a fixed booth at larger events.
Sources
- Event Planning Guide for Photo Booth Operators
- Attachment B, 2021 Agreement between the United States and Denver (2010 ADA Standards)
- Champagne tower photo booth layouts
Recommended
- Photo Booth Queue Management: Keep the Line Moving
- Streamline Your Private Party Photo Booth Workflow
- Photo Booth Etiquette: Making Every Snapshot Memorable
This article was created with the assistance of automated AI content tools using publicly available information and may contain errors, omissions, or outdated information. Content is provided for general informational purposes only and does not represent an endorsement, criticism, or official statement regarding any person, business, product, or service mentioned. Business details, pricing, services, availability, and other information may change over time. If you believe any information is inac